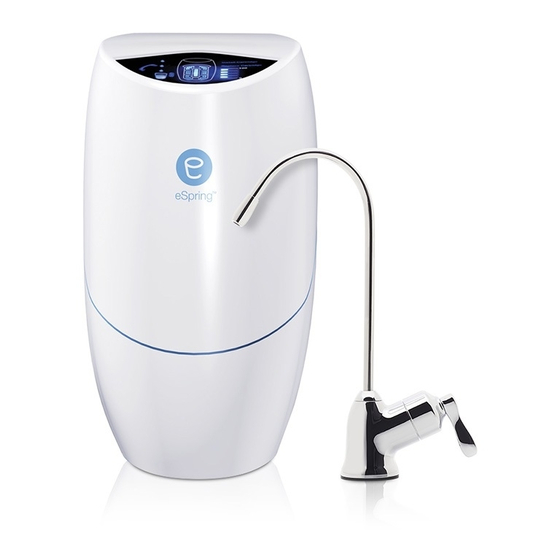
Amway eSpring Easy Installation Manual
Hide thumbs
Also See for eSpring:
- Installation instructions manual (37 pages) ,
- Cleaning & maintenance manual (5 pages) ,
- Owner's manual (68 pages)
Summary of Contents for Amway eSpring
-
Page 1: Table Of Contents
Easy Installation Guide Contents : Easy Installation 5 Steps Step 1 : Checking the components Step 2 : Attaching the adapter & diverter Step 3 : Connecting the tubing Step 4 : Checking for leaks Step 5 : Test & Exam the unit... -
Page 2: Easy Installation 5 Steps
Water Treatment System is only suitable for use in families who receive their water from a municipal water supply. Should you have any queries on the product, kindly connect with myhelpdesk@amway.com (Malaysia) -
Page 3: Step 1 : Checking The Components
Step 1 : Checking the components The packaging of eSpring Water Treatment System contains the following components: Page 1 eSpring Installation & Maintenance Guide... -
Page 4: Step 2 : Attaching The Adapter & Diverter
Step 2 : Attaching the adapter & diverter Unscrew to remove the aerator. Unscrew to remove the metal connector and plastic ring from top of the diverter. Pick an appropriate adapter and fix the diverter until secure. Page 2 eSpring Installation & Maintenance Guide... - Page 5 Then use a coin to screw onto the tap and secure the diverter. Attention Please make sure the threaded adapter is snuggly attached to the faucet to avoid leakage. Page 3 eSpring Installation & Maintenance Guide...
- Page 6 Screw the threaded adapter to the metal connector, then slide the plastic ring and use a coin to secure it onto the tap. Attention Please make sure the threaded adapter is snuggly attached to the faucet to avoid leakage. Page 4 eSpring Installation & Maintenance Guide...
- Page 7 Make sure the threaded adapter is securely fixed to the tap to avoid leakage. Attention Please make sure the threaded adapter is snuggly attached to the faucet to avoid leakage. Page 5 eSpring Installation & Maintenance Guide...
-
Page 8: Step 3 : Connecting The Tubing
Connecting the elbows and the Connecting to the water tubes. Make sure you attach the treatment system. tubes to the elbows first before you attach the elbows to the water treatment system. Page 6 eSpring Installation & Maintenance Guide... - Page 9 Use a tie strap to secure the tubings. Attention If the tubing is too long, use a knife to cut the tubes. Make sure to make a straight cut to form a flat end on the tubes. Page 7 eSpring Installation & Maintenance Guide...
-
Page 10: Step 4 : Checking For Leaks
Attention Before checking for leakage, make sure the collar of the cartridge is tightened. If there is leakage, shut the tap immediately and reinstall. Page 8 eSpring Installation & Maintenance Guide... -
Page 11: Step 5 : Test & Exam The Unit
Step 5 : Test & Exam the unit Install the electronic module. Push cord strain relief and tubings into the notch. Replace the cover. Plug the power adapter into the wall outlet. The above display shows that installation is complete. Page 9 eSpring Installation & Maintenance Guide...


Need help?
Do you have a question about the eSpring and is the answer not in the manual?
Questions and answers