Advertisement
Quick Links
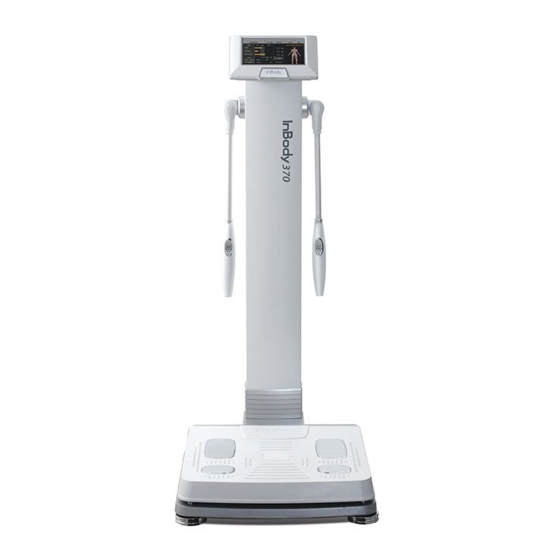
BODY COMPOSITION ANALYZER
Install Manual
Hand Electrode
A
B
Foot Electrode
❶
Contents of the Box
❶ InBody370
❷ Adapter(DC 12V, 3.4A) 1EA
❸ Power cord 1 EA
❹ Install Manual 1EA
❺ Hexagonal Wrench 1EA
A
❻ Joint Screw 1EA
B
Please keep the packaging for future events of repacking InBody370 and sending
it for servicing or otherwise transporting InBody370 elsewhere.
1. If you use the InBody370 on a carpet, static electricity may cause serious damage to the
electronic components. If the InBody370 is to be installed on a carpet, use antistatic mats
ON
NOTE
DANGER
below the InBody370. Use InBody tissue to wipe feet and hands before the measurement
starts.
2. Do not wipe the base and hand electrode with cleaning liquids. If cleaning liquids enter
into InBody370, it may cause corrosion or electric shock by short circuit. For cleaning of
the InBody370, please use InBody tissue, which also has antibacterial functionality.
3.Do not dismantle InBody370. Internal parts are not for customer use and may cause
electric shock. If InBody370 is dismantled, the warranty is void, and service costs will be
charged.
Installation
1. Open the packing box of the InBody370 and remove the packing pads.
Then take the InBody370 out of the box.
Head
2. Raise the stand of the equipment carefully
Stand
until it stands upright.
Base
3. Raise the stand cover to reveal the joint screw. Tighten the joint screw
connecting the upper part and footplate with a hexagonal wrench.
After the upper part of the InBody370 is secured in place, cover the
joint screw with the stand cover.
❸
❺
❹
❻
Stand cover
❷
4. If the air bubble is not in the center of the level indicator, tighten or loosen
the leveling screws(4EA) on the foot plate to adjust the level of InBody370.
InBody370 must be leveled properly for accurate weight measurement.
Joint screw
Hexagonal wrench
Level Indicator
Leveled
Leveling Screws
5. Plug the power adapter cable into the InBody370.
❷
* Make sure the power cord is firmly plugged
into the power adapter.
* Please plug the power cord and the printer
power cord to an electrical outlet. A surge
protector is highly recommended.
<Rear view of InBody370>
❷
❸
Failure to connect the device to a properly grounded outlet may result in damage to
the device, inaccurate measurement and/or inappropriate operation due to possible
electrical surges.
Do not plug the device to a shared power source with any other electrical devices such
as a treadmill, refrigerator, air conditioning unit, microwave or RF medical diathermies
CAUTION
NOTE
DANGER
that can be affected by electromagnetic interference. It may result in inaccurate
measurements.
CAUTION
NOTE
DANGER
Measurement
1. Turn on the InBody370 and keep the power on until the home screen
initializes. It will take 15 seconds. During the warming, do not touch
the base.
Power switch
<Rear view of InBody370>
<Printer Cable / Option>
Grounded
outlet
3-socket outlet
Advertisement

Subscribe to Our Youtube Channel
Related Manuals for inbody 370


Summary of Contents for inbody 370
- Page 1 If the InBody370 is to be installed on a carpet, use antistatic mats NOTE DANGER below the InBody370. Use InBody tissue to wipe feet and hands before the measurement starts. Leveled 2. Do not wipe the base and hand electrode with cleaning liquids. If cleaning liquids enter into InBody370, it may cause corrosion or electric shock by short circuit.
- Page 2 Callouses on the palm or sole or particularly dry hands and feet may lead to difficulties in measuring. If this is the case, please wipe the palm and sole with an InBody Tissue before testing. ⓒ 2018 InBody Co., Ltd. All rights reserved. BM-ENG-81-F-181224...
Need help?
Do you have a question about the 370 and is the answer not in the manual?
Questions and answers