Advertisement
Quick Links
GB
• Read this "INSTALLATION GUIDE" before operating.
• Keep this "INSTALLATION GUIDE" for future reference.
• Read the general recommendations about disposing of packaging in the Instructions for Use.
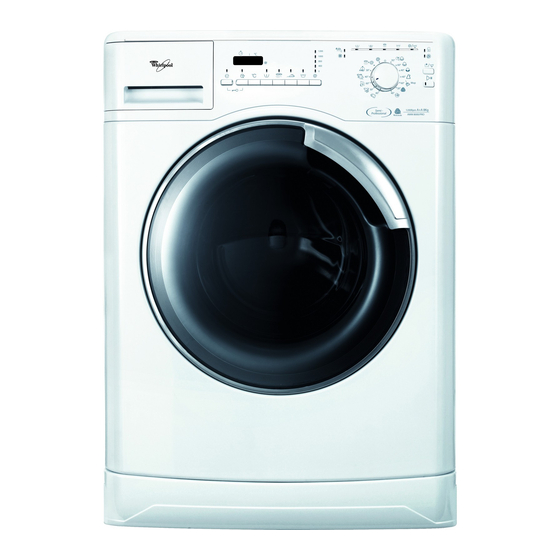
INSTALLATION GUIDE
• Noise, excessive vibrations and water leakages can be caused
by incorrect installation.
• Never move the appliance by carrying it at the worktop.
• Installation of the washing machine requires at least 2
persons.
1
Advertisement

Related Manuals for Whirlpool AWM 8000/PRO


Summary of Contents for Whirlpool AWM 8000/PRO
- Page 1 INSTALLATION GUIDE • Noise, excessive vibrations and water leakages can be caused by incorrect installation. • Never move the appliance by carrying it at the worktop. • Installation of the washing machine requires at least 2 persons. • Read this “INSTALLATION GUIDE” before operating. •...
-
Page 2: Parts Supplied
PARTS SUPPLIED Bag with small items Instructions for Use 4 plastic caps Wrench Inlet hose (inside the machine or already installed) Y-adapter (only supplied for certain models) - Page 3 IMPORTANT: FIRST REMOVE TRANSPORT BOLTS! - Not removed transport bolts cause damages to the washing machine! Keep the transport bolts and the wrench for further transporting of the washing machine; in this case refit the transport bolts in reverse order. 1.
- Page 4 ADJUSTMENT OF THE FEET - The appliance must be installed on a solid and level floor surface (if necessary use a spirit level). If the floor is wooden or floating, distribute the weight by placing it on a sheet of plywood measuring at least 60 x 60 cm and thickness of at least 3 cm which is screwed to the floor.
- Page 5 CONNECT THE WATER INLET HOSE 7. - If the water inlet hose is not already installed, it must be screwed to the appliance. If your washing machine has one inlet valve on the back: connect it to cold fill only. Cold fill Hot fill 8.
-
Page 6: Connect The Drain Hose
CONNECT THE DRAIN HOSE 9. - Unclip the drain hose from the holders marked by the arrows (depending on the model). - If the drain hose is installed inside your washing machine, pull the hose completely out of the holder and close the opening with cap “A” attached. 10.- Firmly connect the drain hose to a siphon or standpipe for drain water (if necessary use the U-bend provided with the washing machine;...