Advertisement
Quick Links
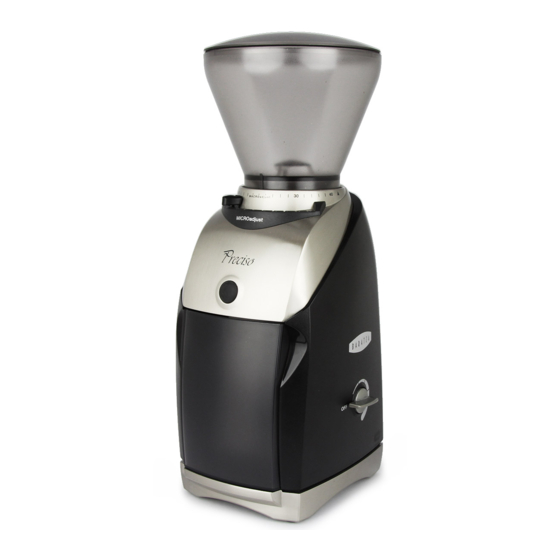
How to: Preciso Adjustment Ring Inspection
Preciso ONLY
Time: 5 min
Difficulty: Easy
Tools/supplies: #0 Phillips screwdriver. Flat head screwdriver.
Parts: n/a
Additional Resources: Preciso Adjustment Ring Replacement. Case Removal
Calibration
SKU: 6154
Screw
SKU 6177
Base
SKU 6151
www.baratza.com
*** Unplug the grinder from power supply ***
Remove the case using our Case Removal guide.
Remove the adjustment
system as detailed in the
Preciso Adjustment Ring
Replacement guide.
support@baratza.com
ver. 1.0
Micro
SKU: 6155
Adjustment
SKU: 6076
rev. 5/2/2019
Advertisement

Related Manuals for Baratza Preciso


Summary of Contents for Baratza Preciso
- Page 1 Time: 5 min Difficulty: Easy Tools/supplies: #0 Phillips screwdriver. Flat head screwdriver. Parts: n/a Additional Resources: Preciso Adjustment Ring Replacement. Case Removal *** Unplug the grinder from power supply *** Remove the case using our Case Removal guide. Calibration Micro...
- Page 2 To retain your current Here, colorful calibration after this tape was used inspection, create two reference marks: one on the adjustment ring and one on the calibration ring. These marks should align. Remove the calibration screw. www.baratza.com support@baratza.com rev. 3/20/2019...
- Page 3 If you see damage, replace the assembly. Threading on all sides must be good Inspect the three tabs on the interior diameter of the calibration ring. If damaged, replace the assembly. These tabs engage adjustment ring threading www.baratza.com support@baratza.com rev. 3/20/2019...
- Page 4 *The calibration ring marker will be to the left and the adjustment ring marker will be to the right* Align the markers and remove them if applicable. www.baratza.com support@baratza.com rev. 3/20/2019...
- Page 5 The base Ridge ring must be glued to intact the gearbox housing. If it is not, please see the Preciso Adjustment Ring Replacement guide for further assistance. Flush with housing If you have any questions, or encounter...
Need help?
Do you have a question about the Preciso and is the answer not in the manual?
Questions and answers