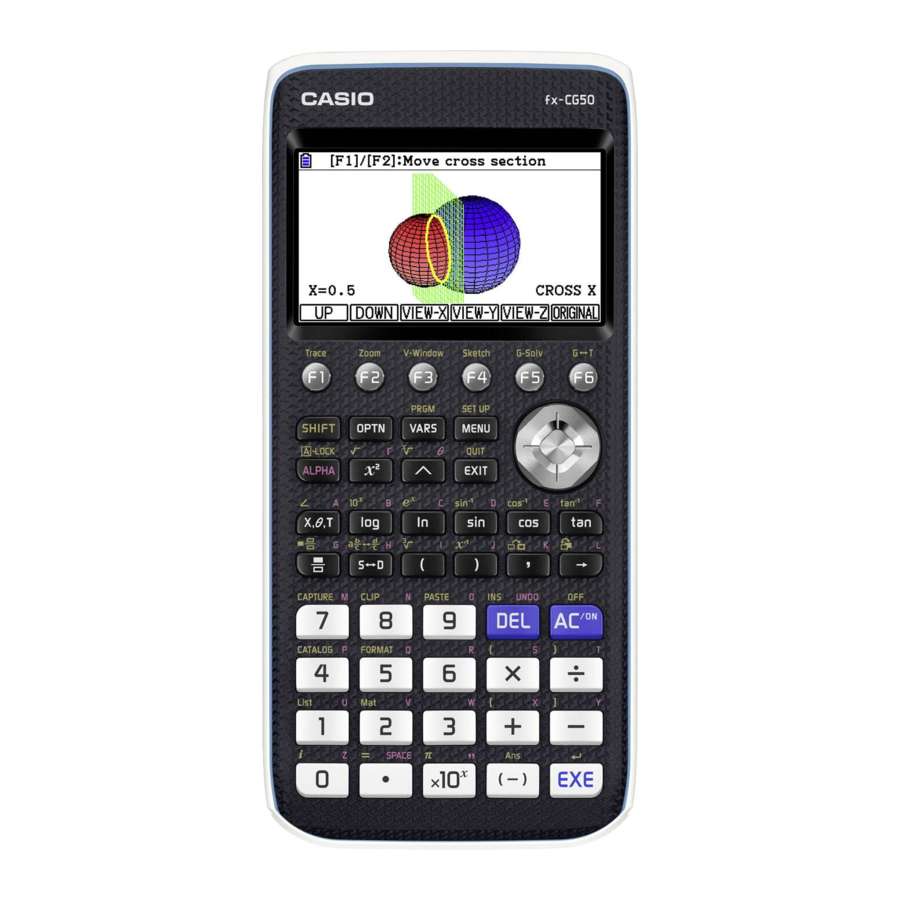
Casio fx-CG50 Setting-Up Manual
Hide thumbs
Also See for fx-CG50:
- User manual (667 pages) ,
- Quick start manual (29 pages) ,
- Hardware user's manual (18 pages)
Advertisement
Advertisement

Summary of Contents for Casio fx-CG50
- Page 1 Casio fx-CG50 Setting Up Guide...
-
Page 2: Table Of Contents
Contents Attaching and Removing the Front Cover Key Layout and Markings Switching On Status Bar Memory Reset If results don’t display as you expect … Changing Hardware Settings Downloading Add-In Applications... -
Page 3: Attaching And Removing The Front Cover
Attaching and Removing the Front Cover • To remove the front cover Before using the calculator, remove the front cover and attach it to the back. • To attach the front cover When you are not using the calculator, attach the front cover to the front. -
Page 4: Key Layout And Markings
Key Layout and Markings Many of the calculator’s keys are used to perform more than one function. The functions marked on the keyboard are colour-coded. -
Page 5: Switching On
Switching On Press O. The calculator will show the Main Menu unless it has been switched off whilst in one of the menu options. If the Main Menu does not appear, press p. Your menu may not have all of the icons below –... -
Page 6: Status Bar
Status Bar The status bar is an area that displays messages and the current status of the calculator. It is always displayed at the top of the screen. This icon: Indicates this: The current battery level. The icons indicated (from left to right): Level 3, Level 2, Level 1, Dead. Calculation in progress. - Page 7 Status Bar – SETUP The calculator can be set for a variety of mathematical defaults. For more information on setup, please see the Getting Started guide. This icon: Indicates this: Setup “Input/Output” setting. Setup “Angle” setting. Setup “Display” setting. Setup “Frac Result” setting. Setup “Complex Mode”...
-
Page 8: Memory Reset
Memory Reset 1. Press p to choose the Main Menu screen if you are not already there. 2. Scroll down to menu option G System. 3. Press l (bottom right hand corner). 4. System Manager menu appears – press y for RESET. 5. -
Page 9: If Results Don't Display As You Expect
If results don’t display as you expect … If you keep having problems when you are trying to perform operations, try the following before assuming that there is something wrong with the calculator. Returning the calculator to its original settings 1. -
Page 10: Changing Hardware Settings
Changing Hardware Settings From the Main Menu, scroll down to menu option G System. Press l (bottom right hand corner). Press q for “Display Settings” which adjusts the Backlight Level – it is best to set it to 4 or 5 –... - Page 11 Setting up the Calculator – New Batteries If you change the batteries, the following will appear • Select your language using the up down arrows, then press q (SELECT). • Press u (NEXT). This displays the “Display Settings” screen – press ! to make the screen darker, or $ to make it brighter. •...
-
Page 12: Downloading Add-In Applications
Main Menu items after option G System are Add-In applications. You can download all Add-In applications from http://edu.casio.com/ – follow the links HANDHELD UPDATE/GRAPHING MODELS – accept the Licence Agreement – choose fx-CG50 SERIES/ADD-IN SOFTWARE. Available applications are – Geometry – Picture Plot – 3D Graph –...


Need help?
Do you have a question about the fx-CG50 and is the answer not in the manual?
Questions and answers