Advertisement
Table of Contents
Brean
Instructions & care manual
Some of the images shown in these instructions are from other similar
Kampa tents and are for illustration purposes only.
Brean 3
Tips for pitching your tent:
Get help - it's always easier with more people and will put less stress on
the tent and you!
Keep your tent clean - use a footprint.
To help set up the tent, each ring and pin is on an adjustable strap
that can be loosened. After the pin is inserted into the pole ensure
that the strap is tightened as much as possible. You will never
achieve satisfactory results unless you do this.
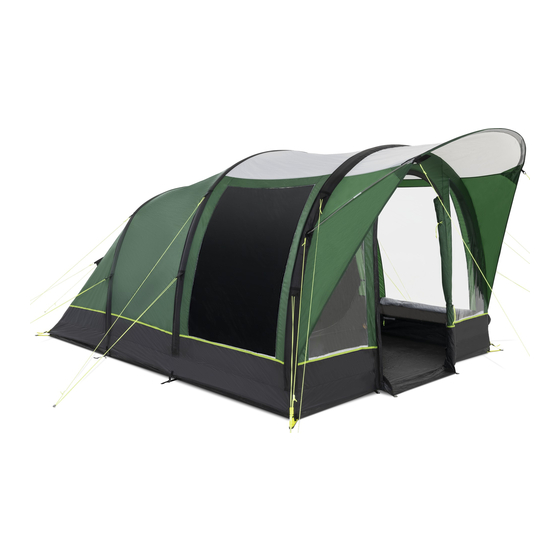
Remember to readjust the pegging until the tent is taut . A well set up tent
will resist the weather much better than a poorly set up one. Your tent
should look like the picture above.
Ensure that all doors and openings are fully closed before pegging the
tent. This will avoid undue strain on the zips.
Brean 6
2
Advertisement
Table of Contents

Related Manuals for Kampa Brean Series


Summary of Contents for Kampa Brean Series
- Page 1 Ensure that all doors and openings are fully closed before pegging the tent. This will avoid undue strain on the zips. Brean 6 Some of the images shown in these instructions are from other similar Kampa tents and are for illustration purposes only.
-
Page 2: Important - Please Read
WELCOME Before using for the first time, ensure that the following parts are present: Thank you for purchasing your Kampa tent. Please read these instructions carefully before attempting to set up your tent and retain for future reference. If used properly, your tent should give you years of trouble free use. We... - Page 3 Repeat on the other poles whilst One pole at a time, attach the pole Peg the intermediate pegging points. Take the inner tent inside and doing step 5. ends to the pins located on metal suspend from colour coded Fully tighten the tensioning straps at rings at the base of the tent.
-
Page 4: Guy Ropes
The tent comes with a canopy groundsheet that can be pegged down under the RAIN canopy. We make our tents as resistant to the weather as possible. Occasionally you may find slight leakage. This is not a fault with the manufacturing process or Doorways and entrances should be cross pegged –... -
Page 5: Warranty
Repairs should be made by a company recommended by Kampa or your supplying dealer. Repairs and alterations made by an unauthorised company may invalidate your warranty. - Page 6 OPTIONS (AT EXTRA COST) Kampa produce a superb range of camping accessories that are available The following custom made options are available for your tent: from you dealer FOOTPRINT goes under your tent to protect and keep the groundsheet clean.
Need help?
Do you have a question about the Brean Series and is the answer not in the manual?
Questions and answers