Advertisement
Advertisement
Table of Contents

Related Manuals for DR. Heater DR-238


Summary of Contents for DR. Heater DR-238
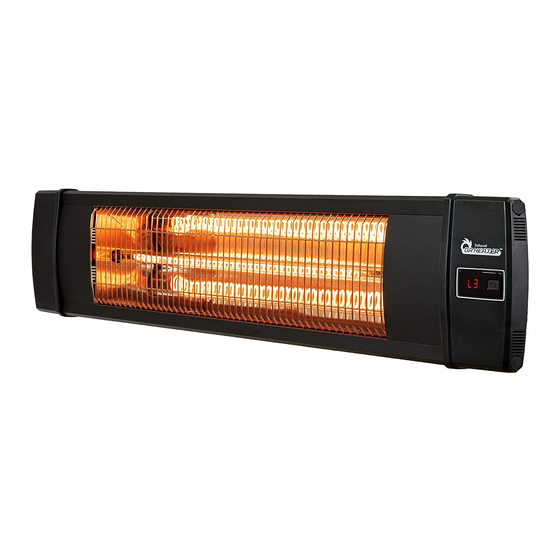
- Page 1 Carbon Infrared Heater Indoor/Outdoor Owner’s Manual Model No.: DR-238...
-
Page 2: Important Safety Instructions
Warning THESE INSTRUCTIONS SHOULD BE READ CAREFULLY AND RETAINED FOR FUTURE REFERENCE, We cannot be liable for any damages caused by failure to observe these instructions. IMPORTANT SAFETY INSTRUCTIONS READ CAREFULLY-The infrared heater is designed for safe operation. Nevertheless, installation, maintenance and operation of the heater can be dangerous. - Page 3 Please contact your local municipality for the nearest collection point. Introduction The DR-238 carbon infrared heaters produce instant and comfortable heat like the sun. These robust and weatherproof heaters are designed for domestic and commercial heating applications within outdoor areas, it is for outdoor use only.
- Page 4 INSTALLATION Tools Needed: * Pencil *Hammer *Level *Screw Driver *Power Drill and drill bits A mounting bracket is provide with the heater which has been specifically designed to allow this product to be fitted to ceiling or wall before drilling the holders for the ceiling/wall is solid and that there are no hidden water pipes or electric wires.
-
Page 5: Installation
20. Fasten the brackets securely to the mounting surface and the backside of the heater using the nuts and screws supplied. 21. Fasten the heater securely on the brackets using the nuts and bolts supplied. 22. The brackets can be used to adjust the direction of the heater, adjust the heater angle by loosening the two bolts on the wall mounting bracket, tighten the bolts again when the desired angle is reached. - Page 6 3. Drill holes with a smaller diameter drill bit than the plastic anchors 4. Insert the point end of plastic anchor into the holes, Tap the anchor with a hammer until the anchor is flush 5. Using a screwdriver attach the mounting bracket to the holes which with plastic anchor inside. P a g e...
- Page 7 6. Fasten the heater on the L shaped bracket by the black screws on the back of heater Ensure mains power is OFF before commencing installation. The supplied mains cable must not contact the top surface of the heater during operation. The mounting height and intensity should reflect the intended use of the heater.
- Page 8 P a g e...
-
Page 9: Function And Operation
FUNCTION & OPERATION OPERATING Product Key Function: 1. Turn on the power, the product is standby mode display (- -); 2. Press key function: press the button, then press the heat levels (L1-L2-L3- standby - off) Remote Control Instructions 1. POWER BUTTON: Turn the heater off. 2. -
Page 10: Troubleshooting
NOTICE: 1. Replace the old batteries with the same type batteries. Otherwise, your heater may not function well. 2. Pull out the batteries in case of long terms of disuse to prevent leakage which may impair your remote control. 3. Do not allow water or liquid to get into the remote control. Caution: When the appliance is not operated for a long period of time, cleaning or maintenance is conducted or when the location of the heater is changed, the heater should be turned to OFF and... - Page 11 CLEANING Regular and careful cleaning helps your infrared heater operate efficiently for many trouble-free years. To clean your heater, follow steps below: 1. Unplug the power cord for your safety before cleaning your appliance. 2. Make sure the heater is cool before continuing. 3.
-
Page 12: Warranty Information
Please visit: https://www.amazon.com/review/review-your-purchases# At Dr. Heater USA, we are committed to bringing top quality alternative & supplemental heating products to our customers. Note: There may be a trace of smoke or odor when the unit is first operated. Do not be alarmed. This indicates a drop of oil fell on the interior coils during the manufacturing process.
Need help?
Do you have a question about the DR-238 and is the answer not in the manual?
Questions and answers