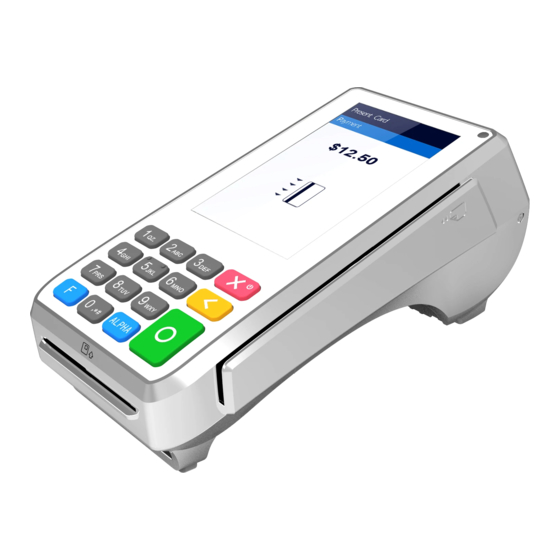
PAX A80 Quick Setup Manual
Countertop smart terminal
Hide thumbs
Also See for A80:
- Quick reference manual (11 pages) ,
- User manual & setup manual (9 pages) ,
- Quick reference manual (4 pages)
Table of Contents
Advertisement
Advertisement
Table of Contents

Related Manuals for PAX A80


Summary of Contents for PAX A80
- Page 1 PAX A80 Countertop Smart Terminal Quick Setup Guide 08132018 Ver 1.1...
- Page 2 PAX A80 Quick Setup Guide 1 PAX A80 Features The A80 Android Countertop Smart Terminal comes with state-of-the-art technology including: • Cortex A53 processor • 8 GB eMMC + 1 GB DDR3 • Supports one micro SD (TF card) up to 32GB.
- Page 3 PAX A80 Quick Setup Guide 3 A80 Front Side...
- Page 4 PAX A80 Quick Setup Guide 4 A80 Back Side...
- Page 5 PAX A80 Quick Setup Guide 5 A80 Ports 6 A80 Power On/Off Power on the terminal by pressing and holding the power button down for 3-5 seconds and then release. Power off the terminal by pressing and holding the power button down for 3 to 5...
- Page 6 PAX A80 Quick Setup Guide 7 A80 Communication Setup For the terminal to communicate with the host, other devices, or to download applications, the terminal communication method must be the first item configured. This document covers Wi-Fi configuration only.
- Page 7 PAX A80 Quick Setup Guide 8 A80 Wi-Fi Setup The A80 supports Wi-Fi for network and internet access. Available access types are DHCP, Static, and Manual Proxy. The following instructions include the set up for each of these communication types.
- Page 8 PAX A80 Quick Setup Guide Input the default Android Settings password (9876), select the green check button and then select “OK”. The Android Settings password can be changed by selecting, Settings -> Password -> Modify Password. Use the slide button on the right to enable Wi-Fi, then select the Wi-Fi option to configure it.
- Page 9 PAX A80 Quick Setup Guide To see the available Wi-Fi networks, turn on the Local Wi-Fi option. Only local Wi-Fi networks that have the SSID enabled will be visible. To view or edit the network settings select the desired Wi-Fi network.
- Page 10 PAX A80 Quick Setup Guide Wi-Fi Static Setup This section describes the Wi-Fi Static setup. To setup Wi-Fi Static, perform Steps 1 through 3 in the Wi-Fi DHCP Setup section, then perform the following: On the top half of the screen, select the desired Wi-Fi network and input the Wi-Fi case sensitive password.
- Page 11 PAX A80 Quick Setup Guide In the IP address field, input the static IP address. From the Bottom half of the screen, scroll the page up. In the Gateway field, input the gateway address. In the Network prefix length field, input the network length.
- Page 12 PAX A80 Quick Setup Guide Wi-Fi Manual Static Setup This section describes the Manual Static Setup. If the SSID is disabled on the access point, the terminal will not display the SSID as an available Wi-Fi network listing so it will be necessary to manually configure the terminal for a Static connection type.
- Page 13 PAX A80 Quick Setup Guide On the upper half of the screen, the Add Network pop up screen displays. Input the case sensitive Wi-Fi network SSID. Select the appropriate network security type from the Security drop-down menu. Input the case sensitive Wi-Fi network password.
- Page 14 PAX A80 Quick Setup Guide Access the bottom half of screen by scrolling the screen towards the top. Select the Static option from the IP settings drop-down menu. In the IP address field, input the IP address. In the Gateway field, input the gateway address.
- Page 15 PAX A80 Quick Setup Guide Wi-Fi Proxy Setup This section describes the Wi-Fi Proxy Setup. Perform Steps 1 through 3 in the Wi-Fi DHCP Setup section, then perform the following: To manually configure the network, in the upper right-hand corner of the screen select the three dots ( ) icon.
- Page 16 PAX A80 Quick Setup Guide Select the Proxy drop down menu and select the Manual option. Scroll the screen up or down as needed to access the options. In the Proxy Hostname field, input the proxy host name. In the Proxy port field, input the proxy port number.
- Page 17 In the DNS 2 field, input the DNS 2 IP address. To save settings select “CONNECT”. The terminal should now be connected to the internet. If you have issues or questions, consult your network provider, your IT manager, or contact PAX customer support.
- Page 18 This document is provided to you for informational purposes only. All features and specifications are subject to change without notice. PAX are either trademarks or registered trademarks of PAX Technology Limited in China and/or other countries. All other trademarks or brand names are the properties of their respective holders.
Need help?
Do you have a question about the A80 and is the answer not in the manual?
Questions and answers