Table of Contents
Advertisement
Quick Links
ASSEMBLY INSTRUCTIONS
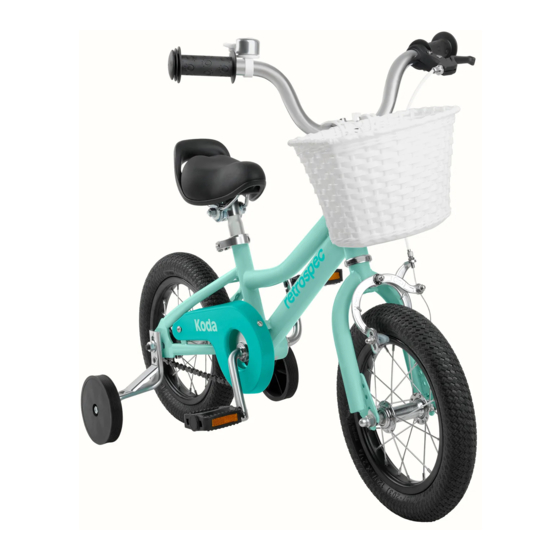
KODA 12 & KODA 16
TOOLS
What we give you: 3 Hex Wrenches (4mm, 5mm, & 6mm), a 10-function multi-tool.
What you need: Scissors, Phillips Screwdriver.
STEP 1: UNPACKING YOUR BIKE
1 -
Cut the shipping straps on the outside of the box.
2 -
Remove the box staples as these are sharp and can cut you as you access the bike. Lift bike out by frame and rear wheel.
3 -
Rotate the fork so that it is facing forward of the bike (Fig.1). Place the bike on the ground, so it's standing upright on the fork dropouts and rear tire.
4 -
Cut all of the packing zip ties.
5 -
Separate the front wheel from the bike by carefully slipping it away from the crank arm, which is resting within the spokes.
6 -
Remove the accessory box and set it aside.
7 -
Examine your new bike for any visible damage that may have occurred during shipping.
Special Note: For tightening all fasteners, please refer to Appendix D in the back of your owner's manual for all fastener torque specifications.
STEP 2: SADDLE/SEATPOST
1 -
The seat post will come attached to the saddle from the factory. Pull the quick release lever attached to the top of the frame seat
tube outwards. Insert the seat post/saddle assembly into the seat tube of the frame to at least the minimum insertion line of the
seat post (Fig.2). Adjust the seat to your desired height.
2 -
Once you have adjusted the seat post to your desired height, lock it in place by closing the quick release lever against the clamp
(Fig.3).
The lever should require some force to close. If it closes too easily and does not hold the seat post in place, or if the e ort to close
the clamp is too great, adjust the clamping force by loosening or tightening the adjusting nut on the side opposite the lever.
WARNING!
Never adjust the seat height so that the minimum insertion line at the lower end of the seat post is showing outside of the frame
(Fig.4).
STEP 3: HANDLEBAR
1 -
The stem is secured into fork steer tube from the factory.
2 -
Using a hex wrench, remove the 4 bolts/washers of the handlebar clamp on the underside of the stem (Fig.5).
3 -
Untwist the handlebar and brake cable and face the handlebar forward (reflector facing forward).
4 -
Make sure that the fork is facing forward
5 -
Place the handlebar in the stem and the stem top clamp over the handlebar. Center the handlebar in the stem. Install the 4 stem
bolts. Tighten each bolt a little at a time to ensure even pressure on all four corners using a cross pattern (Fig.6).
.
(Fig.1)
WA R N I N G
Using the bike with the minimum insertion line on the lower
portion of the seat post showing above the frame could result
in a failure of the seat post and/or the frame causing a loss of
control with potential i is improper use of the product.
2
3
Open
5
6
stem centerbolt
(adjusts direction)
Handlebar
Clamp
stem
loosen
1
Front
FRONT
4
Close/
Tighten
7
tighten
securely
Advertisement
Table of Contents

Related Manuals for Retrospec KODA 12


Summary of Contents for Retrospec KODA 12
- Page 1 ASSEMBLY INSTRUCTIONS control with potential i is improper use of the product. KODA 12 & KODA 16 TOOLS What we give you: 3 Hex Wrenches (4mm, 5mm, & 6mm), a 10-function multi-tool.
- Page 2 HANDLEBAR CENTER DIRECTION The stem will come installed at correct height into the fork tube and should be aligned to the center forward direction from the factory. If adjustment is needed, use the following steps: • Make sure the front fork is facing forward (Fig.1). You may have to loosen the stem bolt a few turns using the 6mm wrench.
- Page 3 STEP 5: PEDALS Right Pedal Locate the pedal stamped “R” on the end of the spindle (this is the RIGHT pedal) (Fig. 12). RECOMMENDED; Apply a thin layer of grease to the pedal threads prior to installation. Carefully insert the Right pedal into the Right side crank arm (the side with the chain) and thread it Clockwise (Fig. 13). You should be able to thread the pedal in part of the way by hand with minor resistance.
- Page 4 STEP 6: BRAKES Coaster Brake - Rear Koda 12 & Koda 16 are equipped with a foot operated rear coaster brake. No adjustment is required. Simply stem center bolt front cable anchor (adj. handlebar reflector push/pedal backwards on the pedals to activate the brake.
- Page 5 STEP 9: FRONT BASKET (GIRLS MODELS) top mounting top mounting Lower bracket bracket The Top Mounting Bracket is factory installed. You will install the Lower Mounting mounting bracket Bracket and mount the basket to the brackets. (Fig. 21). Installing the Lower Bracket: loosen the front brake Center Bolt Nut several turns – loosen do not remove - lower mounting slide down enough to slide in the Lower Mounting Bracket (Fig.
Need help?
Do you have a question about the KODA 12 and is the answer not in the manual?
Questions and answers