
Related Manuals for Sumec 5554-511

Summary of Contents for Sumec 5554-511
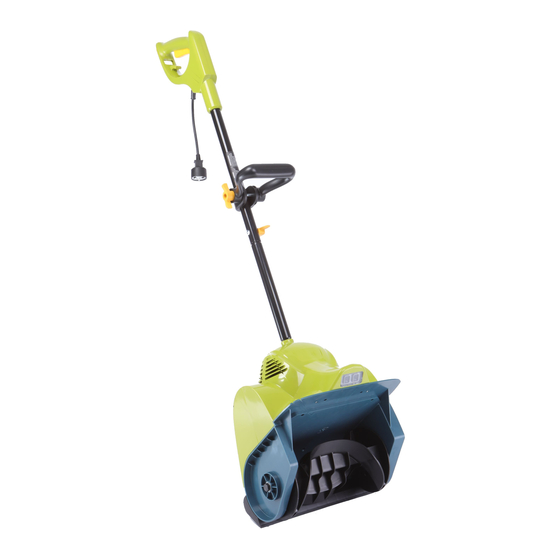
- Page 1 After-sales Service Guide 12" snow shovel SAN: 0533200803ZG Customer Model: 5554-511...
-
Page 2: Table Of Contents
CONTENTS Specification Main parts Location BOM& Spare Parts List Operating Instructions Maintenance and Storage FAQS... -
Page 3: Specification
Specification Main parts Location... -
Page 4: Bom& Spare Parts List
CARTON CONTENTS • Electric snow shovel • Joint -fixing knob and bolt • Adjustable handle and knob • Manual BOM& Spare Parts List See Appendix 1. Operating Instructions ASSEMBLY CONNECTING THE UPPER AND LOWER TUBES 1. Fit the upper and lower tubes together and tighten the joint-fixing knob (Fig.1). - Page 5 Use this appliance only with a polarized UL-, CSA- or ETL- listed extension cord recommended for outdoor, all-weather use. The appliance plug will fit into a polarized extension cord only one way. If the appliance plug does not fit fully into the extension cord, reverse the plug. If the plug still does not fit, obtain a correct polarized extension cord.
- Page 6 NOTE: Securing the extension cord in this way helps to prevent you from acciden-tally disconnecting the extension cord from the snow shovel during operation. Plug the extension cord into a wall outlet. Keep the area to be cleared free of stones, toys or other foreign objects that the rotating paddles might pick up and throw.
- Page 7 This electric snow shovel cuts a path 12" /30.5 cm wide and up to 6"/15.24 cm deep in one pass. When clearing deeper drifts, hold the electric snow shovel by the upper and lower handles and use a swinging or sweeping motion. Remove up to 6" /15.24 cm of snow with each pass and repeat as many times as needed.
- Page 8 Remove the old paddle from the housing (Fig. 12). To install the new paddle, place the washer (A) back onto the bolt (removed in...
- Page 9 step 1) and insert the bolt so that it protrudes slightly into the housing of the unit. Thread the nut and then the other washer (B) onto the bolt. Fit the new paddles onto the end of bolt and tighten the bolt (Fig. 13). Reinstall the big pulley plate and align it with the other end of the paddles.
-
Page 10: Maintenance And Storage
LUBRICATING THE ELECTRIC SNOW SHOVEL This electric snow shovel does NOT need lubrication. All bearings are lubricated at the factory for the life of the product. Maintenance and Storage • Check all fasteners at frequent intervals for proper tightness to ensure that the equipment is in safe working condition. -
Page 11: Faqs
FAQS Disconnect the machine from the power source before making any repairs.
Need help?
Do you have a question about the 5554-511 and is the answer not in the manual?
Questions and answers