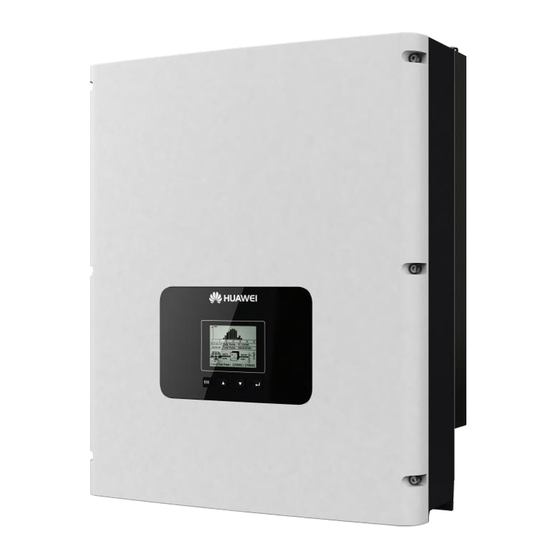
Huawei SUN2000 Quick Manual
Hide thumbs
Also See for SUN2000:
- User manual (170 pages) ,
- Quick manual (24 pages) ,
- Quick installation manual (12 pages)
Summary of Contents for Huawei SUN2000
- Page 1 SUN2000-(50KTL, 50KTL-C1) Quick Guide Issue: 08 Part Number: 31509128 Date: 2019-07-03 HUAWEI TECHNOLOGIES CO., LTD.
- Page 2 5. Use insulated tools when installing the device. For personal safety, wear insulation gloves and protective shoes. 6. Huawei shall not be liable for any consequence caused by violation of the storage, transportation, installation, and operation regulations specified in this document and the user manual.
-
Page 3: Installation Requirements
Vertical Backward Upside down Forward Horizontal Installation Space For ease of installing the SUN2000 on the mounting bracket, connecting cables to the bottom of the SUN2000, and maintaining the SUN2000 in future, it is recommended that the bottom clearance be greater than or equal to 600 mm and less than or equal to 730 mm. -
Page 4: Installing The Sun2000
Two round holes are preferred. • The SUN2000 is delivered with M12x40 screw assemblies. If the screw length does not meet the installation requirements, prepare M12 screw assemblies by yourself and use them together with the delivered M12 nuts. -
Page 5: Electrical Connections
Before connecting cables, ensure that all required OT terminals and cables are prepared. Copper- core cables with copper wiring terminals are recommended. For the requirements on the cables and terminals made of other materials, see the SUN2000-(50KTL, 50KTL-C1) User Manual. No. Name... - Page 6 Installing Ground Cables (Using the Ground Point on the Chassis Shell) • The ground point on the enclosure is preferred to connect to the PE cable for the SUN2000. • The ground point in the maintenance compartment is mainly used for connecting to the ground cable included in the multi-core AC power cable.
- Page 7 1. Remove the two security torx screws from the 2. Open the maintenance compartment door maintenance compartment door using a security and adjust the support bar. (The support bar torx wrench. (Set the two screws aside. Use the is bound to the chassis base.) idle ground screw on the chassis shell as the standby screw, and the idle floating nut on the chassis as the standby floating nut.)
- Page 8 Ensure that the AC output power cable is connected securely. Otherwise, the SUN2000 may fail to operate or experience a fault that will damage the terminal block. For example, the SUN2000 may generate heat during operation due to unreliable connection.
-
Page 9: Installing Dc Input Power Cables
Before inserting the positive and negative connectors respectively into the positive and negative DC input terminals of the SUN2000, check that the DC voltage does not exceed 1100 V DC using a multimeter and that the cables are connected correctly. Otherwise, the SUN2000 will be damaged. - Page 10 Installing a DC input power cable (using metal cold forming contacts) Positive metal contact Positive connector UTXTC0005 (Amphenol) Negative metal contact Negative Ensure that the cable Recommended: PV cable connector Click cannot be removed after (PV1-F) with a cross- crimped. sectional area of 4 mm Ensure that cables are connected...
-
Page 11: Selecting A Communication Mode
1. Remove an appropriate length of the jacket and core wire insulation layer from the communications cable using a wire stripper. 2. Remove the locking caps from the COM1 and COM2 connectors at the SUN2000 bottom and then remove the plugs from the caps. - Page 12 6. Bind the communications cables. 5. Install the terminal base on the terminal block, and connect the shield layer to the ground point. When connecting the shielded cables, choose whether to crimp the OT terminal based on site requirements. 7. Use a torque wrench with an open end of 33 mm to tighten the locking cap to a torque of 7.5 N· m, and seal the waterproof connector.
-
Page 13: Powering On The System
Powering On the System Before turning on the AC switch between the SUN2000 and the power grid, use a multimeter to check that the AC voltage is within the operating voltage range of the SUN2000. 1. Turn on the AC switch between the SUN2000 and the power grid. - Page 14 SUN2000 App 1. The SUN2000 app is a mobile phone app that communicates with the SUN2000 monitoring system over a USB data cable, a Bluetooth module, or a WLAN module. As a convenient local monitoring and maintenance platform, it supports alarm query, parameter settings, and routine maintenance.
-
Page 15: Common Faults And Troubleshooting
PV string current reduces to below 0.5 A. Then, turn off the two DC switches, remove the positive and negative during the SUN2000 installation. connectors, and correct the polarity of the DC input power cable. Appendix 1: Grid Codes (SUN2000-50KTL) No. Grid Code Description No. Grid Code Description IEC61727 medium-... - Page 16 Huawei Technologies Co., Ltd. Huawei Industrial Base, Bantian, Longgang Shenzhen 518129 People's Republic of China www.huawei.com...


