
Related Manuals for Yamaha CRW4416S


Summary of Contents for Yamaha CRW4416S
- Page 1 CRW4416S SERIES User Guide Guide de l’utilisateur Bedienungsanleitung READ/ DISC WRITE...
- Page 2 If these corrective measures do not produce satisfactory results, please contact the local retailer authorized to distribute this type of product. If you can not locate the appropriate retailer, please contact Yamaha Systems Technology, Inc. 100 Century Center Court, San Jose, CA95112, U.S.A.
- Page 3 Laser Diode Properties Material : GaAlAs Wavelength : 783-789 nm Emission Duration : Continuous Laser Output Power : Less than 44.6 W* his output is value measured at a distance 200mm from the objective lens surface on the optical pick-up block. ANSI Class : Class 1 CLASS 1 LASER PRODUCT LASER KLASSE 1 PRODUKT...
- Page 4 • The temperature where CRW4416S is located should be between 5ºC and 40ºC (41ºF – 104ºF), when used in a fan-cooled system. • Do not disassemble the CRW4416S cover to reduce the risk of electric shock. • Always remove the disc before transporting CRW4416S.
-
Page 5: Important Precautions
• The CRW4416S contains no user serviceable parts. Refer all servicing to qualified personnel. • If any of the following should occur, the CRW4416S should be serviced by qualified personnel: Metal objects or liquids get inside the CRW4416S. -
Page 6: Table Of Contents
Chapter 1 - System Configuration ...3 Computer ...3 Software ...3 Tools ...4 Discs ...4 Chapter 2 - Installing the Yamaha CRW4416S Drive ... 5 CRW4416S drive settings ...5 Installing the CRW4416S drive ...8 Chapter 3 - Operation ...13 Front Panel ...13 Loading a Disc ...14... -
Page 7: Introduction
CRW4416S Features 4xS Recording (Rewritable) - 4xS Recording (Recordable) - 16xS Reading The CRW4416S is able to write (overwrite) CD-RW discs at quad speed, double speed, and is able to write CD-R discs at quad speed, double speed, or normal speed. -
Page 8: Orange Book Compatible Recording
New sessions can be written later. Packet Writing This is useful for data back-up. Smaller units of data can be added to tracks. To use this mode, your software must support Packet Writing. The CRW4416S supports both sequential and random packet writing. -
Page 9: Chapter 1 - System Configuration
Chapter 1 - System Configuration Before using the CRW4416S, make sure that you have all of the items on the list of included items. In order to use the CRW4416S, you will require the following. Computer The following operating environment is required: •... -
Page 10: Tools
Tools Phillips screwdriver This is used to remove the cover of your computer, and to install the Yamaha CRW4416S drive. Long nose pliers These are used to insert or remove the jumper pin when setting the SCSI ID and parity settings etc.of the Yamaha CRW4416S drive. -
Page 11: Chapter 2 - Installing The Yamaha Crw4416S Drive
Usually, “7” is reserved for the SCSI card ID number, and “0” is reserved for the first SCSI device in the chain. Use a number between 1 and 6 for the CRW4416S. Refer to the diagram below for more information on setting the SCSI ID number. The factory set ID number is “3”. - Page 12 SCSI device, the Plug and Play component of Windows 95 or Windows 98 will automatically assign an unused number to the CRW4416S (SCAM protocol level 1).
- Page 13 The terminator setting indicates whether or not this device is the last connected SCSI device. Terminator ON (with a jumper) — Use this setting if the CRW4416S is the last device in the internal SCSI daisy-chain. Terminator OFF (without a jumper) —...
-
Page 14: Installing The Crw4416S Drive
1. Switch off your computer, and unplug it from the AC outlet. If you fail to do this, there is a danger of electric shock and/or of causing short circuits, which may damage the computer and/or CRW4416S drive. O F F PUSH 2. - Page 15 For details refer to the manual of your SCSI card. 6. Slide the CRW4416S drive into the drive bay from the front. At this time, be careful not to apply excessive force to the drive itself. Finger-tighten the four fastening screws, and check that there is enough room to connect the power supply cable, SCSI cable, and AUDIO cables.
- Page 16 7. Connect the SCSI flat cable. Connect the 50-pin SCSI flat cable to the SCSI card and to the SCSI interface located on the rear panel of the CRW4416S drive. Position the connector so that the colored line is at pin 1 (your lower right).
- Page 17 9. Connect the power supply cable. Connect the +12V and +5V 4-pin power cable to the power supply interface located on the rear panel of the CRW4416S drive. The shape of the connector makes it impossible to reverse the connec- tions.
- Page 18 12. Connect the power cable to an AC outlet, and switch on your computer. Make sure that the LED located on the panel of the CRW4416S drive is lit. 13. Start up your operating system, and verify that the CRW4416S is recognized by the operating system.
-
Page 19: Chapter 3 - Operation
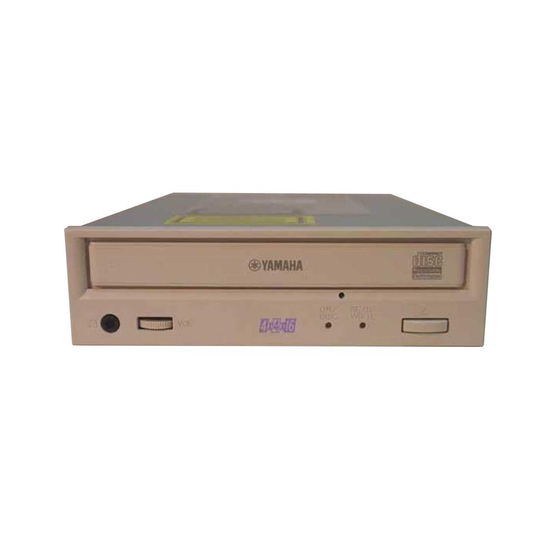
This control adjusts the volume level of the headphone output. Rotating the control clockwise will increase the volume level. 4 ON/DISC LED This indicator lights up in orange when the CRW4416S is powered on, and lights up in green when the CRW4416S contains a disc. 5 READ/WRITE LED This indicator lights up in green when data is being read, and flashes... -
Page 20: Loading A Disc
Chapter 3 - Operation 6 Eject button This button is used to open or close the tray. 7 Manual Eject hole This is used to manually eject a disc that cannot be ejected in the nor- mal way. It is for emergency use only. Loading a Disc 1. -
Page 21: Ejecting The Disc
Press the eject button to eject the disc. Note: You cannot eject the disc if the SCSI command prohibits the eject oper- ation while the CRW4416S is reading data. Caution: Be sure to remove the disc after it is completely ejected. (Trying to remove the disc before it is completely ejected may cause the drive to malfunction.) -
Page 22: Manual Eject (Emergency Use)
1. Insert the pin-like tool into the manual eject hole and push gently. The spring-loaded mechanism ejects the disc. 2. After manually ejecting a disc, you must turn off the power supplied to the CRW4416S, then turn it on before continuing. R E A W R IT O N /... -
Page 23: Troubleshooting
Troubleshooting If CRW4416S is not performing as expected, look up the symptoms in the following table, and take the appropriate corrective action. Symptoms The power to the CRW4416S is off The CRW4416S is not recognized by the computer The disc tray will not open... -
Page 24: Appendix
Appendix Appendix Specifications Interface SCSI 2 Data Capacity 650MB (74 minutes disc) 550MB (63 minutes disc) Record/Read Speed Writing (CD-RW): Writing (CD-R): 1X speed (real-time), 2X speed, 4X speed playback: 9 - 16X speed [Max] (partial CAV) Note) Read CD-DA: 10X speed [Max] Data Transfer Rate 150 - 2400KB/sec Burst Transfer Rate... -
Page 25: Front Panel Indicator Key
Specifications are subject to change without prior notice. Front Panel Indicator Key on: green on: orange Status Reset Ready (no disc) Inserting disc Ejecting disc Ready (disc inserted) Seeking Preparing to write Writing Writing (test mode) Playback flashing: green — off flashing: orange ON/DISC READ/WRITE... - Page 26 French: Pour plus de détails sur les produits, veuillez vous adresser à Yamaha ou au distributeur le plus proche figurant dans la liste suivante : German: Bei weiteren Fragen wenden Sie sich Sitte an Ihren Händler oder eine der folgenden Firmen.