Table of Contents
Advertisement
s
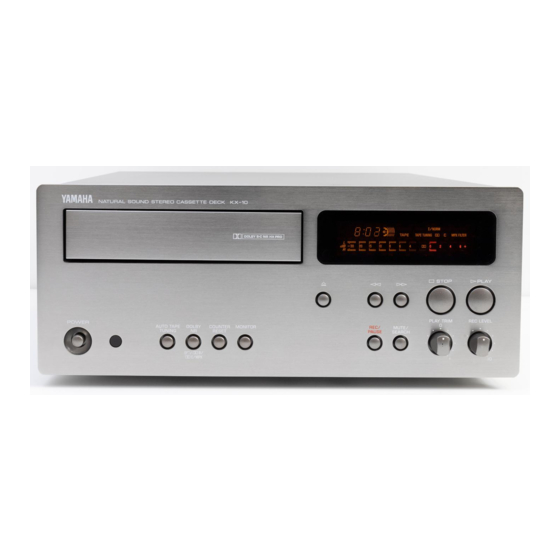
KX-10
Natural Sound Stereo Cassette Deck
Platine à cassette stéréo de la série "Natural Sound"
"Natural Sound" Stereo-Kassettengerät
Natural Sound stereokassettdäck
Registratore a cassette stereo a suono naturale
Magnetófono estéreo de sonido natural
Stereo-cassettedeck voor een "natuurlijk geluid"
OWNER'S MANUAL
MODE D'EMPLOI
BEDIENUNGSANLEITUNG
BRUKSANVISNING
MANUALE DI ISTRUZIONI
MANUAL DE INSTRUCCIONES
GEBRUIKSAANWIJZING
1
Advertisement
Table of Contents

Related Manuals for Yamaha KX-10


Summary of Contents for Yamaha KX-10
- Page 1 KX-10 Natural Sound Stereo Cassette Deck Platine à cassette stéréo de la série “Natural Sound” “Natural Sound” Stereo-Kassettengerät Natural Sound stereokassettdäck Registratore a cassette stereo a suono naturale Magnetófono estéreo de sonido natural Stereo-cassettedeck voor een “natuurlijk geluid” OWNER’S MANUAL MODE D’EMPLOI...
- Page 2 Thank you for purchasing the YAMAHA KX-10 stereo cassette deck. CAUTION: READ THIS BEFORE OPERATING YOUR UNIT. This unit is a sophisticated stereo cassette deck. To ensure proper operation for the best possible performance, please read this manual carefully. Choose the installation location of your unit carefully.
-
Page 3: Table Of Contents
FEATURES ... 3 CONNECTIONS ... 4 PLAYBACK ... 5 SELECTION SEARCH ... 7 RECORDING ... 8 VARIOUS FUNCTIONS HELPFUL FOR HIGH QUALITY RECORDING ... 10 REC MUTE OPERATION ... 11 REC RETURN OPERATION ... 11 0-RETURN OPERATION ... 11 ¶ 3-Head Configuration ¶... -
Page 4: Connections
LINE IN LINE OUT REAR PANEL CONNECTIONS Make sure that power to both the deck and your amplifier/ receiver are turned off before making any connection. ¶ The White plug on the paired connecting cables corresponds to the Left channel and the Red plug corresponds to the Right channel. -
Page 5: Playback
Preparation for playback ¶ Press the STANDBY/ON switch to turn on the power. ¶ Set your amplifier to cassette deck function mode. STANDBY/ON switch Place the cassette on the cassette tray with the exposed tape side facing back side of the unit and the side to be played facing up. -
Page 6: Display During Playback
Display during playback Linear time tape counter –30 Linear time tape counter Use the linear time tape counter as an aid in locating a point on a tape (–99 min. 59 sec. to 99 min. 59 sec.). To set the counter reading to "0:00", press the COUNTER RESET button. -
Page 7: Selection Search
SELECTION SEARCH — To play back a desired selection by searching for the beginning of the selection To search for the next selection MUTE/ SEARCH ⁄ The ⁄ button and the MUTE/SEARCH button should be pressed simultaneously. To search for the beginning of the current selection MUTE/ SEARCH The ! button and the MUTE/SEARCH... -
Page 8: Recording
Preparation for recording ¶ Press the STANDBY/ON switch to turn on the power. ¶ Set your amplifier to cassette deck function mode. STANDBY/ON switch REC/ PAUSE DOLBY NR button setting (in step 2) Dolby noise reduction is an extremely effective method of reducing undesirable background hiss on tapes. - Page 9 Display during recording Tape remain indicator –30 Linear time tape counter Setting the recording level (in step 3) Play the loudest passage of the source to be recorded and watch the meter readings. When using Normal position tapes (type I/NORM) or High position tapes (type II/HIGH (CrO )), adjust the REC LEVEL control so that the highest peak is +4 dB.
-
Page 10: Various Functions Helpful For High Quality Recording
“DOLBY”, the double-D symbol Dolby Laboratories Licensing Corporation. Synchronized recording function When operating this unit in combinaton with the YAMAHA CD Player which has SYNCHRO button on its remote control transmitter, CD Synchronized recording function can be utilized. This function is operated with the remote control transmitter of the CD Player. -
Page 11: Rec Mute Operation
REC MUTE OPERATION — Inserting a blank space during recording During recording MUTE/ SEARCH A 4-second blank interval is automatically recorded on the tape, and then the deck enters rec pause mode. If a blank interval longer than 4 seconds is desired, keep pressing for as long as you want. -
Page 12: Cassette Tapes
>), Ferrichrome (Type III/FeCr), and Metal (Type IV/ METAL), and they each require specific tape deck adjustments for optimum performance. * YAMAHA does not recommend the use of 120-minute length cassettes since the extreme thinness of the tape makes them susceptible to mechanical and recording problems. -
Page 13: Maintenance
CLEANING OF THE TAPE PATH Continued high quality performance of your deck is dependent upon periodic cleaning of the heads, capstan, pinch roller, and all surfaces over which the tape travels. Normal use will cause an accumulation of dirt and dust on the heads, capstans, and pinch rollers. -
Page 14: Troubleshooting
If your cassette deck fails to operate normally, check the following table. It lists common operating errors and simple measures which you can take to correct the problem. If it cannot be corrected, or the symptom is not listed, disconnect the deck’s power cord and contact your authorized YAMAHA dealer or service center for help. Fault Tape doesn’t move in recording or... -
Page 15: Specifications
Fault Playback sound is muffled and high frequencies are inaudible. When playing back tapes recorded on other decks, meter deflections are greater (smaller) than when recording. Track Configuration ... 4 track, 2 channel stereo Motor ... DC servo motor (capstan) Head ... - Page 16 YAMAHA ELECTRONIK EUROPA G.m.b.H. SIEMENSSTR. 22-34, D-2084 RELLINGEN BEI HAMBURG, F.R. OF GERMANY YAMAHA ELECTRONIQUE FRANCE S.A. 17 RUE DES CAMPANULES, LOGNES 77321 MARNE LA VALLEE CEDEX 2 FRANCE YAMAHA ELECTRONICS (UK) LTD. YAMAHA HOUSE, 200 RICKMANSWORTH ROAD WATFORD, HERTS WD1 7JS, ENGLAND YAMAHA SCANDINAVIA A.B.