Table of Contents
Advertisement
Instructions & installation manual
HAVERLAND
APP
Voice Control
NOT SUPPLIED
SMARTBOX
ECORADi_V1_28052019_MISA_ESUKFP2019
works with the
IF YOU HAVE ANY DIFFICULTY WITH
THIS PRODUCT, INSTEAD OF TAKING
IT BACK TO THE RETAILER, TRY:
1. The instruction booklet
2. Refer to haverland@haverland.co.uk
3. Or call our helpline:
0330 365 1940
UK:
ECORADi
Google is a trademark of Google LLC.
Advertisement
Table of Contents

Related Manuals for Haverland ECORADi Series


Summary of Contents for Haverland ECORADi Series
- Page 1 IF YOU HAVE ANY DIFFICULTY WITH THIS PRODUCT, INSTEAD OF TAKING IT BACK TO THE RETAILER, TRY: 1. The instruction booklet 2. Refer to haverland@haverland.co.uk 3. Or call our helpline: NOT SUPPLIED 0330 365 1940 SMARTBOX ECORADi_V1_28052019_MISA_ESUKFP2019...
- Page 3 INDEX PAGE 1. CAUTION 2. INSTRUCTIONS FOR INSTALLATION 3. OPERATION 3.1 CONTROL PANEL 3.2 YOUR RADIATOR IS CONFIGURED! 3.3 FACTORY-SET PARAMETERS 3.4 OPERATING MODES 3.4.1 LEARNING MODE (factory activated) 3.4.2 SENSOR MODE 3.4.3 MANUAL MODE 3.5 ADJUSTING THE TEMPERATURE 3.6 COMFORT, ANTI-FROST AND ECONOMY TEMPERATURES 3.7 “OPEN WINDOW”...
- Page 4 1. CAUTION • Please read these instructions carefully. • To disconnect mains power from the radiator remove the plug from the wall socket, but never pull on the cable. • Do not leave the mains cable in contact with the radiator when it is switched on.
- Page 5 1. CAUTION • The radiator has a keyboard blockage option to prevent children from changing the programming. • This unit is not designed to be handled by persons (including children) with physical, sensorial or mental handicaps, with little experience or knowledge unless they are under the supervision of an adult responsible for their safety with the instructions on its use.
-
Page 6: Instructions For Installation
2. INSTRUCTIONS FOR INSTALLATION • Before the first switch on for the coming winter or when the heater has not been used for several days, the unit should be cleaned (follow the steps given in the “maintenance section”.This cleaning operation will avoid burning the accumulated dust and other remains. - Page 7 2. INSTRUCTIONS FOR INSTALLATION IMPORTANT • Take into account the radiator location so that it can detect presence over the largest possible area of the room. • The presence sensor will not detect any movement if the distance to the heater exceeds five metres.
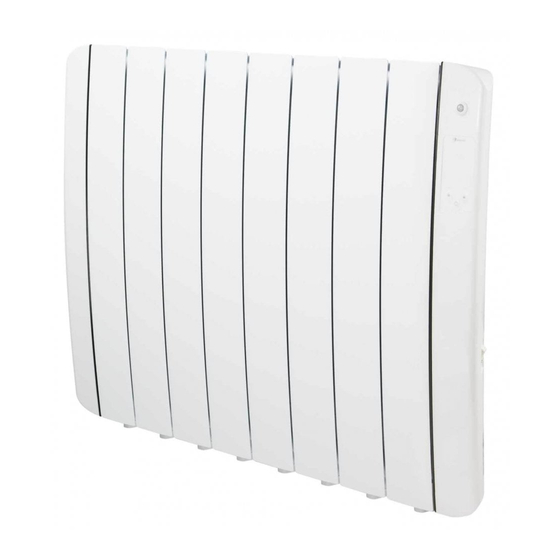
- Page 8 2. INSTRUCTIONS FOR INSTALLATION Slide the IMPORTANT: radiator up, Screw down Place over top FULLY to lock tang and lower the radiator gently into position Plug in Press ON / 3 pin 13 amp OFF switch plug located at the right rear part of the unit.
-
Page 9: Operation
3. OPERATION 3.1 CONTROL PANEL 1. Panel control 2. Temperature indicator • Red = Comfort • Blue = Anti-frost • Green = Economy 3. Operating mode indicator: • Flashing = “Learning” mode • Fixed = Sensor mode • Off = Manual mode or “Forced” programming mode (via Smartbox App (available separately). - Page 10 3. OPERATION Detection No Detection Your radiator is now ready to learn your life style habits and to provide No Detection heat WITHOUT ANY NEED TO PROGRAMME ANYTHING. According to your presence, it will learn a template for each day of the week, week by week.
-
Page 11: Factory-Set Parameters
3. OPERATION 3.3 FACTORY-SET PARAMETERS Clock and current day are factory set. Comfort temperature = 20 ºC. Economy temperature = 16 ºC Activated operating mode = “Learning” mode. 3.4 OPERATING MODES Your radiator incorporates four operating modes. The “learning” mode is activated at the factory. To change the operating mode: Simultaneously press every time you want to change the operating mode. - Page 12 3. OPERATION 3.4.1 LEARNING MODE (factory activated): During seven days and CONTINUALLY, week by week, your radiator will be learning your lifestyle. The radiator has 2 working profiles: * Economic Profile “PE” (Default factory settings) This profile prioritizes the energy savings. Comfort mode.
-
Page 13: Sensor Mode
3. OPERATION 3.4.2 SENSOR MODE Comfort mode. If there is detection: > 30 minutes = Economy mode. If there is no detection: The radiator does NOT store any information on the memory. 3.4.3 MANUAL MODE In this mode, you decide when you want Comfort temperature, Economy temperature or Anti- frost temperature. - Page 14 3. OPERATION 3.6 COMFORT, ANTI- FROST AND ECONOMY TEMPERATURES The radiator has three pre-adjusted temperatures. The operating temperature is shown in colours light indicator 2: Light indicator 2 • Red light = Comfort • Blue light = Anti-frost • Green light = Economy ogramming eparately).
-
Page 15: "Open Window" Function
3. OPERATION • The comfort temperature range is from 18 to 28 ºC. • The maximum economy temperature is 18 ºC. • The economy temperature can NEVER be higher than the comfort temperature. • The economy temperature is always 4 ºC less than the assigned comfort temperature. -
Page 16: "Keypad Lock" Function
3. OPERATION 3.8 “KEYPAD LOCK” FUNCTION The keypad may be blocked and unblocked by simultaneously pressing the buttons. The display and the control panel lights will turn off. A dot will be displayed on the right bottom part of the display. If two dots are displayed it means the key- board is locked and the unit is on standby mode. -
Page 17: Adjusting Day And Time
3. OPERATION 3.10 ADJUSTING DAY AND TIME Your radiator is supplied with the clock and day of the week already factory set. You will need to adjust the clock to change to the Summer/Winter schedule (this is an automatic setting if you have the Smartbox (not included)). Press the buttons. -
Page 18: Other Indications
3. OPERATION Then, the value indicating the minutes will flash: Adjust the minutes using Wait. Straight away, the working profile will appear and show the learning mode “PE”, “Economy Profile”. On the “Economy” PE, the energy savings is prioritized, while on the Comfort Profile “PC” it prioritizes your comfort. -
Page 19: Voice Control
3.10) (this is an automatic setting if you have the Smartbox (not included)). 4.1 SMARTBOX (OPTIONAL) Thanks to the “smartbox” and our Haverland APP, you will have control of all functions of your radiators through your smartphone, tablet or PC/Mac. - Page 20 To control all functions of your radiators, through your smartphone or tablet and via our free Haverland app, you will need a Haverland Smartbox (not supplied with the device). Our Haverland Smartbox connects your radiators to the Internet using the property’s router.
-
Page 21: Maintenance
5. MAINTENANCE If you are an installer, you do need download app to install your customer’s equipment. activate Smartbox in “discovery” mode, press the button on the back of the Smartbox for 3 seconds (see image). 3 seconds 5. MAINTENANCE Your radiator does not need any kind of special maintenance. - Page 22 24 months as from the purchase date shown on the invoice. HAVERLAND guarantees against material, design or manufacturing faults at the moment of its original acquisition for 2 years. The electronic component and paintwork / finish for 3 years and 10 years for radiator block seal (exclude accidental damage, transport, and misuse).
- Page 24 Models ECORAD500i ECORAD750i ECORAD1000i ECORAD1250i ECORAD1500i ECORAD1800i Heat output Nominal heat 0.75 1.25 output (kW) Maximum con- tinuous heat 0.75 1.25 output (kW) Auxiliary electricity consumption At nominal heat 0.75 1.25 output (kW) At minimum heat 0.75 1.25 output (kW) In standby mode <...
Need help?
Do you have a question about the ECORADi Series and is the answer not in the manual?
Questions and answers