Table of Contents
Advertisement
Quick Links
Advertisement
Table of Contents

Related Manuals for Body Sculpture BE-6115


Summary of Contents for Body Sculpture BE-6115
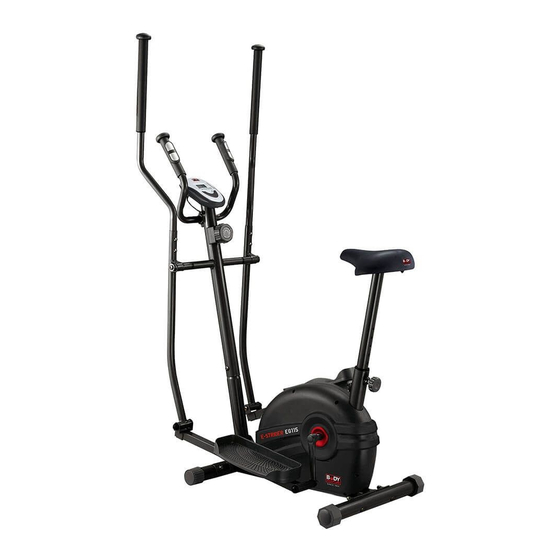
- Page 1 BE-6115 2 IN 1 MAGNETIC ELLIPTICAL & BIKE...
- Page 3 ………………… Important Safet y Information Exploded-View Assembly Drawing ………………..…………….…… 3 Parts List Assembly Instruction …..……………………………… 5 Exercise Instructions …………………………………… 8 ……….………………………… Exercise Computer ……….…………………………… 11 Exercise Notes...
- Page 4 Please keep this manual in a safe place for easy reference. It is important to read this entire manual before assembling and using the equipment. Safe and effective use can only be achieved if the equipment is assembled, maintained and used properly.
-
Page 6: Parts List
PARTS LIST PART DESCRIPTION QTY PART DESCRIPTION Main Frame Carriage Bolt (M8 x 40) Rear Stabilizer Connecting Shaft Rear End Cap Bolt (M8 x15) Front Stabilizer Lower Wire Front End Cap Upper Wire Domed Nut (M8) Lower Cable Curved Washer (Ø8) Upper Cable Carriage Bolt (M8 x 60) Front post... - Page 7 Attach the Rear and Front stabilizer (2 and 4) to the main frame (1) using four sets of M8 domed nuts (6), Ø8 Curved washers (7) and M8 X 60 Carriage bolts (8). Take Front Post (37), assemble to the Main Frame (1), first connect the Lower Wire (33) to the Upper Wire (34), and attach the Upper Cable (36) to...
- Page 8 Fixing left right Handlebar (23&24) assembly to the Front Post (37) inset the connecting shaft (31) and then fit with Ø26xØ17.8 Wavy Washer (22), Ø 28X Ø16XT5.0 D Washer (51), Ø10 washer (29), Ø10 Spring washer (28) and M10x 25 Allen key Bolt (27).
- Page 9 Fix the Seat (56) to the Seat post (53) by using three sets of Ø8 Flat washers (55) and M8 Nylon nuts (54) located under the seat. NOTICE! This line mark on the seat post is for “STOP” position. STOP Insert the Seat Post (53) into the Seat Post housing and line up the holes (The correct height adjustment can be made when the bike is fully assembled) Secure the seat in...
-
Page 10: Exercise Instructions
Using your MAGNETIC ELLIPTICAL STRIDER will provide you with several benefits. It will improve your physical fitness, tone your muscles and, in conjunction with a calorie-controlled diet, help you lose weight. 1.The Warm Up Phase This stage helps get the blood flowing around the body and the muscles working properly. It will also reduce the risk of cramp and muscle injury. -
Page 11: E X E R C I S E C O M P U T Er
SCAN PULSE TIME CAL SPEED DIST ODO Functions and Operations 1. Batteries Installation Please install 1 pieces of AAA 1.5V batteries in the battery case on the back of monitor. (Whenever Batteries are removed, all the functions values will be reset to zero.) 2. -
Page 12: Troubleshooting
Note: 1. If the computer displays abnormally, please re-install the battery and try again. 2. Battery Spec: 1.5V AAA (1PCS). 3. The batteries must be removed from the appliance before it is scrapped and that they are disposed of safety. WARNING! Heart rate monitoring systems may be inaccurate. - Page 14 COPYRIGHT ©2011 BY BODY SCULPTURE INTERNATIONAL EUROPE LTD ALL RIGHTS RESERVED. UNAUTHORIZED DUPLICATION IS A VIOLATION OF LAW.
Need help?
Do you have a question about the BE-6115 and is the answer not in the manual?
Questions and answers