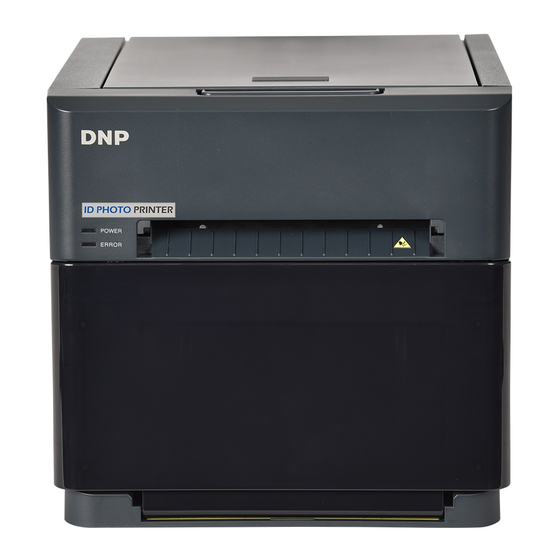
Summary of Contents for DNP IDW520
- Page 1 Up & Running Guide IDW520 ID Photo System © 2020. DNP Imagingcomm America Corp. DOC PN: DOC-R-IDW520 All rights reserved. Rev: 04.01.2020...
- Page 2 IDW520 Photo ID System Use this guide to set up your IDW520 system for the first time, and as a reference when you’re using the system every day. If you need more information on how to operate your system, use the help videos on your console (? button on the main screen) or download the User Guide from our website: http://www.dnpphoto.com...
-
Page 3: Installing The System
Installing the System IDW520 ID Photo System Questions about warranties, drivers, advanced features, or other products? Get more information here: dnpphoto.com/support... -
Page 4: Preparing The Camera
IDW520 Photo ID System 1. Preparing the Camera • Unpack the camera. • Locate the Wi-Fi SD card that was shipped in the box with your console kit. • Place the rechargeable battery in the battery compartment and the SD card in the card slot. The battery compartment and SD card slot are located on the bottom of the camera. - Page 5 Place the new paper roll on the paper spools. Be sure to press the spools against the paper roll to set the paper tightly against the spools. • Feed the paper into the printer. Place the paper spool into the printer with leading edge of the paper feeding over the top of the roll, towards the front of the printer.
-
Page 6: Starting The System
IDW520 Photo ID System 4. Starting the System Follow the proper sequence when powering ON the system. First the photo printer, then the IDW520 console, and finally the passport camera. • Power ON the ID Photo Printer. • Press the power switch on the back of the printer. As the printer initializes, it will check the media quantities and make sure everything is properly installed. -
Page 7: Using The System
Using the System IDW520 ID Photo System Questions about warranties, drivers, advanced features, or other products? Get more information here: dnpphoto.com/support... -
Page 8: Start The System
1. Start the System. • Follow the proper sequence when powering ON the system. First the photo printer, then the IDW520 console, and finally the passport camera. Do not turn the camera ON until you see the console main screen. - Page 9 4. Verify the Image Transfer. • The IDW520 console displays a DOWNLOADING IMAGE message. As the thumbnail appears a PROCESSING message appears on each thumbnail. When the DOWNLOAD COMPLETE message appears, your images have transferred. • For information on transferring multiple images at once, see your user manual.
-
Page 10: Editing Images
IDW520 Photo ID System Reprinting Images Reprinting an image is simple! From the main screen, touch the thumbnail of the image. From the inspection screen, press the Print Preview button. On the review screen, press Print. Editing Images ATTENTION: Only edit images if it is absolutely necessary. -
Page 11: Changing The Printer Paper
Changing the Printer Paper NOTE: The spool spacers that shipped with your system are not used with the IDW520 printer media. Empty the scrap bin. If you haven’t already, remove the paper tray from the front of the printer. Remove the scrap bin and throw away any scraps. - Page 12 IDW520 Photo ID System Replacing the Printer Ribbon 1. Press the button on the top of the printer to open the ribbon compartment. 2. If an existing ribbon is in place, remove the ribbon and discard it. 3. Orient the new ribbon so that the...
- Page 13 ATTENTION: The SD card is unique to your camera and console system. Do not use other cards or reformat the card you received with your system. If you need to restore the IDW520 default settings, use the following information. Change only the settings you see here unless you are instructed to do so by a service technician.
- Page 14 Using the System IDW520 ID Photo System Questions about warranties, drivers, advanced features, or other products? Get more information here: dnpphoto.com/support...
-
Page 15: Other Tips
Images aren’t printing • Is the app working? Make sure console is powered ON and that the IDW520 app is on the screen. If the system is not powered ON, use the proper powering sequence: first the printer first, then the console, and finally the camera. - Page 16 Questions about warranties, drivers, advanced features, or other products? Get more information here: dnpphoto.com/support...


Need help?
Do you have a question about the IDW520 and is the answer not in the manual?
Questions and answers