Advertisement
Quick Links
Advertisement

Related Manuals for Brickhouse Security EON4


Summary of Contents for Brickhouse Security EON4
- Page 1 EON 4 User’s Guide...
-
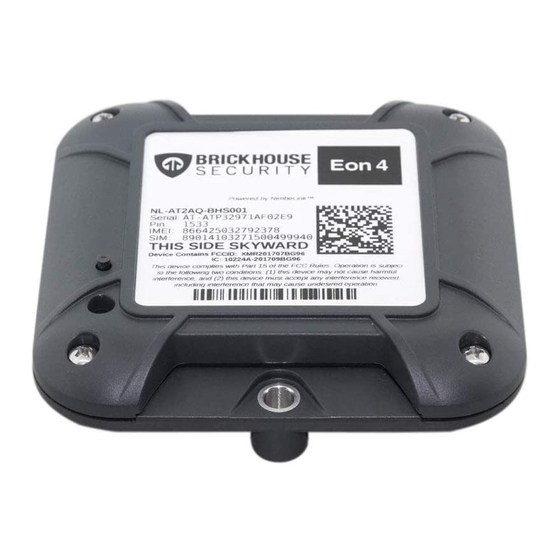
Page 2: What's Inside
What’s Inside Manual check in button EON 4 Mounting bushing QuickStart Guide... - Page 3 Optional Acessory - Mounting Kit Optional Mounting Kit Assembly Diagram Mounting kit (2 magnets, 2 spacers, 2 bolts, 2 nuts, 2 washers) sold seperately A - 2x ...Nuts B - 2x ... Washers C - 2x ... Spacers D - 2x ... Magnets E - 2x ...
-
Page 4: Getting Started
Tracking Frequency Options/ Battery Life Estimates Getting Started If you purchased your device pre-activated, you should have already Tracking Frequency Battery Life received an email containing your default login information before the 2 Locates a day 5 Years device arrived. 2 Locates a day + 1 hour of motion 250 Days If you did not purchase a pre-activated tracker, please visit... - Page 5 Remove and Dispose of the Old Batteries Lastly, after replacing the batteries AND before replacing the cover, you should see the LED light located above the batteries That light will perform Carefully remove the old batteries one at a time and set aside. the following: Install the New Lithium Batteries 1.
- Page 6 Reinstall Cover Once the batteries are correctly in place, reinstall the bottom cover. Make sure to align the two center mounting holes on the bottom cover with the mounting covers of the top-half. Flip the device over so it is right-side up and install the screws in an “X” pattern.
- Page 7 Tracking Your Device through metals or concrete; keep this in mind when placing the device. To track the Eon4, open an internet browser on your computer, go to The device is weather-resistant which gives you more placement options. locate.brickhousesecurity.com, and enter your login credentials.
- Page 8 This should bring you to the monitoring panel. The monitoring panel is where you can see your device information and access a lot of the tools you’ll want to use.
- Page 9 Here is what tracking looks like on the monitoring panel: a. Is the tracker name and location underneath b. Is the status indicator this shows stopped or moving c. Is the signal strength for both GPS and Cellular d. Is the show track button to show today’s tracking e.
- Page 10 Map Icons Here is a list of all icons: The eye icon allows you to hide different layers from the various panels. The icons correspond to the panels as listed across the top. Then the icons after are for hiding the map icons and labels. (a) Hides what was loaded on the monitoring panel visible on the map (b) Hides anything loaded on the tracking panel visible on the map (c) Hides map data loaded to accompany your reports...
- Page 11 Here are the map layers to choose from: The Tracks Panel The tracks panel is where you can view previous tracking information. You can select your device from the unit drop down and then apply the You can choose a preferred map from the list, but the Google Maps Hybrid option for color.
- Page 12 and events within the tracking view. Hovering over the icon will display Here is the tracks control panel with the option to choose what tracking the event type. Some of those states, such as “fuel filling,” apply to other data to display and how: tracker types.
- Page 13 (b) How the track is displayed with the colors (b) Group multiple devices (c) Select the color to display the tracking, otherwise it will auto select a (c) Fuel theft (Does not apply to the Eon4) color (d) Speeding (d) Select how thick the trace line will be...
- Page 14 (g) Picture (Does not apply to the Eon4) (h) Video (Does not apply to the Eon4) (i) Parking (j) Stops (k) Initial and final position Reports The reports panel has a drop down of various reports. Many are already pre-made for your asset tracker. Select the time interval and execute. The results will appear with the map;...
- Page 15 Geofences There are some instructions on-screen to direct you in creating your geofences for ease of use. The Geofences panel is where you can create and assign Geofences to trigger for notifications or other actions. You can create polygons, circles, Notifications or line geofences to suit your needs.
- Page 16 Select the type of notification: Choose where you want to send your notifications. Making email your primary notification option is usually the best choice.
-
Page 17: Last Steps
Last steps: This is the text you will receive. We recommend not altering the default text for best results. a. Name the notification Click Next. b. Select when the notification should be active c. Select when to trigger the notification d. -
Page 18: Tools And Settings
Tools and settings Here is the list of tools that drops down when you click the tools icon. The site has tools to help provide information and functionality. 1. Track Player will playback tracking history 2. Distance will allow you to measure distances 3. - Page 19 The Panel View Menu can be accessed by clicking the 3 vertical dots. The last menu is displayed when you click on your username. Please note that the most applicable panels have already been selected for The most common settings are: you.
- Page 20 User Settings City is an optional field. The General Settings allows you to set these preferences: Distance from unit to geofence indicates the proximity for the notifications. Language is your language preference for the site. Play sound for event if you wish a sound to play for events triggered. Time zone is what time zone you are in.
- Page 21 In the Security option, you can set your email, reset your password, and enable two-step authentication.
- Page 22 Support Notes To access FAQs, as well as other support materials for your device and the BrickHouse Security Tracking platform, go to: http://help.brickhousesecurity.com/ Live support is available Monday through Friday between the hours of 9am and 8pm EST and Saturday and Sunday between 9am and 6pm EST at...
Need help?
Do you have a question about the EON4 and is the answer not in the manual?
Questions and answers