
Related Manuals for Emeril Lagasse SMART FRYER PRO


Summary of Contents for Emeril Lagasse SMART FRYER PRO
- Page 1 USER GUIDE SMART FRYER Emeril™ is a trademark of Martha Stewart Living Omnimedia, Inc. Copyright © 2017, Martha Stewart Living Omnimedia, Inc. All rights reserved.
-
Page 2: Important Safeguards
Emeril Smart Fryer Pro ™ Important Safeguards IMPORTANT SAFEGUARDS When using electrical appliances, basic safety precautions should always be followed, including the following: READ ALL INSTRUCTIONS BEFORE USE! Do not touch hot surfaces. Use handles or knobs. To protect against electrical shock, fire or personal injury, do not immerse cord, plugs, or the appliance in water or other liquid. - Page 3 Emeril Smart Fryer Pro ™ Extreme caution must be used when moving an appliance containing hot oil or other hot liquids. The Smart Fryer can be turned off while using any of the functions by turning the timer knob to the “0” or “Off” position.
-
Page 4: Polarized Plug Instructions
Prepare your favorite foods and snacks in a quick, healthy, and easy way with your new Emeril™ Smart Fryer Pro! With its specially-designed hot air technology, this fryer combines hot air with high-speed air circulation and a top grill to heat your ingredients from every angle! It also allows you to prepare a variety of delicious dishes without the addition of excess oils or fats. -
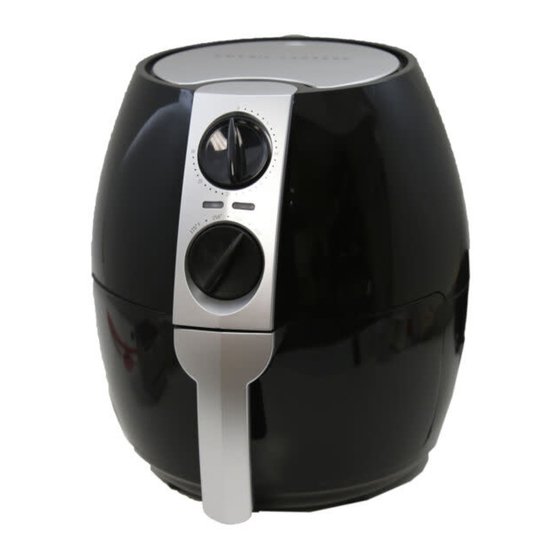
Page 5: Part Description
Make sure that the cavity is dry before operating the unit. • Position the Emeril™ Smart Fryer Pro on a flat, level, and heat-resistant surface, making sure that it is also positioned at least 4 inches away from any surrounding objects. -
Page 6: Preparing For Use
Note: Never fill the basket to capacity or exceed the recommended amount (see section ‘Settings’ in this chapter), as this could affect the quality of the cooking. • Slide the basket back into the Emeril™ Smart Fryer Pro. Caution! Never attempt to use the Smart Fryer without the food basket... - Page 7 Emeril Smart Fryer Pro ™ • The timer will start counting down the set time. • During the hot air frying process, the orange “heating-up” light will turn on and off from time to time. This indicates that the heating element is maintaining the set temperature.
- Page 8 Emeril Smart Fryer Pro ™ Caution! Always rest the basket on a flat, level, and heat resistant surface! The basket contains hot juices and fats after cooking, and might otherwise tip or fall, and spill the hot liquid on the user. Risk of severe scalding! •...
- Page 9 Emeril Smart Fryer Pro ™ Settings Min-Max Time Temp Shake Extra Amount (min.) (˚F) information (lb) Potatoes & Fries Thin frozen fries 0.6-1.9 9-16 Thick frozen fries 0.6-1.9 11-20 Home-made fries (8x8mm) 0.6-2.1 18-30 Add 1/2 tbsp. of oil Home-made potato wedges 0.6-2.1...
- Page 10 Emeril Smart Fryer Pro ™ Cleaning and Maintenance • Make sure to clean the appliance after each use! • Switch the appliance off by putting the knobs of the control panel into the OFF position. Before cleaning, unplug the appliance from the outlet and allow it to cool completely, for roughly 30 minutes.
-
Page 11: Troubleshooting
Emeril Smart Fryer Pro Troubleshooting ™ Problem Possible Cause Solution The Smart Fryer 1. The appliance is not plugged in. 1. Plug the power cord into an electrical wall does not work. socket. 2. You have not set the timer. -
Page 12: Warranty
WARRANTY We suggest that you complete and return the enclosed Product Registration Card promptly to facilitate verification of the date of original purchase. However, return of the Product Registration Card is not a condition of these warranties. You can also fill out this warranty card online, at the following address: www.KALORIK.com This EMERIL™...
Need help?
Do you have a question about the SMART FRYER PRO and is the answer not in the manual?
Questions and answers
how to you preheat this model as it does not have a preheat button
To preheat the Emeril Lagasse Smart Fryer Pro without a preheat button, set the desired temperature and allow the fryer to run for a few minutes before adding food. This ensures the fryer reaches the needed temperature for optimal cooking.
This answer is automatically generated