
Related Manuals for Body Sculpture BT-2650


Summary of Contents for Body Sculpture BT-2650
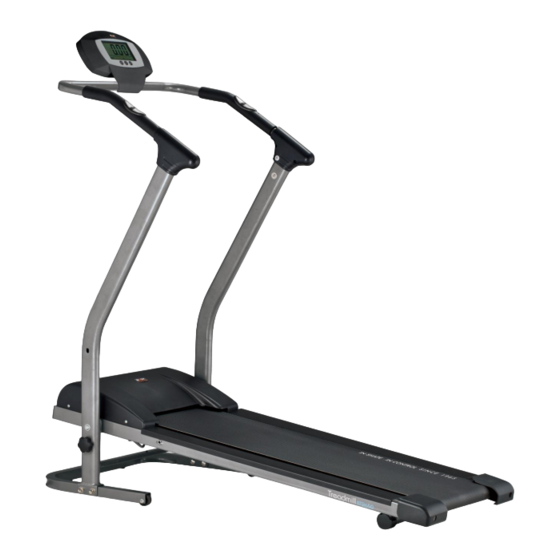
- Page 1 BT-2650 FOLDABLE TREADMILL USER’S MANUAL http://www.body--sculpture.com http://www.body--sculpture.com...
- Page 2 Important Safety Information http://www.body--sculpture.com Please keep this manual in a safe place for easy reference. 1. It is important to read this entire manual before assembling and using the equipment. Safe and effective use can only be achieved if the equipment is assembled, maintained and used properly.
- Page 3 EXELODED-VIEW ASSEMBLY DRAWING...
-
Page 4: Part List
PART LIST DESCRIPTION DESCRIPTION MAIN FRAME LEFT SIDE HANDLE POST REAR ROLLER PULSE SENSOR PLASTIC WASHER RUNNING BOARD STEEL END RUNNING WASHER BOLT M6 COVER REAR END CAP(L/R) FRONT AXLE REAR AXLE FRONT ROLLER END CAP HANDLEBAR GRIP SIDE RAIL COMPUTER MOUNT BRACKET T TYPE PLUG BOLT M4*10... - Page 5 PART LIST DESCRIPTION DESCRIPTION MAIN FRAME HANDLEBAR BOTTOM FRAME COMPUTER RIGHT SIDE HANDLE POST LEFT SIDE HANDLE POST COVER OF HANDLE(R) COVER COVER OF HANDLE(L) COMPUTER MOUNT BRACKET...
- Page 6 Notice Read this manual before assembly Recognize the spare parts first Check the hardware Ensure that you have the right tools Prepare an area to assemble Follow the instruction accordingly Never force the joints Periodically tighten the joints...
-
Page 8: Assembly Instruction
ASSEMBLY INSTRUCTION STEP 1 Open the carton, get the above parts out and put the bottom frame (23) on the level ground. Attach right side handle post (24) and left side handle post (33) onto bottom frame (23) and fasten with M8*50 bolts (A), washers (B) and M8 nuts (D). - Page 9 STEP 2 Attach cover (38) onto main frame (1) and fasten with M4*10 bolts (46) .
- Page 10 STEP 3 Fasten right side handle post (24) and left side handle post (33) onto main frame (1) with M8*50 bolts (F) and washers (G).
- Page 11 STEP 4 Connect computer sensor wires (31) together Attach handlebar (29) onto handle posts, and fasten with M8*45 bolts (H).
- Page 12 STEP 5 Attach covers of handle L,R (28) onto handlebar and fasten with M4 bolt (I) Attach computer mount bracket (44) onto handlebar and fasten with M5*10 bolt (C).
- Page 13 STEP 6 Connect computer sensor wires (31)(26). Attach computer (30) onto computer mount bracket (44) and fasten with M5*10 bolts (47).
- Page 14 STEP 7 Insert M8 knob (J) to secure the platform.
-
Page 15: Folding Instruction
FOLDING INSTRUCTION Please loosen knob(J) completely before folding the treadmill. Then lift the NO.1 Main frame to the upright position and use knob(J) to fasten it tightly to prevent any accident in advance... - Page 16 EXERCISE INSTRUCTIONS Using your TREADMILL will provide you with several benefits, it will improve your physical fitness, tone muscle and in conjunction with a calorie controlled diet help you lose weight. 1.The Warm Up Phase This stage helps get the blood flowing around the body and the muscles working properly. It will also reduce the risk of cramp and muscle injury.
-
Page 17: Weight Loss
3. The Cool Down Phase This stage is to let your Cardio-vascular System and muscles wind down. This is a repeat of the warm up exercise e.g. reduce your tempo, continue for approximately 5 minutes. The stretching exercises should now be repeated, again remembering not to force or jerk your muscles into the stretch. As you get fitter you may need to train longer and harder. -
Page 18: Console Instructions
CONSOLE INSTRUCTIONS SPECIFICATIONS: NO SMS_203 TIME……………………………………00:00-99:59 SPEED(SPD)…………………………0-99.9KM/H(ML/H) DISTANCE…………………………….0-99.99KM(ML) CALORIES…………………………….0-999.9KCAL ※ODOMETER(ODO)…………….0-999.9KM(ML) ※PULSE(PUL)………………………40~240BPM KEY FUNCTIONS: MODE: This key lets you to select and lock on to a particular function you want. SET:Can to proceed the data establish for “TIME” “DISTANCE” “CALORIES” RESET: The key to reset the value to zero by pressing the key OPERATION PROCEDURE: 1. - Page 19 FUNCTIONS: 1. TIME: Press the MODE key until pointer lock on to TIME. The total working time will be shown when starting exercise. 2. SPEED: Press the MODE key until the pointer advance to speed. The current speed will be shown. 3.
- Page 20 COPYRIGHT©2012 BY HI MARK INTERNATIONAL LTD. ALL RIGHTS RESERVED.UNAUTHORIZED DUPLICATION IS A VIOLATION OF LAW...
Need help?
Do you have a question about the BT-2650 and is the answer not in the manual?
Questions and answers