Advertisement
Advertisement
Table of Contents

Related Manuals for Star Shaper KC-1422

Summary of Contents for Star Shaper KC-1422
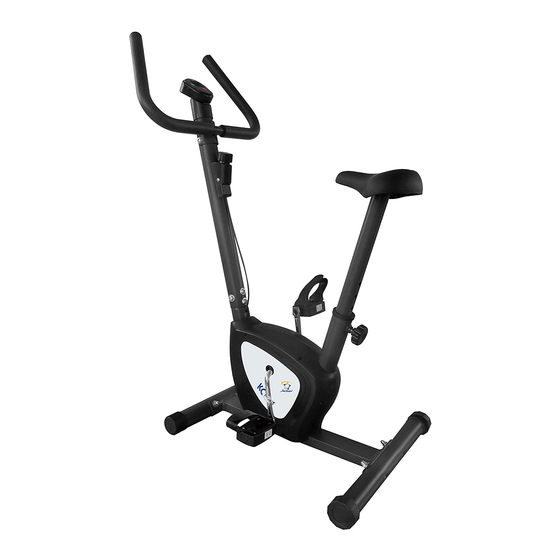
- Page 1 KC-1422 EXERCISE BIKE...
- Page 2 Please keep this manual in a safe place for reference. . It is important to read this entire manual before assembling and using the equipment. Safe and efficient use can only be achieved if the equipment is assembled, maintained and used properly.
-
Page 4: Parts List
PARTS LIST PART DESCRIPTION QTY PART DESCRIPTION Upper sensor wire Main Frame Lower sensor wire Front Stabilizer Front post Front end cap Screw M5 x 12 Carriage bolt M8 x 60mm Tension knob Rear stabilizer Computer holder Rear end cap Sensor wire Curved washer M8 Computer... -
Page 5: Assembly Instruction
STEP 1 Attach the Rear Stabilizers (5) to the Main Frame (1) using 2 sets of Domed Nuts (8), Curved washers (7) and Carriage Bolts (4). Attach the Front Stabilizers (2) to the Main Frame (1) using 2 sets of Domed Nuts (8), Curved washers (7) and Carriage Bolts (4). - Page 6 STEP 4 The Pedals (10L, 10R) are marked "L" and "R" - Left and Right. Connect them to their appropriate Crank Arms (30). The right crank arm is on the right hand side of the cycle as you sit on it. Note that the Right Pedal (10R) should be threaded on clockwise and the Left pedal anti-clockwise.
-
Page 7: Exercise Instructions
Using your EXERCISE BIKE will provide you with several benefits, it will improve your physical fitness, tone muscle and in conjunction with a calorie controlled diet help you lose weight. 1.The Warm Up Phase This stage helps get the blood flowing around the body and the muscles working properly. It will also reduce the risk of cramp and muscle injury. - Page 8 3. The Cool Down Phase This stage is to let your Cardio-vascular System and muscles wind down. This is a repeat of the warm up exercise e.g. reduce your tempo, continue for approximately 5 minutes. The stretching exercises should now be repeated, again remembering not to force or jerk your muscles into the stretch.
-
Page 9: E X E R C I S E C O M P U T Er
FUNCTION BUTTON: MODE: Press to select desired function .Hold down for 4 seconds to totally reset all functions . (There is no single function reset available) FUNCTIONS: SCAN: Automatically scans through each function every 6 seconds. TIME: Displays the accumulated time up to 99:59 minutes during exercise . SPEED: Displays the current speed up to 9999KMH. -
Page 10: Troubleshooting
1. Change the battery. To change the computer battery, please slide the computer from the computer holder, remove the battery cover on the back of the computer console, and remove the batteries. Replace with 1 x AA batteries. Finally put the cover back on the console, and slide the computer back on the computer holder.
Need help?
Do you have a question about the KC-1422 and is the answer not in the manual?
Questions and answers