
Related Manuals for Tineco iFloor


Summary of Contents for Tineco iFloor
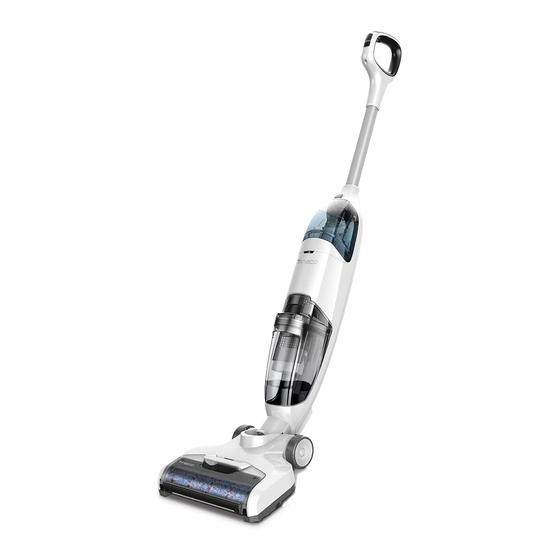
- Page 1 Cordless Vacuum & Floor Washer Instruction Manual Mode D’emploi *Actual product may differ from illustration.
-
Page 2: Table Of Contents
CONTENTS Important Safety Instructions ............... 2 Overview ....................5 Accessories .................... 6 Assembly ....................7 Operation ....................8 Maintenance ..................12 Specifications ..................16 Troubleshooting .................. 17 Warranty ....................18... -
Page 3: Important Safety Instructions
Such preventive safety measures reduce the risk of starting the appliance accidentally. 14. Recharge only with the charger specified by Tineco. A charger that is suitable for one type of battery pack may create a risk of fire when used with another battery pack. - Page 4 31. Do not place or submerge appliance in standing water or try to clean flooded areas. 32. All data and technical instructions of this manual are based on results from lab tests of Tineco or designated third parties. The company reserves all rights for final explanations.
- Page 5 1. Do not modify or attempt to repair the appliance except as indicated in the instructions for operating and cleaning. 2. Charge the appliance with the Tineco adaptor. Input Voltage: AC 100-240V. Both high and low voltages can damage the adaptor, appliance, or even cause danger to the user.
-
Page 6: Overview
Overview A. Switch button K. Handle fix screw B. Spot button L. Clean water tank (CWT) C. Clean water tank release button M. Dirty water tank (DWT) D. Indicator light N. Floater E. Dirty water tank release button O. Air outlet cover F. -
Page 7: Accessories
Accessories Note: Accessories may vary between markets. If you require more accessories, please go to www.tineco.com or store.tineco.com. Deodorizing & Cleaning Solution Removes dirt, grime, grease and tough stains from most types of hard surfaces, like tile, marble, sealed hardwood floors, and more. -
Page 8: Assembly
Assembly How to Assemble/Disassemble Note: For water tank and brush assembly, please refer to “Operation” and “Maintenance”. Back click To assemble the handle, insert it into the unit In case of product returning, please disassemble base until you hear a click. the handle, first remove the screw with screwdriver, then press the spring located with a tool to release the handle. -
Page 9: Operation
Before the first use, please charge the appliance for 3-4 hours (refer to “Charging Instructions” for details). * Based on results from Tineco lab tests. Lab temperature 39.2°F (4°C) ~ 104°F (40°C). Use directly when you just need to absorb water; add water/solution when you need to deep clean the floor (refer to “Filling Clean Water Tank Operation”... - Page 10 Filling Clean Water Tank Tineco solution Press clean water tank release button to Open the tank cap, fill the tank with tap water to remove it from the unit. Max line. When need deep cleaning, add one bottle cap of solution to the water, then close the cap tightly.
- Page 11 Warning: • Charge the unit only with the adaptor from Tineco. • For optimal performance, the unit must be charged every 3 months. It may take 3-4 hours for a full charge.
- Page 12 Indicator Working Solid blue light: Normal mode Flashing blue light: Spot mode Flashing red light: The appliance/brush roll is blocked, or out of power During Charging Breathing blue light Charging Complete Solid blue light for 2 minutes then turns off Battery Disposal Warning: •...
-
Page 13: Maintenance
Maintenance Note: • In order to maintain machine performance, it is recommended that you clean the components regularly. • For optimal performance and prevent odor, always clean and dry DWT, floater, filters, pre-filter, brush roll, brush roll cover completely after each use. Please make sure each part is installed in place or the device may not work properly. - Page 14 Dirty Water Tank Note: When dirty water reaches MAX line, the floater will block off your DWT creating a high pitched sound indicating it’s time to switch OFF the appliance. Switch OFF then pull up the tank lid to empty the DWT. Use 3 in 1 cleaning tool to remove remaining debris.
- Page 15 Brush Roll Self-cleaning hold the switch button for 3s Note: • For optimal performance, use quick self-cleaning fuction as often as needed. • Please empty the dirty water tank before and after self-cleaning. Place unit on storage tray. The clean water tank should be at least 1/3 full of water.
- Page 16 Brush Roll Note: For optimal performance, please clean the brush roll after each use. Remove the brush roll by grabbing the brush Take off the brush roll tab. Remove the hair and roll tab and pulling upward. debris wrapped around the roller with included 3 in 1 cleaning tool.Rinse with water.
-
Page 17: Specifications
Specifications Product iFloor Charging Input 100~240V Voltage 22.2V 2500mAh Lion Rated Power 120W Running Time ~22 mins Charging Time 3-4 hrs Normal: about 40ml/min Water Flow Rate Spot: 220ml/min CWT Capacity 17.92FL.OZ.(530ML) DWT Capacity 13.53FL.OZ.(400ML) Waterproof IPX4... -
Page 18: Troubleshooting
The sponge for Pre-filter is Let the sponge dry out moist The floater is blocked Remove blockages Note: If the above troubleshooting guide fails to provide a solution, please contact us at support@tineco.com or visit our website www.tineco.com for further support. -
Page 19: Warranty
WHAT IS COVERED? • Your Tineco appliance has a 2-year warranty against original defects in material and workmanship, when used for private household purposes in accordance with the Tineco Instruction Manual. Motorized accessories and battery bought separately come with a 1-year warranty. - Page 20 Please review the warranty carefully, and contact the manufacturer if you have any questions. WARRANTY SERVICE Register: We highly recommend that upon purchase, you register your appliance on the Tineco official website (www.tineco.com) and enjoy exclusive benefits. To register, please enter the last 10 digits of the serial number (find the Serial Number at the air outlet cover).
- Page 21 Contact us - We’ll get back to you within 1 business day. 1-855-292-8864 Mon. - Fri. 9am - 6pm (CST) Contactez-nous – Nous vous répondrons dans un délai d’un jour ouvrable.
Need help?
Do you have a question about the iFloor and is the answer not in the manual?
Questions and answers