Advertisement
Quick Links
USER GUIDELINE
Thank you for choosing MOON light!
*For using this product safely and conveniently and keeping it well-
preserved, please read this manual carefully before using. Please
save this manual for future reference.
*Due to the improvement of the product, the product you bought may
not be exactly in accordance with the introduction of this manual. We
apologize for that.
SPECIFICATION
*1 pc (30 chips) Rectangular ring COB high brightness red LED
*CNC Aluminium heat sink casing
*Light sensitive auto ON/OFF
*Auto safe mode
*Mode memory function
*Rechargeable lithium polymer battery (3.7V 300 mAh)
*7 modes: Mode1 / Mode2 / Mode3 /
FL1 / FL 2 / FL 3 / DAY FLASH (DOUBLE BLAST)
*Quick release universal bracket RB-22
(fits all round bars and AERO style bars)
*Low battery, charging and fully charged indicator
*Automatic fully charged cut-off system
*Side visibility
*Water resistant (IPX 4)
CONTENTS INCLUDED
Contents:
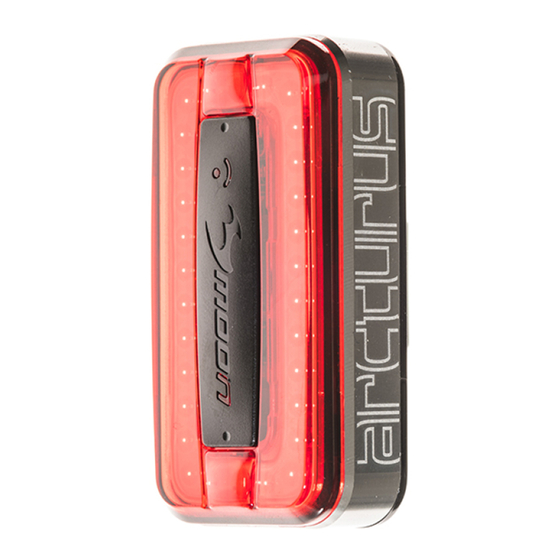
*ARCTURUS-AUTO
*RB-22 (Universal bracket)
*2 O-rings for mounting
RS-G (fits 20-35 mm diameters)
RS-H (fits 35-52 mm diameters)
*BK-21 (Belt clip)
*USB-WP (Water resistant USB cable)
Optional accessories:
*RB-19 (Rear rack mount bracket)
*RB-21 (Saddle rail bracket)
*RB-23 (Helmet bracket)
LIGHT OPERATION
Automatic status
* Standby - flashing orange
* Working - steady orange
Low battery status
* Steady blue
Auto safe mode
* Flashing blue
1. Double click the power button to toggle between the steady and
flashing
modes.(With mode memory, the light will resume previous
mode upon next usage.)
Double click
FL1
Mode1
FL2
Mode2
FL3
Mode3
DAY FLASH
(DOUBLE BLAST)
2. Press and hold the power button about 1 second to switch off.
(With mode memory, the light will resume previous mode upon next
usage.)
LIGHT SENSITIVE AUTO ON/OFF OPERATION
®
1. Turn on the light.
2. Press and hold the power button about 3 seconds to toggle between
automatic status and normal status.
3. Select the mode you want to use by press the power button.
Dark environment situation
Hold for 3 seconds to toggle between
automatic status and normal status.
Normal Working Status
Automatic Working Status
Steady Orange
4. Press the power button about 1 second to switch off.
Power button
!
Remember to switch off the light when you do not use it.
Indicators
HOW TO MOUNT THE LIGHT
1. Choose the strap to fit in the bar.
2. Make sure the strap is clicked in place of the hook.
3. Hold the light on the handlebar/seat post.
4. Wrapping rubber strap around bar and stretching strap around hook to secure.
5. Slide the light forward onto bracket until it clicks into place.
6. Press down release lever to remove.
20-26 mm
26-35 mm
RS-G
20-35 mm
AUTO
OFF
(30 seconds delay)
AUTO
ON
Well-lit environment situation
Hold for 3 seconds to toggle between
automatic status and normal status.
Normal Working Status
Automatic Standby Status
Flashing Orange
*The light will shut off after 3 seconds
when you have selected the mode in
automatic standby status.
26-35 mm
35-52 mm
RS-H
35-52 mm
Install
Pull
7. Adjust the vertical beam angle when mounted on the seatpost, loosen
the screw knob and band the light up or down for your preferred angle,
then tighten the screw knob to secure the light in place.
Press
Release
Install
click
Method 1
1. Slide tail light forward onto belt clip until it clicks into place.
2. Press down release lever to remove.
HOW TO MOUNT THE LIGHT
Release
Method 1
2.
1.
Clockwise
Release
Click
4.
Install
3.
Method 2
1. Loosen the screws in the saddle bracket with the Allen key.
2. Clamp the bracket onto the saddle rail.
3. Align the screw holes, using the Allen key to tighten the bracket.
4. Slide light forward onto bracket until it clicks into place.
5. Press down release lever to remove.
6. Twist the light body to adjust the vertical angle.
Release
Install
click
Press
Method 2
Install
Advertisement

Related Manuals for moon Arcturus Auto


Summary of Contents for moon Arcturus Auto
- Page 1 Install USER GUIDELINE Install AUTO Thank you for choosing MOON light! *For using this product safely and conveniently and keeping it well- preserved, please read this manual carefully before using. Please (30 seconds delay) save this manual for future reference.
- Page 2 MOON in connection with the sale and use of this product. charges etc. Normally speaking, the higher the battery capacity, the longer the MOON reserves the right to request the return of any product submitted burn time. for warranty consideration. All customers should contact the local dealer 270°...
Need help?
Do you have a question about the Arcturus Auto and is the answer not in the manual?
Questions and answers