Advertisement
Quick Links
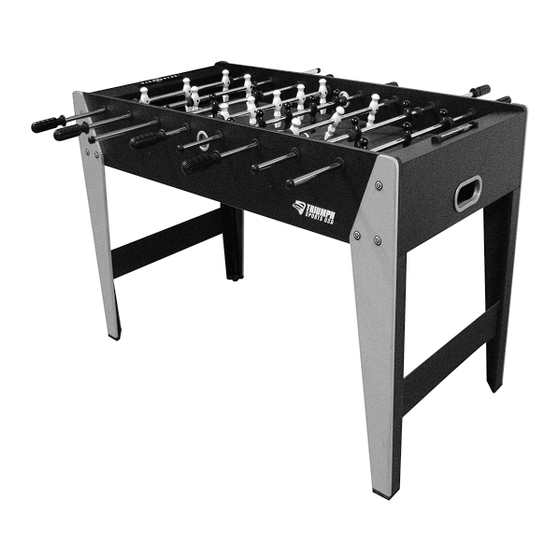
Item# 45-6071SU
48" Soccer Table
Please keep this instruction manual for future reference
If you have any problems with your new product, please visit our website
www.triumphsportsusa.com
for the fastest expedited service possible for your
replacement part ordering needs. Please have a copy of your receipt of purchase.
For any technical support or warranty issues, please contact Triumph Sports USA
at 1-866-815-4173 or email us at
csr@triumphsportsusa.com
Advertisement

Related Manuals for Triumph Sports USA 48" Soccer Table


Summary of Contents for Triumph Sports USA 48" Soccer Table
- Page 1 Please have a copy of your receipt of purchase. For any technical support or warranty issues, please contact Triumph Sports USA at 1-866-815-4173 or email us at csr@triumphsportsusa.com...
- Page 2 Limited 90-Day Triumph Sports USA, Inc. Warranty All Triumph Sports USA, Inc. (TSU) games have a limited 90-day from date of purchase warranty. This warrants the retail purchaser for any TSU game purchased to be free from any defect in materials and construction for 90 days from the date of purchase. The only exceptions to the warranty include main frames, tabletops, playing surfaces, batteries or tools.
-
Page 3: Parts List
Parts List Left Leg Soccer Playfield Soccer Side Apron Soccer End Apron 2 pcs 1 pc 2 pcs 2 pcs M4 x 20mm Round Head Right Leg Support Brace End Leg Brace Screw - 26 pcs 2 pcs 2 pcs 2 pcs 3.5 X 12mm Washer M4mm Nut... - Page 4 Assembly Instructions NOTE: We recommend that two adults work together to assemble this game. Step.1 Find a clean, level place to begin the assembly of your Soccer Table. The table will be assembled upside down and then turned over on its legs once the assembly is completed Step.2 Remove all the parts from the box and verify that you have all of the parts as shown...
- Page 5 Step.4 . Now attach the other Left Leg (#4), Right Leg (#5) and Side Apron (#3) to the End Aprons (#2) using three Bolts (#10) and three Washer (#11) per Leg, Attach the End Leg Braces (#7) to the Left and Right Legs (#4 and #5) using two Screws (#12) per Leg FIG.2 Step.5 .
- Page 6 Step.6 . Lift the table assembly from the floor with at least two strong adults, turn it over,and set the table assembly on its legs in the location where you play. DO NOT LEAN THE CABINET DO NOT HOLD TABLE TABLE ON ITS LEGS! HOLD THE CAUTION:Two strong adults are recommended to turn the table over as shown.
- Page 7 Step.8 . Insert the Handles (#16) onto the end of the rods with the Hole. Slide the Rod End Cap (#17) onto the opposite end of the Rods. Attach the Slide Scorers (#25) to the end top board using Screws (#26). FIG.5 YOU ARE NOW READY TO PLAY.
Need help?
Do you have a question about the 48" Soccer Table and is the answer not in the manual?
Questions and answers