Table of Contents
Advertisement
Quick Links
Track Guide Kit
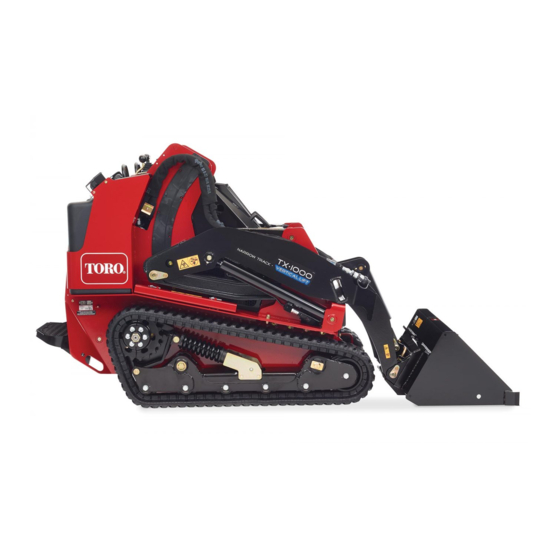
TX 1000 Compact Tool Carrier
Model No. 136-4760
This product contains a chemical or chemicals known to the State of California to
Safety
Safety and Instructional
Decals
Safety decals and instructions are easily visible to the operator and are located near any area of potential
danger. Replace any decal that is damaged or missing.
1. Read the Operator's
Manual.
© 2017—The Toro® Company
8111 Lyndale Avenue South
Bloomington, MN 55420
Proposition 65 Warning
cause cancer, birth defects, or reproductive harm.
136-5750
2. Tension nut guide
Register at www.Toro.com.
WARNING
CALIFORNIA
Installation
1
Preparing the Machine
No Parts Required
Procedure
decal136-5750
1. Park the machine on a level surface.
2. Engage the parking brake.
3. Remove any attachments from the machine.
4. Lower the loader arms so that they are approximately
20 to 25 cm (8 to 10 inches) above the frame.
5. Shut off the engine and remove the key.
6. Raise the machine off the ground until you can access
the inside of the track beneath the machine. Support
the machine using jack stands.
Note: Use jack stands rated for your machine. Refer
to the Operator's Manual for your machine to determine
the weight.
Form No. 3413-341 Rev A
Installation Instructions
Original Instructions (EN)
All Rights Reserved *3413-341* A
Printed in the USA
Advertisement
Table of Contents

Related Manuals for Toro TX 1000 Compact Tool Carrier


Summary of Contents for Toro TX 1000 Compact Tool Carrier
- Page 1 Form No. 3413-341 Rev A Track Guide Kit TX 1000 Compact Tool Carrier Model No. 136-4760 Installation Instructions WARNING CALIFORNIA Proposition 65 Warning This product contains a chemical or chemicals known to the State of California to cause cancer, birth defects, or reproductive harm.
- Page 2 3. Remove the template and drill the final holes using a WARNING 9/32-inch drill bit. Mechanical or hydraulic jacks may fail to 4. Install 2 guide blocks using 4 bolts (Figure support the machine and cause serious injury. Note: Orient the blocks as shown in Figure Use jack stands when supporting the machine.
- Page 3 Replacing the Tracks (Optional) g197899 Parts needed for this procedure: Figure 4 Left track shown Track (sold separately) 1. Toward front of the 3. Mark these holes. machine Procedure 2. Inside template 1. Lift/support the side of the machine to be worked on so that the track is 3 to 4 inches (7.6 to 10 cm) off 7.
- Page 4 g203963 Figure 8 g029759 1. Tension nut 2. Tension screw Figure 7 1. Drive sprocket 5. Road wheel 11. Align the closest notch in the tension screw to the 2. Track 6. Pivot tensioner locking bolt hole and secure the screw with the locking 3.
- Page 5 Adjusting the Track Tension Machines without New Tracks Only No Parts Required Procedure 1. Remove the locking bolt and nut (Figure 2. Using a 1/2 inch drive ratchet, turn the tensioning screw counter-clockwise until the tension nut aligns with the the green section of the decal (Figure 3.
- Page 6 Notes:...
- Page 7 Notes:...