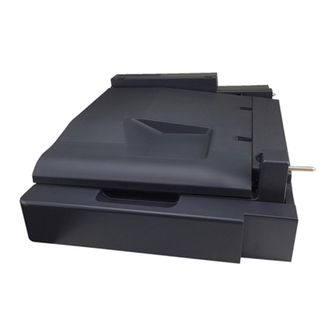
Summary of Contents for Konica Minolta RU-513
- Page 2 Field mod to RU-513 to Correct Jamming on Long Continuous Runs You will need to obtain the following: Adhesive felt tabs (1 per RU-513): Washers as pictured (2 per RU-513):...
- Page 3 2. Separate the lid bottom from the top. 3. Remove the paper entry side hinge bracket from the lid (top cover) of the RU-513. This is the hinge closest to the fuser. Install a small washer under the bracket so that the screw passes through it.
- Page 4 5. The hinge will look like this when completed. This picture was taken with the lid oriented improperly on the base. Ignore the rollers in the below pic. 6. Re-assemble the lid of the RU-513. 7. Affix a felt pad at the base of the hole where the top lid guide post rests.
- Page 5 8. Reassemble the RU and install into an MFP. 9. With the mods in place the top lid of the RU should be slightly elevated on the right side (paper entry). 10. Complete!


Need help?
Do you have a question about the RU-513 and is the answer not in the manual?
Questions and answers