Advertisement
What' s included?
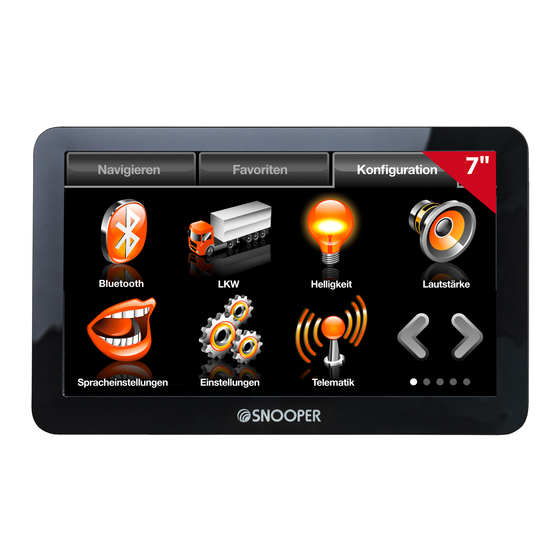
1 x Snooper satellite navigation system
1 x Micro-SD Card - Mapping
1 x 8GBMicroSD card - DVR - SC5800 and SC5900 DVR only
1 x Windscreen Mounting Bracket
1 x Active magnetic mount - S6900 ONLY
1 x Protective case - except S2700
1 x In-Vehicle Charger and TMC cable combined - S6800, S8100, S6900, SC5800 and S5C900 ONLY
1 x TMC antenna with jack connector - S2700, S6810 and S8110 Only
1 x USB download Cable
1 x 3.5mm to RCA video cable ( for reversing camera - not included) except S2700
1 x Mounting disk for dash mounting the bracket - except S2700 and S6900
PLEASE NOTE: Due to our desire to continually improve our products, the specification may change without notice.
Start UP
The Micro-SD Card comes complete with digital mapping and is also where the
AURA™ camera database is stored if you choose to subscribe and download it.
Switch on the device by pressing and holding the standby power button located
on the top of the unit for 2 seconds. The Snooper will automatically synchronise
with the Micro-SD Card. Once the synchronisation is completed, the Micro-SD Card
will not function with any other device. Snooper is now ready to navigate and the
camera database can be downloaded if necessary. NOTE: In most cases the Micro-
SD card is already installed in the device.
Refer to page 3 for additional , important, MicroSD card guidence.
Please note that if the unit does not activate when you press and hold the standby power button for 2 seconds it may require
charging. Refer to the section 'Charging the internal battery' later in this manual.
Due to our desire to continually improve our products, the specification may change without notice.
1 of 10
Navigation Quick Start Guide
For S2700, S5100, S68xx, S6900, S81xx, SC5900, SC5800
and variants
Bus/Coach, Car, Truckmate and Ventura
PLEASE NOTE
QSG EN v1.1 11/19
Advertisement
Table of Contents

Related Manuals for Snooper S81 Series


Summary of Contents for Snooper S81 Series
- Page 1 Micro-SD Card. Once the synchronisation is completed, the Micro-SD Card will not function with any other device. Snooper is now ready to navigate and the camera database can be downloaded if necessary. NOTE: In most cases the Micro- SD card is already installed in the device.
- Page 2 Pictures are for illustrative purposes only. Please Note: Only use the cigarette lighter power cable provided with Snooper. Snooper operates on 5V and using any other cigarette lighter power cable will damage your device and void the warranty. 2 of 10...
-
Page 3: Power Connection & Charging
Snooper comes with a power cable designed to plug into your vehicles cigarette lighter socket. The power cable is suitable for both 12v DC and 24v DC vehicles. This lead will power the device but will also charge Snooper’s internal battery (when the device is switched OFF). -
Page 4: Charging The Internal Battery
Powering Snooper using the built-in battery Once Snooper is fully charged, it is ready for use. Press and hold the power switch on the top of the unit for 2 seconds to switch on the device. Note: the battery is designed to be a back up ONLY and Snooper recommends that the the navigation device is powered from the vehicle charger when in use. - Page 5 Quick Start Guide to Navigation 1. Take the Snooper outside so that the GPS receiver can locate your position. This may take between 15 - 30 minutes the first time. When satellite lock is achieved, the screen will display your current position on its map in a ‘3D’ navigation view.
- Page 6 The navigation view will now be displayed, but with the route now highlighted for you. As you approach a specific turn in the calculated route, Snooper will advise you what to do. For example, “After 200 yards, turn left”, followed by “Now turn left”.
-
Page 7: Low Battery Warning
WARNING: PLEASE DO NOT USE OR LEAVE SNOOPER IN EITHER WET OR HUMID CONDITIONS, OR IN EXTREME TEMPERATURES, AS THIS COULD PERMANENTLY DAMAGE THE UNIT AND THE BATTERY. WHEN NOT IN USE DO NOT LEAVE THE UNIT ATTACHED TO THE WINDSCREEN, ESPECIALLY WHEN THE WEATHER IS WARM, TO AVOID DAMAGE TO THE UNIT AND ALSO REDUCE THE RISK OF THEFT. - Page 8 Load type (Truckmate ONLY) : None (Normal) ● ● Hazardous: Hazardous goods that are not explosive or harmful for water. ● ● Explosive and Flammable ● ● Harmful for water ● ● Trailer type (Truckmate ONLY) : ● Truck with NO trailer: Standard setting for fixed axle vehicles. ●...
-
Page 9: Environmental Settings Or Low Emission Zones (Lez)
Environmental settings or Low Emission Zones (LEZ) Low Emission Zones (LEZs) or Ultra Low Emission Zones (ULEZ) are areas or roads where the most polluting vehicles are restricted from entering. This means that vehicles are banned, or in some cases charged, if they enter the LEZ when their emissions are over a set level. - Page 10 Due to our desire to continually improve our products, the specification may change without notice. Performance Products Ltd, Cleaver House, Sarus Court, Manor Park, Runcorn, Cheshire, WA7 1UL. Tel +44 (0)1928 579579 E: customerservices@snooper.eu. For technical support Tel +44(0)333 121 2252 E: Support@snooper.eu 10 of 10 QSG EN v1.1 11/19...
Need help?
Do you have a question about the S81 Series and is the answer not in the manual?
Questions and answers