Table of Contents
Advertisement
Advertisement
Table of Contents

Related Manuals for SereneLife SLPAC12


Summary of Contents for SereneLife SLPAC12
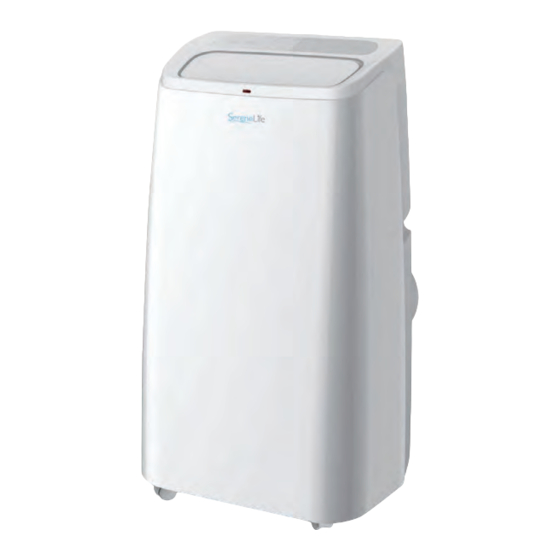
- Page 1 SLPAC12 Portable Air Conditioner Fan and Dehumidifier...
-
Page 2: Table Of Contents
CONTENT I. Notes..........................3 II. Features and Components..................4 III. Installation and Adjustment................6 IV. Control Setting......................8 V. Drainage Instructions.................... 11 VI. Maintenance......................12 VII. Troubleshooting....................14 VIII. Appendix......................... 15 www.SereneLifeHome.com... -
Page 3: Notes
Please keep the manual for later review, and read the manual carefully before use. I. Notes Notes: • The air conditioner is only suitable for indoor use, and is not suitable for other applications. • Follow local grid interconnection rules while installing the air conditioner and ensure that it is properly grounded. -
Page 4: Features And Components
• Do not use insecticide sprays or other ammable substances near the air conditioner. • Do not wipe or wash the air conditioner with chemical solvents such as gasoline and alcohol. When you need to clean the air conditioner, you must disconnect the power supply, and clean it with a half-wet soft cloth. - Page 5 12. Power COrd Hook 13. Handle 14. Air vent exhaust 15. Continuous Drainage hole 16. CON lter screen 17. Air Inlet Grille 18. Drainage hole 19. Power Cord 20. Power Cord Plug www.SereneLifeHome.com...
-
Page 6: Installation And Adjustment
III. Installation and Adjustment 1. Installation: Warning: before using the mobile air conditioner, keep it upright for at least two hours. The air conditioner can be easily moved in the room. In the moving process, ensure that the air conditioner is in the upright position and should be placed on a at surface. - Page 7 2. Slide open the window plate assembly. Adjust their opening distance to bring both ends of the assembly into contact with the window frame, and x into place with screw. Figure 2 Figure 3 1.3 Install the unit 1. Move the machine with installed heat hose and ttings near the window.
-
Page 8: Control Setting
Figure 5 Figure 6 Important Notice The length of the exhaust hose shall be 280~1,500mm, and this length is based on the speci cations of the air conditioner. Do not use extension tubes or replace it with other di erent hoses, or this may cause a malfunction. - Page 9 5. Up key 1. Power key 6. Wind speed selection key 2. Mode selection key 7. Timing key 3. Window display 4. Down key When power is connected to the unit for the rst time, buzzer will play power-on music, and then the machine will get into standby status. 1.
- Page 10 II. Operating Instructions of the Remote Control Instructions of key operation of the high-quality remote control are as follows: 1. Power: Press the key to turn ON or turn OFF the machine. 2. Mode: Press the key to switch between cooling, air supply, dehumidi cation.
-
Page 11: Drainage Instructions
of this chapter). After the water is emptied, the machine will automati cally return to the original state. 3.3 Automatic Defrosting (cooling models have this function): The machine has automatic defrosting function: during defrosting, heating symbol on the display screen will ash. 3.4. -
Page 12: Maintenance
2. Continuous drainage (only applicable to cooling and dehumidi cation mode), as shown in gure 2: 1. Unscrew the drainage cover, and unplug the water plug. 2. Set the drainage hose into the water outlet. 3. Connect the drainage hose to the bucket. VI. - Page 13 2.1 Clean the upper lter screen frame 1. Clasp the wedging block of the EVA lter screen frame with hands. Force down from the outside to remove the EVA lter screen frame. Unscrew 4 screws xing the EVA lter screen and rear housing to remove the EVA lter screen (as image shown) 2.
-
Page 14: Troubleshooting
VII. Troubleshooting Do not repair or disassemble the air conditioner by yourself. Unquali ed repair will void the warranty, and may cause damage to users or their properties. Problems Reasons Solutions Turn it on after connecting it to a There is no electricity socket with electricity. -
Page 15: Appendix
If problems not listed in the table occur or recommended solutions do not work, please contact the professional service organization. Intelligent Detection Function Code Meaning The hose temperature sensor is abnormal The room temperature sensor is abnormal Anti-freeze protection Full water VIII.
Need help?
Do you have a question about the SLPAC12 and is the answer not in the manual?
Questions and answers