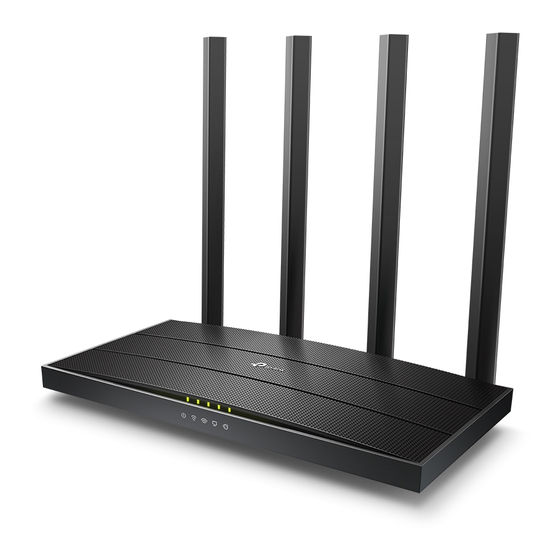
TP-Link Archer AC1200 Basic Configuration Steps
Hide thumbs
Also See for Archer AC1200:
- Quick start manual ,
- User manual (97 pages) ,
- Installation manual (7 pages)
Advertisement
Table of Contents
- 1 Configuring Your Router
- 2 Connect Your PC to the Router
- 3 Connect Your Mobile
- 4 Every Router Configuration Has Two Parts
- 5 Logging into the Router
- 6 Internet Connectivity – Pppoe Configuration
- 7 Wi-Fi Connectivity – Router Ssid/Password Configuration
- 8 Firmware Upgrade
- 9 Channel Change
- 10 Changes to be Made after Configuration
- 11 Changes in PC
- 12 Mobile or Tablet
- Download this manual
See also:
User Manual
Advertisement
Table of Contents

Summary of Contents for TP-Link Archer AC1200
- Page 1 Configuring a TPLINK Router TP Link Archer AC1200 Basic Configuration Steps...
-
Page 2: Configuring Your Router
Configuring Your Router STEP 1 (a): Connect Your PC to the Router • Unbox the router and power up the router. • Connect the Act internet cable to the WAN/Internet port(different coloured port) of the router. • An extra LAN cable will be available with the router, connect one end of LAN cable to the LAN port(1-4) of the router(any one port) and one end to the PC or Laptop. - Page 3 STEP 1 (b): Connect Your Mobile • Switch on the router and connect ACT internet cable to the WAN/Internet port of the router • Go to setting in the Mobile, turn on Wi-Fi and wait until the mobile detects router name press the router name to connect.
- Page 4 NOTE • Every Router Configuration has two parts – Configuring the Internet Part, where we tell the Router how to connect to the internet. – Configuring the Wi-Fi Part, where we decide the name and password with which we connect to the Router •...
- Page 5 Router Name IP Address Username Password Cisco or Linksys 192.168.1.1 admin admin D-Link 192.168.0.1 admin (blank) TP-Link 192.168.0.1 admin admin Net gear 192.168.1.1 admin password Belkin 192.168.2.1 Click on Login in Home (blank) Tenda 192.168.0.1...
- Page 6 STEP 3(a): Internet Connectivity – PPPoE Configuration Step 1 : Open any web browser Step 2 : Type Router page address on the address bar (192.168.0.1) Step 3 : Login with credentials (admin/password)
- Page 7 STEP 3(b): Internet Connectivity – PPPoE Configuration Step 1:Select the PPPOE and click next Step 2:Enter the portal username in the PPPoE username field Step 3:Enter the portal password In the PPPoE password Step 4: Click on Save...
- Page 8 STEP 4: Wi-Fi Connectivity – Router SSID/Password Configuration Step 1: Type in your preferred Wi-Fi name in SSID(Network name dialog box) and give different name for both 2.4Ghz & 5Ghz. Step 2: Type in your desired password Step 3: click on Save...
- Page 9 STEP 5 (As and when required): Firmware upgrade System Tools > firmware upgrade > upload the new firmware file > upgrade firmware You can choose to download a Firmware version and then upload it offline or choose to download directly from internet itself.
- Page 10 STEP 6: Channel Change (As and when required) • Channels are the mediums through which your router transmits signals to other devices. • There are several channels that one can choose from, based on the Frequency at which your router works (Bands –...
- Page 11 Changes to be Made After Configuration • If the Wi-Fi password is changed, we need to update the password in all the devices to get connected to the Internet. • Changes in PC – Windows 7: Click on Windows button click on Control Panel click on Network and Internet click on Network and Sharing Centre.
- Page 12 • Changes in PC – Win 8,8.1: Click on Network icon(right bottom corner next to system Time), Right click on Router name click on “Forget this network”. Again click on Router name, enter the new Wi-Fi password and Connect. – Win 10: Click on Network icon(right bottom corner next to system Time), click on Network settings under Wi-Fi click on Manage known Networks ...


Need help?
Do you have a question about the Archer AC1200 and is the answer not in the manual?
Questions and answers