Advertisement
Quick Links
Installation Instructions
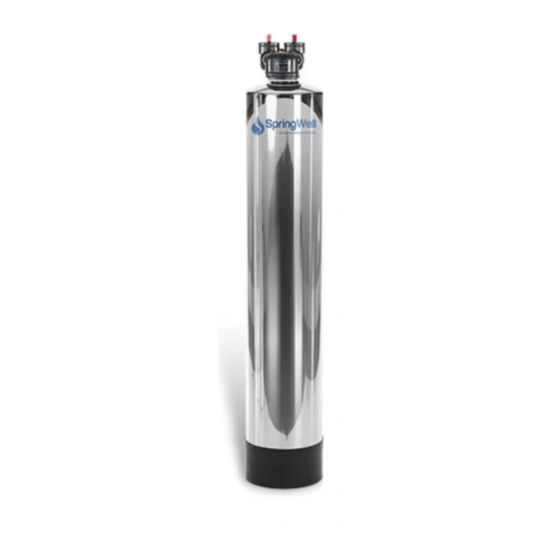
SALT-FREE WATER SOFTENER
MODEL: FS1, FS4
Our high-tech SpringWell FutureSoft salt-free water
softener is a chemical-free, maintenance-free and
environmentally friendly alternative to salt-based
softening. Eliminate scale, extend the life of your
appliances and make cleaning easier today!
CUSTOMER SERVICE IS AVAILABLE MON-FRI 9AM-6PM EST
800-589-5592
WWW.SPRINGWELLWATER.COM
1
Advertisement

Related Manuals for SpringWell FS1


Summary of Contents for SpringWell FS1
-
Page 1: Installation Instructions
Installation Instructions SALT-FREE WATER SOFTENER MODEL: FS1, FS4 Our high-tech SpringWell FutureSoft salt-free water softener is a chemical-free, maintenance-free and environmentally friendly alternative to salt-based softening. Eliminate scale, extend the life of your appliances and make cleaning easier today! CUSTOMER SERVICE IS AVAILABLE MON-FRI 9AM-6PM EST 800-589-5592 WWW.SPRINGWELLWATER.COM... - Page 2 Additional Parts Included Pre-filter housing 5 micron sediment filter O-Ring for pre-filter housing Mounting bracket for pre-filter housing Spanner wrench for pre-filter housing Hose bib assembly Bypass valve 1” MNPT fittings PLEASE READ INSTRUCTIONS FULLY BEFORE INSTALLATION. Be sure to follow all applicable plumbing codes. The system must be installed on main water supply line.
-
Page 3: Product Specs
If the tank is not perfectly straight, carefully lift the tank straight up a few inches and tap it on the ground until the tank stands vertical and fits snuggly into the tank boot. Product Specs Tank Width 6” Tank Height 35”... - Page 4 FutureSoft Soak IMPORTANT! The media inside the FutureSoft system MUST soak in water for a MINIMUM of 2 days before installation. Set the tank on a level surface in an area where it can get wet around the tank. Locate the bypass valve with the red arrows and the 1” PVC elbows. Install bypass valve to head of tank hand tight.
- Page 5 FutureSoft Rinse After the FutureSoft media has soaked for 2 days locate the hose bib assembly again and connect it to the Inlet side of the tank head. Connect a water hose to the opposite end of the hose bib assembly. Put the bypass valve to the in service mode.
- Page 6 Pre-Filter Setup / Installation This is the point where you will need to shut the main water supply off and adapt your plumbing in and through the system. We recommend you plumb a shut off valve before the pre-filter housing. Locate the area where the system is going to be installed.
- Page 7 Now connect the pre-filter housing head to the mounting bracket with the hex bolts provided. Plumb the water from the main water supply into the Inlet side of the pre-filter head (follow the arrows for water flow). Install lubed o-ring in groove on top of the blue pre-filter housing.
- Page 8 FutureSoft System Install Plumb the main water supply coming out of the pre-filter housing into the Inlet side of the bypass valve. Now finish the plumbing by connecting the Outlet side of the bypass valve to the main plumbing supply. Place the bypass valve in bypass.
-
Page 9: Warranty Information
Warranty Information For more information on our warranty, please visit www.springwellwater.com/warranty/...
Need help?
Do you have a question about the FS1 and is the answer not in the manual?
Questions and answers