Advertisement
Quick Links
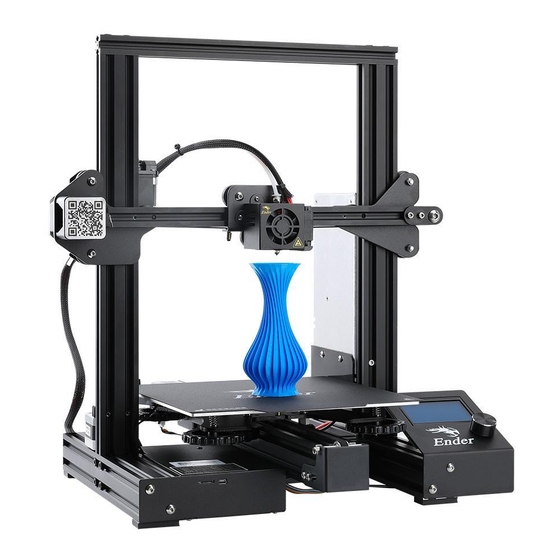
Ender-3 Pro 3D Printer
Instructions for assembly
◆ This guide is for the Ender-3 Pro 3D Printer.
◆ Select the correct input voltage to match your local mains
(230V or 115V).
◆ Because of software/hardware upgrades and model
differences, new revisions may not be listed in this guide.
◆ Please plug the Power cord into a three-hole power jack.
◆ Detailed instructions for use are available on the TF card.
V1.4
Advertisement

Related Manuals for Creality 3D Ender-3 Pro


Summary of Contents for Creality 3D Ender-3 Pro
- Page 1 Ender-3 Pro 3D Printer Instructions for assembly ◆ This guide is for the Ender-3 Pro 3D Printer. ◆ Select the correct input voltage to match your local mains (230V or 115V). ◆ Because of software/hardware upgrades and model differences, new revisions may not be listed in this guide.
- Page 2 Nozzle Temp. ≤250℃ Resume Print Bed Temp. ≤110℃ Filament Detector SHENZHEN CREALITY 3D TECHNOLOGY CO., LTD. 12/F, Block 3, JinChengYuan, Huafan Road, Tongsheng Community, Dalang, Longhua District, Shenzhen, China, 518109 Official Website: www.creality3d.cn Tel: +86 755-2105 9455 E-mail: info@creality3d.cn cs@creality3d.cn...
- Page 3 List 1 Assemblys 2pcs...
- Page 4 List 2 Sections Fasteners Tools 2pcs 4pcs M5 T-nut M5X8 4pcs 2pcs M4X20 M5X25 4pcs 2pcs M4X16 M4X18P 5pcs 4pcs M5X45 2pcs...
- Page 5 Step 1 4pcs Longer M5X45 Shorter Shorter Front...
- Page 6 Step 2 2pcs *Select the correct input voltage to M5X8 match your local mains (230V or 115V). 2pcs M4X20...
- Page 7 Step 3...
- Page 8 Step 4 2pcs M4X18P...
- Page 9 Step 5 2pcs M4X16...
- Page 10 Step 6 Front...
- Page 11 Step 7 2pcs M4X16...
- Page 12 Step 8...
- Page 13 Step 9 *Don't tighten it too tight Left...
- Page 14 Step 10 2pcs 4pcs M5X25...
- Page 15 Step 11 2pcs M5X8 2pcs M5 T-nut...
- Page 16 Step 12 Exp3 Left...
Need help?
Do you have a question about the Ender-3 Pro and is the answer not in the manual?
Questions and answers