Advertisement
Table of Contents
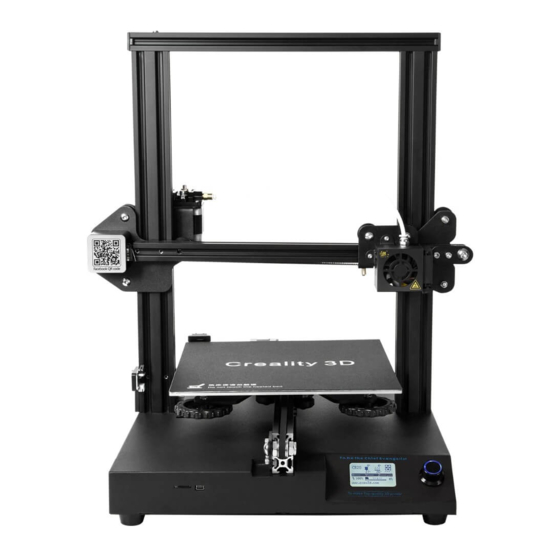
CR20 Series 3D Printer
◆ This guidebook is for standard CR-20.
◆ Select the correct input voltage to match your local mains
(220V or 110V)
◆ Because of software/hardware upgrades and model
differences, new revisions may not be listed in this guide.
◆ Detailed instructions for use are available on the SD card.
To be the Chief Evangelist
To make Top-quality 3D printer
V.1.0
Advertisement
Table of Contents

Related Manuals for Creality 3D CR20 Series


Summary of Contents for Creality 3D CR20 Series
- Page 1 To be the Chief Evangelist CR20 Series 3D Printer To make Top-quality 3D printer ◆ This guidebook is for standard CR-20. ◆ Select the correct input voltage to match your local mains (220V or 110V) ◆ Because of software/hardware upgrades and model differences, new revisions may not be listed in this guide.
- Page 2 Notes 1. Do not use the Printer in any other way not described herein in order to avoid personal injury or property damage. 2. Do not place the Printer near flammables, explosives or heat sources. It is best to place it in a well- ventilated, low-dust environment.
-
Page 3: Table Of Contents
Contents 1. Introduction ...……………………………1 Bed Leveling ..……...…………………7 2. G e n e r a l L i s t . . … … … … … … … … … 2 S o f t w a r e I n s t a l l a t i o n . . … … … … … … 8 3. -
Page 4: Introduction
1. Introduction Base Frame 11. Coupling 6. Nozzle Kit SD Slot and USB Port 12. Z axis Stepping motor 7. Rack platform 13. Z axis Limit Switch 8. Extruder (E) motor Control Knob 14. X axis Limit Switch 9. Y axis Limit Switch LCD Display Screen 15. -
Page 5: General List
2. General List Base Frame Gantry Frame Tool Kit Tool List No. Image Name No. Image Name No. Image Name Nozzle Cleaner Spare Parts Wrench and Screwdriver Sample Filament Rack Bracket (200g) SD Card and Card M5X45 black cup Rack tube Reader... -
Page 6: Device Installion
3.Device Installtion Install the Gantry Frame Install the Spool M4X8 & T-nut 2pcs M5X45 4pcs... -
Page 7: Cable Connection
4.Cable Connection... -
Page 8: Screen Information
5.Screen Information Set temperature of the Nozzle Current temperature of the Nozzle Set temperature of the Push:OK/Enter Hot Bed Sub Menu Current temperature of the Hot Bed Print speed Rotate:Change Part Cooling Fan Option/Value Device Model Speed Print time Current location of the nozzle remaining Print progress... -
Page 9: Loading Filament
6.Loading Filament Feeding Preheat Method 1 Method 2 Press and hold the extruder lever then insert the1.75mm filament through the small hole of the extruder. Continue feeding until you see filament come out the nozzle. Tip:How to Replace the Filament? 1、Cutting filament near the Extruder and slowly feed new filament until they are fed into the new filament. -
Page 10: Bed Leveling
7.Bed Leveling 1. Prepare →Auto Home. Wait until the nozzle to move back to the left/front of the platform. 2. Prepare→Disable Steppers(Close stepper drive,release motor) 3. Move the nozzle to the front/left leveling screw and adjust the platform height by turning the knob underneath. Use a piece of A4 paper (standard printer paper) to assist with the adjustment, making sure that the nozzle lightly scratches the paper. -
Page 11: Software Installation
8.Software Installation 1. Double click the Cura icon to install the Cura Slicing Software. CR20 2. Start Cura 3.0.2 from the Start 3. Select Other→Creality CR-10→Printer Name:CR20→Add Printer. Menu. 4、Setting→Printer→Manage Printers... 5、Change Printer Settings to (220,220,250). -
Page 12: For The First Printing
9. For the first Printing 1.Slicing 2.Printing Insert SD card into computer with Reader. Insert the SD card 1. Open file 2. Select file Select “Print from SD” 3. Open Select the file to be printed 4. Save to SD Card... -
Page 13: Corrective Maintenance
10.Corrective maintenance... -
Page 14: C I R C U I T W I R I N
11. Circuit Wiring Diagram... -
Page 15: After-Sales Services
¦ 12. After- Sales Service After-sales Service Card ¦ ¦ Product Name:________Purchase Date:____________ After-Sales Service Terms ¦ S/N No.:_____________Purchased Channel:________ ¦ Fault description:______________________________ 1.We provide a 12-month warranty on 3D printers (excluding the nozzle assembly) purchased ¦ on or after January 1, 2017 and a 3-month warranty on the nozzle assembly thereof. Products ____________________________________________ ¦... - Page 16 Shenzhen Creality3D Technology CO.,LTD. After-Sales Service Tel 400-6133 882 O f f i c i a l W e b s i t e www.creality3d.com Company Address 12F, Building No.3, Jinchengyuan Industrial Area, Huafan Road, Dalang, Longhua, Shenzhen,Guangdong Province...
Need help?
Do you have a question about the CR20 Series and is the answer not in the manual?
Questions and answers