Keurig K-1500 Use & Care Manual
Hide thumbs
Also See for K-1500:
- Quick start manual (10 pages) ,
- Cleaning & start-up procedure (5 pages) ,
- Use & care manual (11 pages)
Advertisement
Advertisement
Table of Contents

Related Manuals for Keurig K-1500


Summary of Contents for Keurig K-1500
- Page 1 Use & Care Guide Get the most from your new Keurig brewer ®...
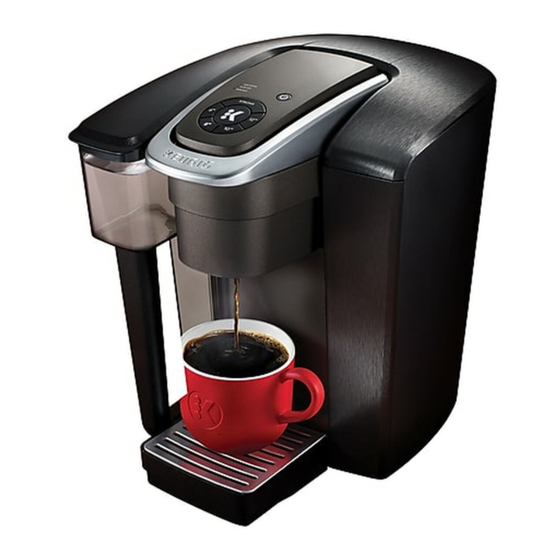
- Page 2 Before You Brew Plug & Place Rinse & Fill Remove packing tape from Remove the water reservoir brewer and plug into a lid, then lift the reservoir grounded outlet. straight up to remove it. Place a large mug (12oz Rinse reservoir with fresh water minimum) on the drip and fill to the MAX fill line.
- Page 3 Brew Your First Cup Place Mug Lift & Insert Place a mug on the drip tray Lift the handle and place plate. If using a travel mug, a K-Cup pod in the K-Cup ® ® remove the drip tray and pod holder.
-
Page 4: Caring For Your Brewer
® and lower the bail. Then, select your brew size and press the Commercial Rating ensures that the K-1500™ brewer will brew button. The brewer will heat, then automatically begin stand-up to the demands of your coffee station. Enjoy brewing. - Page 5 ® K-Cup pod holder by pulling on it ® TIP: Refer to support.keurig.com for video instructions on cleaning the until it pops off. To replace it, orient entrance/exit needles. the snaps to the indent and just snap it back onto the K-Cup ®...
-
Page 6: Descaling Your Brewer
You may need to refill the water reservoir at least one time during this process. STEP 1: Descaling Solution Rinse NOTE: The cleaning action of Keurig ® Descaling Solution may result in a “foam” dispensed from the brewer. -
Page 7: Draining The Brewer
Draining the Brewer The hot water tank of these brewers can be completely drained. We recommend that the brewer be drained if it is to be transported or stored for an extended period of time. Backside of Brewer (drain line access) 1. -
Page 8: Troubleshooting
Troubleshooting Grounds in Your Coffee Brewing a Partial Cup • Grounds may have gathered in the exit or entrance needle • The exit needle may be clogged. Refer to the exit needle and can be cleaned using a straightened paper clip or care instructions. - Page 9 Water quality varies greatly. If you notice an undesirable Have Questions? taste in your beverage (such as chlorine or mineral tastes), we recommend using bottled or filtered water. Do not use distilled We’re here to help. Visit commercial.keurig.com for step-by-step water. videos on cleaning, descaling, and more. Service...
-
Page 10: Limited One-Year Warranty
Nor does this warranty cover damages caused by use normal use for one-year from the date of purchase. Keurig, a Keurig of non Keurig ®... - Page 11 Pod Holder ® (H and I are the K-Cup ® Pod Holder Assembly) J. Funnel K. K-Cup Pod Assembly ® Housing L. Drip Tray Plate M. Drip Tray N. Drip Tray Base For replacement parts, please visit www.commercial.keurig.com DC0000002023 REV A...
Need help?
Do you have a question about the K-1500 and is the answer not in the manual?
Questions and answers