Table of Contents
Advertisement
Advertisement
Table of Contents

Summary of Contents for Hilti PM 30-MG
- Page 1 PM 30-MG English Printed: 08.05.2019 | Doc-Nr: PUB / 5492798 / 000 / 00...
- Page 2 Printed: 08.05.2019 | Doc-Nr: PUB / 5492798 / 000 / 00...
- Page 3 PM 30-MG Original operating instructions Printed: 08.05.2019 | Doc-Nr: PUB / 5492798 / 000 / 00...
- Page 4 Printed: 08.05.2019 | Doc-Nr: PUB / 5492798 / 000 / 00...
- Page 5 Information about the documentation About this documentation • Read this documentation before initial operation or use. This is a prerequisite for safe, trouble-free handling and use of the product. • Observe the safety instructions and warnings in this documentation and on the product. •...
- Page 6 Wireless data transfer Hilti Li-ion battery type series used. Observe the information given in the section headed In- tended use Pendulum locked (laser beam inclined) Pendulum unlocked (self-leveling system active) Product information products are designed for professional users and only trained, authorized personnel are permitted to operate, service and maintain the products.
- Page 7 Check the accuracy of the device by taking measurements by other means when working under such conditions, or if you are unsure. Likewise, Hilti cannot rule out the possibility of interference with other devices (e.g. aircraft navigation equipment).
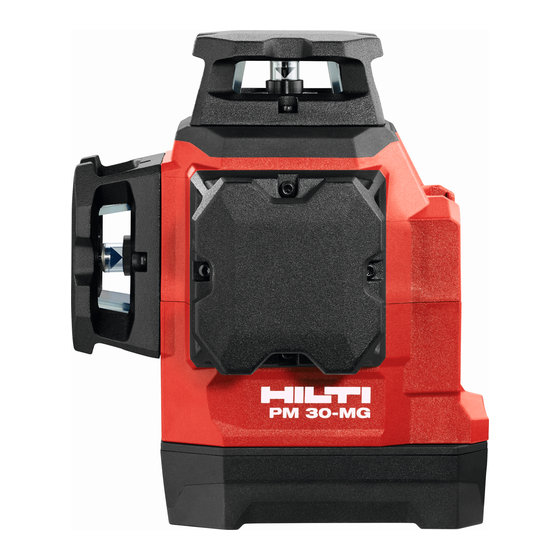
- Page 8 Description Product overview Line mode button Battery state of charge indicator & Liion battery Laser exit window Warning sticker Selector switch for ON / OFF and lock / unlock pendulum Receiver mode button Knob for fine adjustment English Printed: 08.05.2019 | Doc-Nr: PUB / 5492798 / 000 / 00...
-
Page 9: Technical Data
Items supplied Multi-line laser, magnetic holder, wall-mount holder, retaining strap, case, manufacturer's certificate. Other system products approved for use with this product can be found at your local Hilti Store or online at: www.hilti.group. Information displayed during operation... - Page 10 Laser beams and the switch positions “Off”, “On locked” and “On unlocked” Power source Hilti B 12 Li-ion battery Hilti B12 Li-ion battery 2600 mAh, temperature +24 Battery life (all lines on) °C (+72 °F): 8 h (typical) Battery life (horizontal or vertical lines on) Hilti B 12 Li-ion battery, 2600 mAh, temperature +24 °C (+72 °F): 12 h (typical)
- Page 11 Switching the laser beams on 1. Set the selector switch to the position (ON / unlocked). ➥ The vertical laser lines are switched on. 2. Press the line mode button repeatedly until the desired line mode is set. ➥ The operating modes change in the following sequence and the sequence repeats itself: vertical lines, vertical side line, horizontal line, vertical and horizontal lines.
- Page 12 5.8.2 Setting up drywall track for a partition wall 5.8.3 Vertical alignment of pipes English Printed: 08.05.2019 | Doc-Nr: PUB / 5492798 / 000 / 00...
- Page 13 5.8.4 Aligning heating units 5.8.5 Aligning door and window frames English Printed: 08.05.2019 | Doc-Nr: PUB / 5492798 / 000 / 00...
- Page 14 Checking 5.9.1 Checking the plumb point 1. In a high room (for example in a stairwell with a height of 10 m), make a mark (a cross) on the floor. 2. Place the tool on an even, level surface. 3. Switch the tool on and unlock the pendulum. 4.
- Page 15 9. Calculate the value R. ➥ The value R should be less than 3 mm (corre- sponds to 3 mm at 10 m). ➥ The value R should be less than 1/8". 5.9.2 Checking the leveling of the laser beam 1.
- Page 16 8. Calculate the value R. ➥ The value R should be less than 3 mm. ➥ The value R should be less than 1/8". 5.9.3 Checking perpendicularity (horizontal) 1. Position the tool so that the lower plumb beam coincides with the center of a reference cross marked in the middle of a room at a distance of about 5 m from the walls.
-
Page 17: Care And Maintenance
8. Mark the new position on target plate T2. 9. Read the distance D between the two marks on target plate T2. If the difference D is greater than 3 mm, the tool must be returned to a Hilti repair center for adjustment. - Page 18 Most of the materials from which Hilti tools and appliances are manufactured can be recycled. The materials must be correctly separated before they can be recycled. In many countries, your old tools, machines or appliances can be returned to Hilti for recycling. Ask Hilti Service or your Hilti representative for further information.
- Page 19 Printed: 08.05.2019 | Doc-Nr: PUB / 5492798 / 000 / 00...
- Page 20 Hilti = registered trademark of Hilti Corp., Schaan 20190317 Printed: 08.05.2019 | Doc-Nr: PUB / 5492798 / 000 / 00...


Need help?
Do you have a question about the PM 30-MG and is the answer not in the manual?
Questions and answers