Yaesu FT3DR Advanced Manual
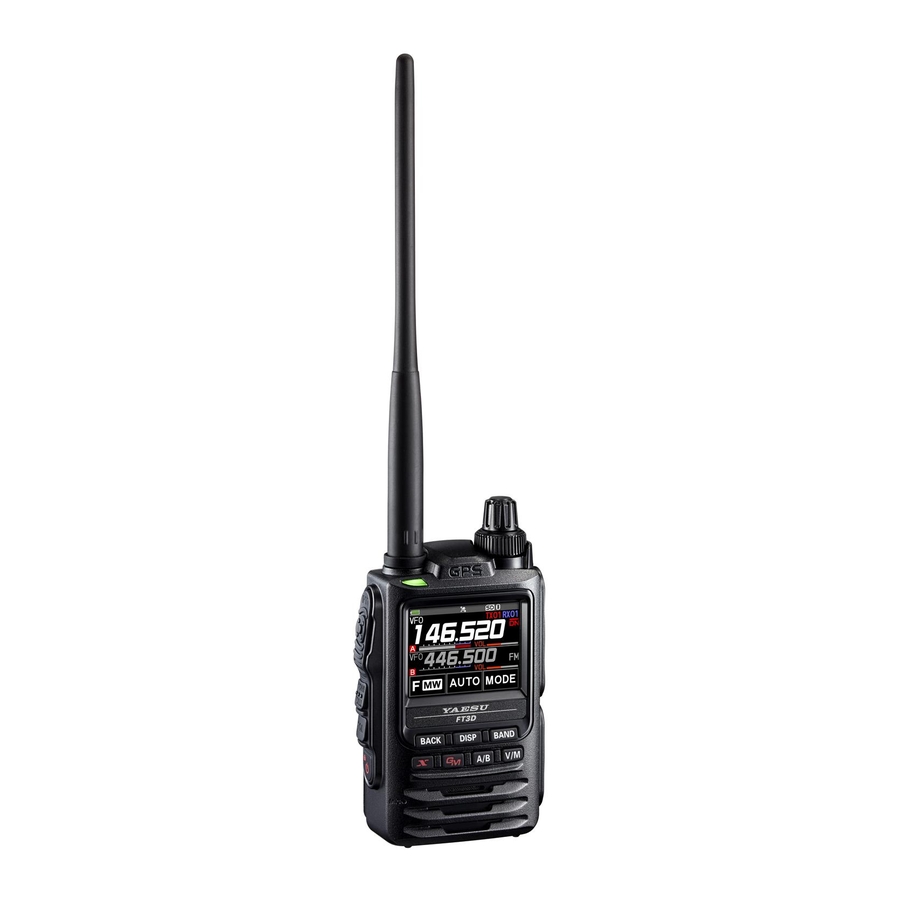
C4fm/fm 144/430mhz dual band digital transceiver
Hide thumbs
Also See for FT3DR:
- Operating manual (98 pages) ,
- Instruction manual (63 pages) ,
- Technical supplement (53 pages)
Table of Contents
Advertisement
Quick Links
Advertisement
Table of Contents

Related Manuals for Yaesu FT3DR


Summary of Contents for Yaesu FT3DR
- Page 1 C4FM/FM 144/430MHz DUAL BAND DIGITAL TRANSCEIVER FT3D FT3D Advance Manual...
-
Page 2: Table Of Contents
Contents Digital Personal ID (DP-ID) feature ..........4 About the Digital Personal ID (DP-ID) feature ..........4 Registering the DP-ID of the other station ............4 Deleting the registered DP-ID ................. 5 Communicating with specified other station in the Analog FM mode ................6 Selecting the Squelch Type in the Analog FM Mode ........ - Page 3 Set Mode Reset ....................40 Functions to Use as Necessary ..........41 Using the Transceiver for Packet Communication........41 Clone Operation ....................42 Connecting to a PC ..................43 Updating the FT3DR/DE firmware ..............43 In case of a malfunction............44...
-
Page 4: Digital Personal Id (Dp-Id) Feature
• If the firmware is not compatible with the DG-ID function, update to the latest firmware to use the DG-ID function. The latest firmware is available on the YAESU website. Registering the DP-ID of the other station • Once registered, DP-ID is stored until deleted. -
Page 5: Deleting The Registered Dp-Id
3. Touch [OK] to save the setting. • When registering in the DP-ID list is finished, “COMPLITED” is displayed for three seconds, then the display returns to the DP-ID list screen. • If not registering the DP-ID, press the [CANCEL]. • If registering several DP-IDs, repeat step 2 and 3. -
Page 6: Communicating With Specified Other Station In The Analog Fm Mode
2. Rotate the DIAL knob to select the call sign of the W6DXC other transceiver, then touch [DEL]. Confirmation screen “DELETE?” is displayed. DELETE? 3. Touch [OK] to delete. • When finished registering in the DP-ID list, “COMPLETED” is displayed for three seconds. -
Page 7: Tone Squelch Feature
300 Hz to 3000 Hz in steps of 100 Hz. Activates a new two-tone CTCSS pager function. When communicating with FT3DR/DE transceivers PAGER among friends, specify personal codes (each code is composed of two tones) so that only specific stations are called. -
Page 8: Searching For The Ctcss Tone Transmitted By The Other Station
4. Touch [F MW] [CODE]. 12 TONE SQL FREQ 5. Rotate the DIAL knob to select the tone frequency. TONE : 100.0 Hz 6. Press the [BACK] key to save the setting and return to normal operation. • The tone frequency setting is common with the squelch types as follows: TONE, TONE SQL, REV TONE, TONE-DCS, D CD-TONE SQL • The default setting is “100.0 Hz”... -
Page 9: Setting The Dcs Code
Setting the DCS CODE 1. Touch [F MW] [SQTYP]. If [SQTYP] is not displayed, touch [FWD →] to display [SQTYP] and then touch it. 2. Rotate the DIAL knob to select “DCS”. 3. Press the PTT switch to save the setting and return to normal operation. 4. -
Page 10: New Two-Tone Ctcss Pager Function
New Two-Tone CTCSS Pager Function When using FT3DR/DE transceivers with a group of friends, setting the Two-Tone CTCSS personal codes allows calling just the specific stations. Even when the person who is called is not near the transceiver, the information on the LCD indicates that a call was received. -
Page 11: Calling A Specific Station
• The reverse combination works as the same code, that is “05 47” is the same as “47 05”. • If the same code is specified for all individuals, all the individuals can be called at the same time. • The default code is “05 47”. • When receiving the signals, the intermittent sound of the tone signal may be heard slightly. -
Page 12: Notification Of A Call From A Remote Station By The Bell Function
Notification of a Call from a Remote Station by the Bell Function The Bell may be set to sound an Alert when a call from another station containing a cor- responding tone, DCS or pager code is received. “ ” icon on the display blinks to pro- vide a later notice of the call from the other station. -
Page 13: Cam (Club Channel Activity Monitor) Function
When a memory channel on the graph is touched, it will become the center operating frequency, so communication with friends may begin immediately. * Only channels in the frequency range of 108 MHz to 579.995 MHz may be stored. Memory channel tag YAESU Memory channel number currently selected Currently selected memory channel... -
Page 14: Using The Cam Function
Using the CAM function 1. Touch [F MW] [CAM]. YAESU • If [CAM] is not displayed, touch [FWD →] to display [CAM] and then touch it. • The CAM screen is displayed, and the signal strength of the channel that received the signal is displayed as a bar graph. -
Page 15: Delete Cam Group
Disable the CAM function 1. Press the [BACK] key. Delete CAM group 1. Touch [GROUP] on the CAM screen, and then rotate the YAESU DIAL knob to select the CAM group (GROUP 01 to 10) to be deleted. 2. Touch [DEL]. -
Page 16: Memory Channel List
3. Touch [ENT] to recall the selected memory channel and enter memory mode. The Memory Channel Only Mode The FT3DR/DE may be set to operated only in the registered memory channels. 1. While pressing the [V/M] key, press and hold the POWER switch to turn the trans- ceiver ON. -
Page 17: Using Memory Banks
Using Memory Banks The transceiver allows using up to 24 memory banks to be recalled with the sorted memory channels. One memory channel may also be registered in two or more memory banks according to the intended use. Example of registering memory channels to the memory banks: Memory channels Memory banks 145.000 MHz... -
Page 18: Open The Memory Bank Display
Open the Memory Bank display 1. Press the [V/M] key to enter the memory mode. Memory Bank Number 2. Touch [F MW] [BANK]. Memory Channel Number If [BANK] is not displayed, touch [BACK ←] to dis- play [BANK] and then touch it. B1 to B24: The memory bank display : The memory channel display If no memory channel is registered, setting the following operation sounds the beep and “NO... -
Page 19: Assigning A Name To A Memory Bank
Assigning a Name to a Memory Bank A name can be assigned to a memory bank using up to 16 characters. The following types of characters can be entered: • Alphabetic characters (1 byte and 2 byte letters, uppercase and lowercase characters) • Numbers (1 byte and 2 byte numbers) • Symbols 1. -
Page 20: Split Memory
Split Memory Two different frequencies, one for receive and another for transmit, may be registered to a memory channel. 1. Register the receive frequency to a memory channel first. • For additional details on registering to a memory channel, refer to the Operating Manual “Registering to Memory Channels”. -
Page 21: Setting Skip Memory Channel And Specified Memory Channel
Setting Skip Memory Channel and Specified Memory Channel For efficient memory channel scanning, two types of memory channels may be desig- nated, “skip memory channels” and “specified memory channels”. Set “Skip Memory Channels” will be skipped during the memory scanning; and only “Specified Memory Channels”... -
Page 22: Programmable Memory Channel Scan (Pms)
1. In the VFO mode, set the frequency that you do not want to receive. 2. Register the skip search memory (901-999) with the same steps as “Registering to Memory Channels” (see the Operating Manual). The skip search memory may be deleted with the same steps as “Clearing Memories” (see the Operating Manual). -
Page 23: Memory Bank Scanning
Memory Bank Scanning Scan only the memory channels stored in the recalled memory bank. 1. Recall the memory bank you want to scan by referring to “Open the Memory Bank display” (page 18) and “Open Memory Bank Channels” (page 18). 2. -
Page 24: Dual Receive (D.rcv) Function
Dual Receive (D.RCV) Function The transceiver is equipped with the following 3 types of Dual Receive Functions: • VFO Dual Receive • Memory Channel Dual Receive • Home Channel Dual Receive The transceiver checks for signals on the frequency registered to the selected memory channel (Priority Memory Channel) once approximately every 5 seconds. -
Page 25: Activating The Dual Receive (D.rcv) Feature
Activating the Dual Receive (D.RCV) feature 1. Set the frequency and communication mode to monitor continually. The monitor frequency may be set on the VFO mode, the memory channel mode or the HOME channel mode. VFO Dual Receive VFO Priority Memory Channel Memory Channel Dual Receive Memory Channel ... -
Page 26: Af-Dual Receive Function
AF-DUAL Receive Function The AF-DUAL Receive Function allows reception of a radio broadcast during standby re- ception of A-band or B-band frequency (or frequency registered to a memory channel). When standby reception is active, no audio is heard on the standby frequency, however if a voice signal is detected, the reception of the broadcast radio will be paused, and the receiver frequency will be heard. -
Page 27: Dtmf Operation
DTMF Operation DTMF (Dual Tone Multi Frequencies) are the tone signals sent to make telephone calls, or control repeaters and network links. Up to 10 registers of 16-digit DTMF tone codes can be stored as telephone numbers to make calls through the public telephone network using a phone patch or connect through the WIRES-X analog node station. -
Page 28: Using The Gps Function
Using the GPS Function The GPS Function GPS (Global Positioning System) is a space-based satellite navigation system that pro- vides location and time information anywhere on the earth. It was developed by the U.S. Department of Defense as a military system. When the GPS receiver acquires 3 or more signals (of about 30) GPS satellites orbiting at an altitude of about 20,000 km, it can cal- culate and display its current position (latitude, longitude, and altitude) within a tolerance of several meters. -
Page 29: Saving Gps Information (Gps Log Function)
Using the saved data, tracks can be displayed on commercially available map software*. * Technical support for the map software is not provided by YAESU. 1. See “Activating the GPS Function” on page 28, and activate the GPS function. -
Page 30: Checking Tracks On Your Pc
Checking Tracks on Your PC 1. Turn off the transceiver. 2. Remove the microSD memory card from the transceiver. 3. Connect the microSD memory card to your PC using a commercially available memory card reader. 4. Open the “FT3D” folder in the microSD memory card. 5. -
Page 31: Gps Screen Information And Operation
GPS Screen Information and Operation Activating the GPS function displays the following information on the LCD. 1. In the normal operation screen, press the [DISP] key. If the navigation screen is displayed, touch the compass display to switch to the GPS information screen. -
Page 32: Smart Navigation Function
Smart Navigation Function There are 2 methods of navigation with the Smart Navigation function. • Real-time navigation function • Backtrack function Before using the smart navigation function, press and hold the [DISP] key touch [APRS] [1 TARGET LOCATION] , select “COMPASS”. Real-Time Navigation Function GPS position information and voice signals are simultaneously transmitted in the V/D mode of C4FM digital. -
Page 33: Backtrack Function
Backtrack Function By registering a point such as the departure point in advance, the distance and direction to the registered point from your current position can be displayed in real time. z Registering Your Current Position (Departure Point) (up to 3 Positions can Be Registered) 1. - Page 34 z Description of the BACK TRACK Function Screen Distance to the registered position DISTANCE H-UP: Heading Up N-UP: North Up Registration point Direction of registration point...
-
Page 35: Appendix
Appendix The folder configuration of the micro-SD card A commercially available microSD memory card may be inserted into the FT3DR/DE to save various data files. The data of each function is stored in the following folders. (root) FT3D BACKUP: Various setting data (BACKUP.dat) GPSLOG: GPS Log data (yymmddhhmmss.log) -
Page 36: Preset Receiver Channel Lists
Preset receiver channel lists The preset receiver function presets the frequencies and memory tags (names) of 156 channels and various radio stations into the following three categories: • Weather Broadcast Stations (10 channels) • International VHF Marine Radio (57 channels) • International Worldwide Broadcast (89 channels) Recall a preset receiver 1. -
Page 37: Weather Broadcast Stations (10 Channels)
Weather Broadcast Stations (10 channels) The frequencies (10 channels) used for the VHF Weather Broadcast Stations are regis- tered. Memory channel No. Frequency (MHz) Memory channel No. Frequency (MHz) 162.550 162.500 162.400 162.525 162.475 161.650 162.425 161.775 162.450 163.275... -
Page 38: International Vhf Marine Radio (57 Channels)
International VHF Marine Radio (57 channels) The frequencies used for international VHF (marine) radio are registered. Memory channel No. Frequency (MHz) Memory channel No. Frequency (MHz) 156.050 160.650* 156.025 160.625* 156.100 160.700* 156.075 160.675* 156.150 160.750* 156.125 160.725* 156.200 160.800* 156.175 160.775* 156.250... -
Page 39: International World Wide Broadcast (89 Channels)
International World Wide Broadcast (89 channels) The major shortwave broadcast stations around the world are registered. Frequency Broadcast Station Frequency Broadcast Station Name Name Number (MHz) Name Number (MHz) Name 6.030 11.880 SPAIN Spain 6.160 11.910 SPAIN Spain 9.760 15.290 SPAIN Spain 11.965... -
Page 40: All Reset
Caution When the All Reset function is performed, all data registered in the memory will be deleted. Be sure to note the settings on paper or back up the data on a microSD memory card. For details on how to save backup onto a microSD memory card refer to “Set Mode: SD CARD Menu Operations”... -
Page 41: Functions To Use As Necessary
Functions to Use as Necessary Using the Transceiver for Packet Communication You can perform packet communication with your transceiver by connecting a TNC (Ter- minal Node Controller) using an optional Microphone Adapter (CT-44). MIC/SP jack CT-44 10 F μ 2 kΩ After connecting the TNC to the transceiver, set the output signal level to the TNC by adjusting the sound volume level of the transceiver. -
Page 42: Clone Operation
Clone Operation Data and various settings saved in your transceiver can be copied to any other FT3DR/ DE transceiver. DATA terminal DATA terminal 1. Turn OFF the power of both FT3DR/DE transceivers, then connect an optional clone cable (CT-168) to the DATA terminal of each transceiver. -
Page 43: Connecting To A Pc
To update the transceiver firmware, connect a PC to the DATA terminal of the FT3DR/DE with the supplied USB cable, as described below: When a new firmware update for the FT3DR/DE is available, download the data from the YAESU website to update the FT3DR/DE to the latest version. -
Page 44: In Case Of A Malfunction
The battery pack cannot be charged, or the battery power depletes immediately after charging. • Is the battery pack being charged with a charger specified by Yaesu? Charge the battery pack using the accessory battery charger (SAD-25) or the rapid charge cradle (CD-41). - Page 45 Copyright 2019 YAESU MUSEN CO., LTD. All rights reserved. No portion of this manual may be reproduced without the permission of YAESU MUSEN CO., LTD. YAESU MUSEN CO., LTD. Tennozu Parkside Building 2-5-8 Higashi-Shinagawa, Shinagawa-ku, Tokyo 140-0002 Japan YAESU USA 6125 Phyllis Drive, Cypress, CA 90630, U.S.A.
Need help?
Do you have a question about the FT3DR and is the answer not in the manual?
Questions and answers