
Related Manuals for Energizer 50904


Summary of Contents for Energizer 50904
-
Page 1: User Guide
50904 4AMP 9 STEP SMART CAR BATTERY CHARGER CHARGES & MAINTAINS BATTERY USER GUIDE PLEASE SAVE THESE INSTRUCTIONS. THIS MANUAL CONTAINS IMPORTANT SAFETY AND OPERATING INSTRUCTIONS. READ AND FOLLOW ALL INSTRUCTIONS BEFORE EACH USE. -
Page 3: Table Of Contents
CONTENTS IMPORTANT SAFETY INSTRUCTIONS PERSONAL SAFETY PRECAUTIONS CONTROL PANEL OPERATING INSTRUCTIONS TROUBLESHOOTING ERROR CODES MAINTENANCE INSTRUCTIONS TECHNICAL DATA WARRANTY & RETURNS... -
Page 4: Important Safety Instructions
Thank you for purchasing the Energizer 4Amp 9 Step Smart Car Battery Charger. Always ® follow basic safety precautions when using electrical appliances. Please read all instructions carefully and keep this instruction manual safe for easy reference. IMPORTANT SAFETY INSTRUCTIONS SAVE THESE INSTRUCTIONS. -
Page 5: Personal Safety Precautions
PERSONAL SAFETY PRECAUTIONS Someone should be able to come to your aid when you work near a lead-acid battery. Have plenty of fresh water and soap nearby in case battery acid contacts your skin, clothing, or eyes. Wear complete eye and clothing protection. Avoid touching your eyes while working near lead-acid batteries. -
Page 6: Features
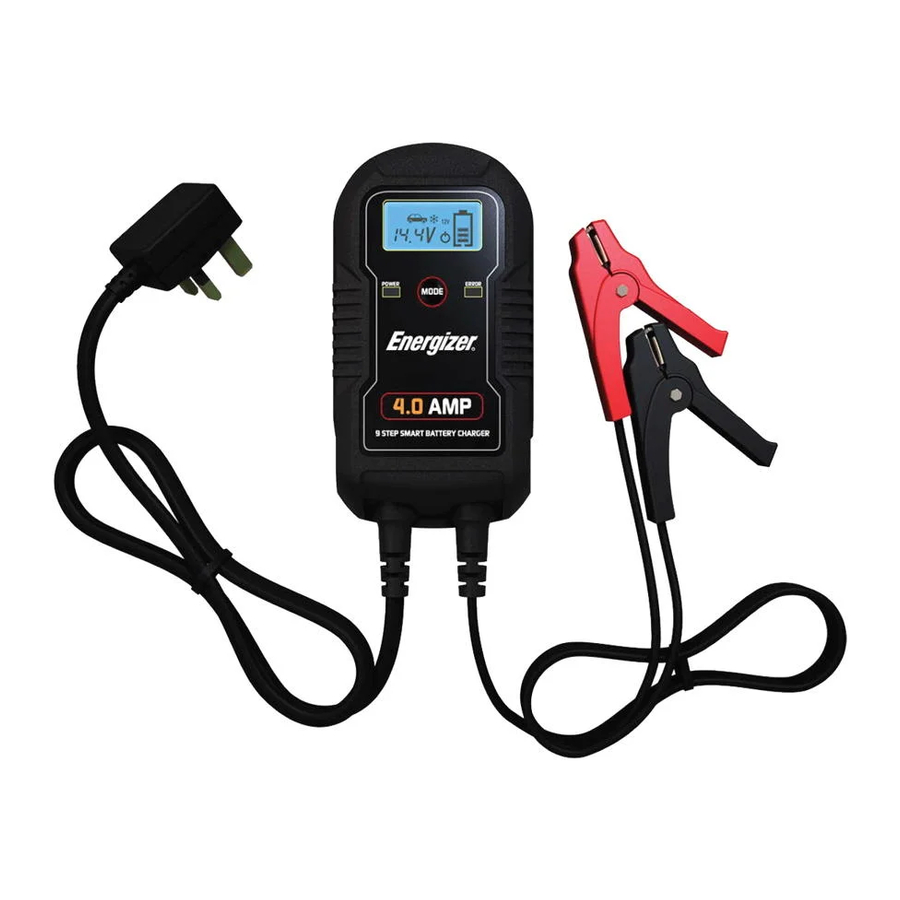
FEATURES AC mains lead Battery charger unit LCD display Fully insulated clamps... -
Page 7: Control Panel
CONTROL PANEL LCD DISPLAY The icon will indicate 2A charge rate, which is used for charging the small capacity batteries used in a motorcycle, ATV, snowmobile, personal watercraft, garden tractor and golf car. The icon will indicate 4A charge rate, which is used for faster charging of small-to-large capacity automotive, marine, deep cycle and farm tractor batteries. -
Page 8: Operating Instructions
OPERATING INSTRUCTIONS PREPARING TO CHARGE If it’s necessary to remove the battery from the vehicle to charge it, always remove the earth terminal from the battery first. Make sure all accessories in the vehicle are off, so as not to cause a spark. Ensure that the area around the battery is well ventilated while charging. - Page 9 For negative-grounded vehicle, connect the POSITIVE (RED) clamp from the battery charger to the POSITIVE (POS, P, +) ungrounded post of the battery. Connect the NEGATIVE (BLACK) clamp to the vehicle’s chassis or engine block, away from the battery. Do not connect the clamp to the carburettor, fuel lines, or sheet metal body parts. Connect to a heavy gage metal part of the frame or engine block.
- Page 10 CHARGING NOTE: Before using the charger, please review all safety and connection directions. Failure to do so can damage the battery and cause serious injury or death. • Connect the charger to the battery per the operating instructions. • Connect the charger to an AC outlet. •...
- Page 11 a reduction in battery capacity. The charger will then charge at a higher voltage to recover the battery’s capacity. Stage 9 — Restoring: Automatic on-off monitoring. The charger monitors a fully charged battery. If the battery falls below 12.8V DC, the charger will restart and enter stage one charging again.
-
Page 12: Troubleshooting Error Codes
TROUBLESHOOTING ERROR CODES Code Condition Possible Cause Solution The battery voltage is less The battery is Replace the battery. than 0.5V before charging. defective. The battery clamps are disconnected from the battery. Connect the battery firmly and correctly. The battery clamps are connected to Charging does not begin. -
Page 13: Maintenance Instructions
MAINTANENCE INSTRUCTIONS This charger requires minimal maintenance, though a few common sense rules will prolong the life of the battery charger. ALWAYS BE SURE THE CHARGER IS UNPLUGGED BEFORE PERFORMING ANY MAINTENANCE OR CLEANING. Store in a clean, dry place. Coil up the cords when not in use. -
Page 14: Warranty & Returns
What does this warranty cover? This limited warranty is provided by Custom Accessories Europe and covers defects in workmanship and materials in your model 50904 battery charger. This warranty period lasts for 12 months from the date of purchase at the point of sale to you, the original end user customer. - Page 15 Exclusions This limited warranty gives you specific legal rights. This does not affect your statutory rights. Warning: Limitations on use Please read this product manual for limitations on use. RETURN PROCEDURE Package the unit safely, preferably using the original box and packing materials. Please ensure that your product is shipped fully insured in the original packaging or equivalent.
- Page 16 © 2017 Energizer. Energizer and certain graphic designs are trademarks of EN 60335 Energizer Brands, LLC and related subsidiaries and are used under license by EN 55014 Custom Accessories Europe Ltd. All other brand names are trademarks of their EN 61000 respective owners.
Need help?
Do you have a question about the 50904 and is the answer not in the manual?
Questions and answers
mode button not working stuck on motor cycle mode 6 amp wil not change
The manual does not provide specific troubleshooting steps for a stuck mode button. However, you can try the following general steps:
1. Ensure the charger is properly powered on.
2. Press and hold the Mode Selection Button firmly to see if it responds.
3. Unplug the charger, wait a few minutes, and plug it back in to reset the system.
4. Check for any physical obstructions or dirt around the button.
5. If the issue persists, the button may be faulty, and professional repair or replacement may be needed.
This answer is automatically generated