Table of Contents
Advertisement
SIMPLE
SMART
To see installation videos, scan the QR
Code or visit www.coscokids.com.
©2016 Dorel Juvenile. All Rights Reserved.
4358-7080A
1.9.17
FUN
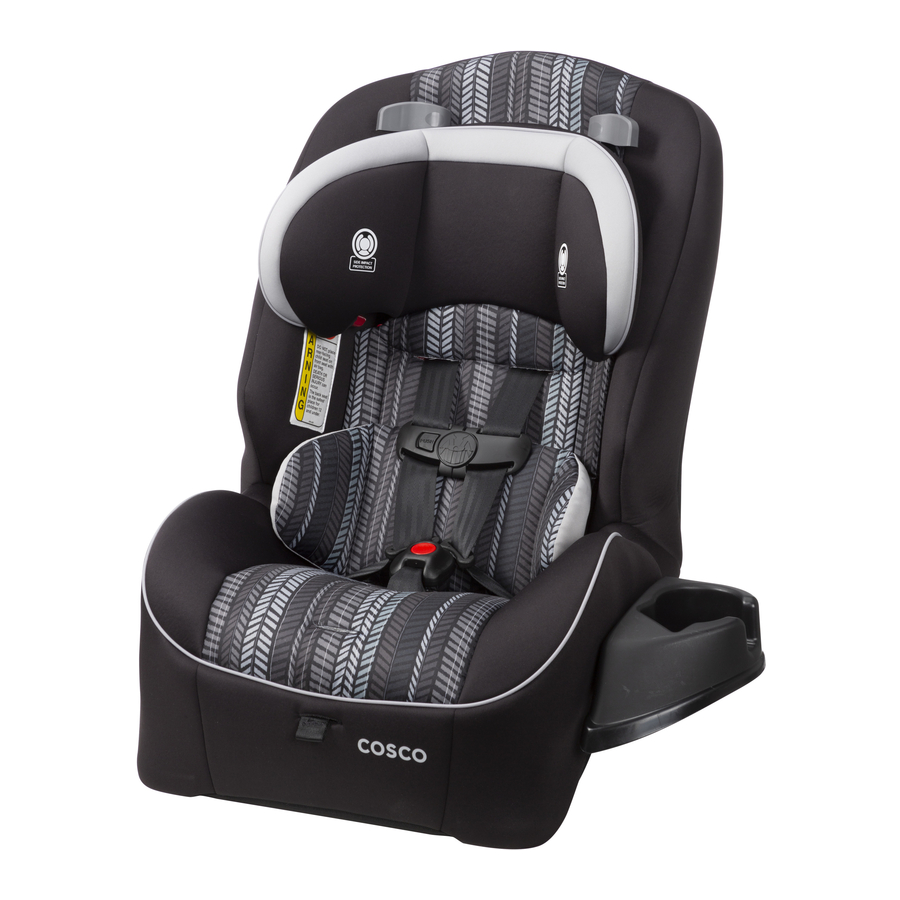
EASY ELITE
CONVERTIBLE CAR SEAT
Rear Facing: 5-40 lb and 19-40 in. (2.3-18 kg and 48-101.6 cm)
Forward Facing: 22-50 lb and 29-45 in.
(10.1-22.6 kg and 73.6-114.3 cm) At least 1 year old
Belt-Positioning Booster: 40-80 lb and 43-52 in.
(18.1-36.3 kg and 110.1-132.1 cm)
KEEP INSTRUCTIONS FOR FUTURE USE.
Read all instructions before using this child restraint.
Failure to follow the warnings on the labels and in the
instruction manual can result in serious injury or death to
your child.
TETHER
Page 38
LOWER ANCHOR
CUP HOLDER
BELT Page 21
Page 18
Advertisement
Table of Contents

Related Manuals for Cosco EASY ELITE


Summary of Contents for Cosco EASY ELITE
- Page 1 SIMPLE SMART BELT Page 21 Page 18 EASY ELITE CONVERTIBLE CAR SEAT Rear Facing: 5-40 lb and 19-40 in. (2.3-18 kg and 48-101.6 cm) Forward Facing: 22-50 lb and 29-45 in. (10.1-22.6 kg and 73.6-114.3 cm) At least 1 year old Belt-Positioning Booster: 40-80 lb and 43-52 in.
- Page 2 Choosing Rear Facing, Forward Facing, or WARNING: Verify your child’s weight and height Booster Seat (do not guess) before choosing the child restraint’s placement. Your child’s height, weight, and age determine how your child restraint should be placed in the vehicle. Please talk to your doctor about the best option for your child.
-
Page 3: Table Of Contents
Table of Contents Getting Started ........1 Rear Facing ......... 27 Parts of the Child Restraint .........1 Lower Anchor Belt Installation.......28 Prepare Child Restraint to Fit Your Child ....3 Vehicle Belt Installation ........33 How Does Your Child Fit? ........4 Changing Position of Buckle .......5 Forward Facing ........ -
Page 4: Parts Of The Child Restraint
Parts of the Child Restraint Front View Side View Back View Headrest/Harness Harness Adjustment Levers Adjustment Strap Adjustable Headrest Harness Strap Lower Anchor Belt Recline Stand Shoulder Belt- Chest Clip Attachment for Positioning Guide Rear-Facing Belt Body Pillow Storage Path Shoulder Harness (see page 18) (under side of shell) -
Page 5: Prepare Child Restraint To Fit Your Child
How Does Your Child Fit? Prepare Child Restraint to Fit Your Child Use the guidelines below to determine if the buckle and harness Fully Loosen Harness straps are in the right place for your child. Straps REAR FACING Push down on harness release Buckle Position lever (under fl... -
Page 6: Changing Position Of Buckle
Changing Position of Buckle Insert Buckle’s Metal Unbuckle Harness Retainer into Slot Press in towards the top of the red Closest to Child button. Buckle MUST face out. Pull buckle tongues out. MUST use the 1st or 2nd buckle slots when child restraint is used rear facing. -
Page 7: Adjusting Headrest/Harness Height
Adjusting Headrest/Harness Height Securing Child in Child Restraint XXXXX Place Child in Child Fully Loosen Harness Restraint Straps The child’s bottom and back Push down on harness release should be fl at against the child lever (under fl ap on front of seat restraint. -
Page 8: Reclining Child Restraint
XXXXX Reclining Child Restraint Check Harness Tightness This child restraint has 2 positions: Try to pinch the harness at the Rear Facing - shoulders vertically between index For children between 5-22 lb fi nger and thumb as shown. (2.3-10 kg), the bottom level line If your fi... -
Page 9: Removing Harness System
Removing Harness System Pull Harness Strap Out Only remove the harness system to clean the seat pad or to of Seat use this child restraint as a booster seat. Fully Loosen Harness Straps Push down on harness release lever (under fl ap on front of seat pad) while Turn Seat Over pulling out on harness straps as shown. -
Page 10: Removing Seat Pad For Cleaning
Removing Seat Pad for Cleaning XXXXX Remove Pad You must remove the harness system to remove the pad from the shell. See pages 11-12. Pull pad off the top of child restraint and remove pad. To remove accessories, see page 18. Adjust the Headrest to the Highest Position WARNINGS:... -
Page 11: Installing Harness System
XXXXX Installing Harness System Installing Harness System XXXXX Pull Harness Strap Insert Buckle’s Metal Across Bottom of Shell Retainer into Slot Closest to Child Push harness strap up through other hip harness slot. Buckle MUST face out. MUST use the 1st or 2nd buckle slot when child restraint is used rear facing. -
Page 12: Accessories On Select Models
XXXXX Accessories on Select Models Thread Harness Strap OVER Metal Bar Cup Holder Pull pad off corner. Hook bottom of cup holder to edge of shell. Rotate cup holder up until it snaps into the hole on the shell. Attach Harness Strap Replace pad. -
Page 13: Child Restraint Use
Child Restraint Use Vehicle Seating Position Never place a child rear facing in a seating Never take your child out of the child restraint while the position with an active frontal air bag. vehicle is moving. Check the vehicle owner’s manual for more infor- Never leave child unattended. -
Page 14: Choosing Lower Anchor Belt Or Vehicle Belts
Choosing Lower Anchor Belt or Vehicle Belts Your vehicle’s features may be considerably different than Your vehicle’s features may be considerably different than those pictured here. those pictured here. Lower Anchor Bars Seat Bight Vehicle Belts The LATCH System The lower anchors of LATCH (Lower If lower anchors are not an option or if your child weighs more Adjuster Anchors and Tethers for CHildren) is a... -
Page 15: Knowing Your Vehicle Belts
Knowing Your Vehicle Belts Types of Retractors Not all vehicle belts and seating positions will work with child restraints. Please follow the following steps to under- stand how to lock a child restraint with a vehicle belt. Switchable Retractor (most vehicles have this type) You MUST Review Your Vehicle Owner’s Manual This retractor can be switched to a locking mode. -
Page 16: Aircraft Information
Aircraft Information Check the Latch Plates Latch plates are the part of This restraint is certifi ed for aircraft use when used with the the seat belt that goes into the internal harness. buckle. This child restraint is not certifi ed for aircraft use when Hold the lap belt with one hand used as a booster seat because aircraft seats do not have and with your other hand grasp the... -
Page 17: Rear Facing
Rear Facing Lower Anchor Belt Installation XXXXX WARNINGS: Do not use the lower anchor belt along with the vehicle lap or lap/shoulder belt. Check lower anchor belt before each use. Use only if the belt can be tightened properly and securely. Do not fasten multiple lower anchor hooks on the same lower anchor bar in the vehicle. - Page 18 Pull Seat Pad Off the Front Finished Lower Anchor Belt of the Shell Routing Place Child Restraint Rear Facing in Back Seat For children between 5-22 lb (2.3- Route Lower Anchor Belt 10 kg), the bottom level line on shell Through Rear-Facing Belt MUST be parallel with the ground.
- Page 19 Tighten Belt Secure Child in Child Restraint Place hand in child restraint. Recheck the level lines to Firmly push the child restraint make sure it is reclined down and towards the vehicle seat according to your child’s back while pulling the free end of weight.
-
Page 20: Vehicle Belt Installation
Vehicle Belt Installation WARNINGS: Do not use the lower anchor Check if Your Vehicle Belts belt along with the vehicle lap or lap/shoulder Will Work With This Child belt. Secure the lower anchor hooks to storage Restraint attachments as shown when installing with This is very important because vehicle belts. - Page 21 XXXXX Replace Pad Over Front Check Belt Tightness of Shell Hold child restraint at the belt path with your weakest hand. Push and pull from side to side. It should not move more than 1 in. (2.5 cm). Adjust Child Restraint If it moves more than 1 in.
-
Page 22: Forward Facing
Forward Facing Tether Use XXXXX MUST always attach, adjust, and secure the top anchorage (tether) strap when installing the child restraint forward facing with internal harness. Tethers improve the installation and stability of child restraints and reduce the risk of injury. Attach the tether hook to the tether anchor designated by your vehicle manufacturer for that seating position. -
Page 23: Lower Anchor Belt Installation
Lower Anchor Belt Installation Finished Lower Anchor WARNINGS: Do not use the lower anchors of the child Belt Routing restraint anchorage system (LATCH system) to attach this child restraint when restraining a child weighing more than 40 lbs (18 kg). The vehicle belt must be used for installation if your child weighs more than 40 lb (18 kg). - Page 24 XXXXX Attach Lower Anchor Check Belt Tightness Hooks to Vehicle’s Hold child restraint at the belt Lower Anchors path with your weakest hand. Review your vehicle owner’s Push and pull from side to manual for lower anchor locations side. and lower anchor belt use. It should not move more than 1 in.
-
Page 25: Vehicle Belt Installation
Vehicle Belt Installation Check if Your Vehicle Belts Will Work With This Child WARNINGS: Do not use the lower Restraint anchor belt along with the vehicle lap or lap/shoulder belt. Secure the lower This is very important because anchor hooks to storage attachments not all vehicle belts will work as shown when installing with vehicle with child restraints. -
Page 26: Booster Seat
Booster Seat 40-80 lb (18.1-36.3 kg) Tighten Tether 43-52 in. (110.1-132.1 cm) Push firmly on the back of the seat and pull the tether strap to remove Lap/Shoulder Belt all slack and create tension on the strap. MUST remove the harness system (see pages 11-12) and accessories (see page 18) to use as a booster seat. - Page 27 Lap/Shoulder Belt Install Place Booster Seat Pull Up On Shoulder Forward Facing Flush Belt to Tighten Against Vehicle Seat The shoulder belt should lay Back snugly across the center of the child’s shoulder and across the Vehicle seat back must be upright. chest and not on their face or neck.
-
Page 28: Using A Locking Clip
Using a Locking Clip Position Locking Clip You will rarely need to use a locking clip except in some older vehicles. Built-in child restraint locking systems have been re- It should be about 1 in. (2.5 cm) from vehicle belt’s latch plate. quired in vehicles since 1996, and many vehicles had these fea- tures even earlier. -
Page 29: Dorel Juvenile Group Information
XXXXX Dorel Juvenile Group Information Registration and Safety Notices Please complete the postage-paid registration card that came Thank you for choosing this child restraint. The DJG family is with your child restraint, and send it to us. Child restraints could committed to creating child restraints with the most comfort and be recalled for safety reasons. -
Page 30: Troubleshooting
Troubleshooting Warranty Dorel Juvenile Group, Inc. (DJG) warrants this product to the original Locate a Child Safety Seat Inspection Station for hands retail purchaser as follows: on training on how to use your child restraint: Visit your This product is warranted against defective materials or workman- local Child Passenger Inspection Station or go to http://www. -
Page 31: Replacement Parts Order Form
Replacement Parts Order Form Complete the form. Your model number and manufacturer date code MUST be included on the form to ensure proper replacement parts. The codes can be found on a label on side of child restraint. Payment in U.S. dollars must accompany your order. Choose parts needed from the list on the next page. - Page 32 Replacement Parts List NOTE: If requested color is not available, similar color will be substituted. Prices are subject to change. Part Cost Total Cost Buckle Assembly ....... $7.99 ..___ ..$_______ Harness Strap ......$2.99 ..___ ..$_______ Seat Pad Set ......
Need help?
Do you have a question about the EASY ELITE and is the answer not in the manual?
Questions and answers