Advertisement
Quick Links
1. 12x12 Instant Up Canopy Top (1)
2. 12x12 Instant Up Canopy Frame (1)
1.
1. Remove all parts from the canopy bag.
4.
4. Place the canopy top on the opened
frame.
7.
7. Turn all four sides down to cover the
side of the frame. On the inside of the
canopy, secure all four sides and ceiling
to the canopy frame using the inside
hook and loop strips.
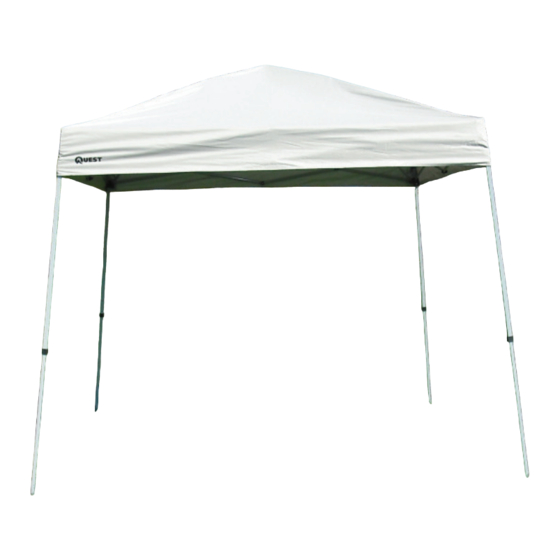
Q100 12x12 Instant Up Canopy
Instruction Manual
Canopy Parts List
Canopy Set Up Instructions
2.
2. Place the canopy frame in the upright
standing position. Open the frame
partially using the legs.
5.
5. Secure the canopy top to the canopy
frame on all four corners using the hook
and loop strips.
8.
8. Extend all four legs to the desired
preset height. This should be completed
by extending two legs on the same side at
the same time. Once extended to the
appropriate height, the canopy legs will
lock into place.
3. 12x12 Instant Up Carry Bag (1)
4. Canopy Stakes (4)
3.
3. Open the canopy frame using the sides
of the canopy as indicated. The canopy
locations are marked "Open Here".
6.
6. Open the canopy frame until all four
corners lock into place. You should hear a
click when the canopy frame has opened
and the corner has locked.
9.
9. To secure the canopy to the ground, place
one canopy stake in each of the four
pre-drilled holes at the base of the canopy.
The short side of the stake should be touching
the ground. Set up for your Quest 10x10
Instant Up Canopy is now complete.
Advertisement

Related Manuals for Quest Engineering Q100


Summary of Contents for Quest Engineering Q100
- Page 1 Q100 12x12 Instant Up Canopy Instruction Manual Canopy Parts List 1. 12x12 Instant Up Canopy Top (1) 3. 12x12 Instant Up Carry Bag (1) 2. 12x12 Instant Up Canopy Frame (1) 4. Canopy Stakes (4) Canopy Set Up Instructions 1. Remove all parts from the canopy bag.
- Page 2 Q100 12x12 Instant Up Canopy Instruction Manual Canopy Take Down Instructions 2. Lower the canopy by pressing the 3. Inside the canopy, unstrap all four sides 1. Remove canopy stakes from the ground, clean off, and place in canopy stake bag.
- Page 3 General Canopy Safety & Guidelines Water Your Quest canopy has been treated with a water resistant coating to help keep you dry. This coating is also resistant to Ultraviolet light, helping to protect you from the sun. The water resistant coating is intended for use only in light rain conditions. Water collected in the fabric can cause the structure to collapse causing serious injury or death.
- Page 4 1-Year Limited Warranty What this warranty covers: This Quest product manufactured for Dick’s Sporting Goods, is warranted to be free from defects in material and workmanship for a period of one year from the date of your original purchase. Dick’s Sporting Goods will, at its option, repair or replace any original part of this product that is found to be defective under the terms of this warranty.
Need help?
Do you have a question about the Q100 and is the answer not in the manual?
Questions and answers