Table of Contents
Advertisement
Advertisement
Table of Contents

Related Manuals for Jumbuck DELTA 2


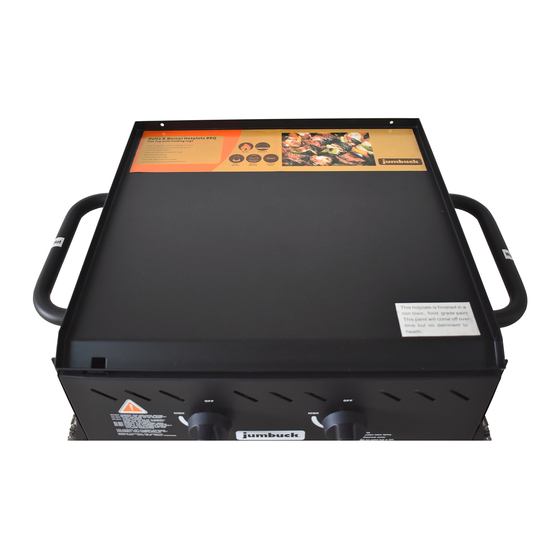
Summary of Contents for Jumbuck DELTA 2
- Page 2 ASSEMBLY & OPERATION INSTRUCTIONS JUMBUCK DELTA 2 (HS-GG007JB - 3180888) FOR YOUR SAFETY FOR YOUR SAFETY If you smell gas: Do not store or use gasoline or other Shut off gas to the appliance. flammable vapours or liquids in the OUTDOOR 2.
-
Page 3: Important Safety Instructions
SAFETY INSTRUCTIONS IMPORTANT: READ THE ASSEMBLY INSTRUCTIONS IN THIS BOOKLET BEFORE REMOVING THE CONTENTS OF THIS CARTON IMPORTANT SAFETY INSTRUCTIONS This BBQ should not be located under This appliance must only be used in an above overhead combustible construction and ground open-air situation with natural ventilation, proper clearances must be maintained at all without stagnant areas, where gas leakage and... -
Page 4: Other Considerations
WARNING OTHER CONSIDERATIONS A strong gas smell or the hissing sound of gas Strong winds and low temperatures can indicates a serious problem with your gas BBQ or affect the heating and performance of your the gas cylinder. Failure to immediately follow the gas BBQ so factor in these elements when steps listed below could cause serious bodily positioning your BBQ outdoors for cooking. - Page 5 PLACEMENT OF BBQ ANY ENCLOSURE IN WHICH THE APPLIANCE IS USED PLACEMENT OF BBQ This product is meant for outdoor use only! Do not MUST COMPLY WITH ONE OF THE FOLLWING: An enclosure with walls on all sides, but at least one store petrol or any inflammable liquids near this permanent opening at ground level and no overhead product.
-
Page 6: Gas Cylinder Safety Information
GAS CYLINDER SAFETY INFORMATION GAS TYPE HOSE AND REGULATOR REPLACEMENT Note the labeling of appropriate gases listed on In the case of a problem arising with the hose and your BBQ and ascertain that the gas you have is regulator please contact your BBQ supplier for a list suitable for your BBQ. -
Page 7: Leak Testing
LEAK TESTING Please check for gas leakage the first time you are connecting the BBQ to the gas cylinder, and also each time you are replacing the gas cylinder or disconnecting/reconnecting any fittings. Inspect 1. Add soap and water to spray bottle or the hose before each use. -
Page 8: Lighting Procedure
CONTROLLING THE FLAMES LIGHTING PROCEDURE The knobs have three basic positions. You can achieve Lighting the BBQ is easy, but must be done with any flame height between low and high by rotating the due care. knob between these positions. ... - Page 9 FIRST TIME USE - CURING THE PLATE COOKING SURFACE MAINTENANCE During manufacturing, the cooking surface is Burning at maximum heat for approximately 5-10 coated with a non-toxic paint. This paint will come minutes is recommended after each use to clean the cooking surface.
- Page 10 BBQ MAINTENANCE IMPORTANT INFORMATION This product is for outdoor use only. Apart from cleaning, your BBQ is a fairly low Do not use indoors. maintenance appliance. Below are a couple of Do not use below ground level. things worth looking at though.
-
Page 11: Burner Maintenance
BURNER MAINTENANCE You should check the burners periodically for any sort Use a bottle brush with a flexible handle. Run the brush of blockage. To do this, remove and inspect them. If through the burner tube and inside the burner several any of the holes are clogged, gently tap the burner times, removing any debris. - Page 12 EXPLODED VIEW AND PARTS CODE Parts Number Parts Name Parts Code BBQ Body GG007JB01 Body Handle GG007JB02 Leg Support 1 GG007JB03 Cylinder Shield GG007JB04 Cylinder Hook GG007JB05 GG007JB06 Leg Plastic Insert GG007JB07 Knob GG007JB08 Control Fascia GG007JB09 Gas Valve GG007JB10 Burner GG007JB11 Fixing Plate...
-
Page 13: Carton Contents
CARTON CONTENTS Reference# Description Part# Illustration Quantity BBQ Body Body Handle 2pcs Cylinder Shield Cylinder Hook Leg Support 1 4pcs Leg Support 2 2pcs 4pcs Oil Cup Oil Cup Support... -
Page 14: Hardware Pack Contents
HARDWARE PACK CONTENTS Reference# Description Parts Quantity Bolt: M6x15mm 12pcs Flat Washer: M6 4pcs Spring Washer: M6 4pcs Nut: M6 4pcs Bolt: M6x40mm 12pcs Lock Nut: M6 4pcs Hex Head Bolt: 4pcs M6X15mm... -
Page 15: Assembly Instructions
ASSEMBLY INSTRUCTIONS Remove all contents from packaging, and make sure all the parts are present before attempting to assemble! Tighten all bolt connections by hand first. When the BBQ is fully assembled, retighten the screws, nuts and bolts by using a wrench and screw driver. Step 1 Install Leg Support 1 (Part 5) onto BBQ-Body(Part 1) by using M6x10 bolt (Part A) as per illustration below... - Page 16 Step 2 Attach Leg (Part 7) onto Leg Support 1 (Part 5) by using M6x40 bolt (Part E x 4), flat washer (Part B x 4), lock washer (Part C x 4) and lock nut (Part F x 4), as per illustration below. Step 3 Attach Leg Support 2 (Part 6) onto Leg (Part 7) by using M6x40 bolt (Part E x 4) and nut (Part D x 4).
- Page 17 Step 4 Attach the Body Handle (Part 2) onto BBQ-Body (Part 1) by using the Hex Head Bolt ( Part G x 4). Step 5 Attach the Buckle onto Buckle Lock Support as per illustration below.
- Page 18 Step 6 Install Cylinder Shield (Part 3) and Cylinder Hook (Part 4) onto BBQ-Body (Part 1) by using M6x15 bolt (Part A x 2) as per illustration below. Step 7 Install the Oil Cup Support (Part 9) onto the BBQ-Body (Part 1) by using bolt (Part A x 2) as shown below.
- Page 19 Step 8 Place Oil Cup (Part 8) onto the Oil Cup Support (Part 9) under the BBQ-Body (Part 1) as per illustration below. Fully-Assembled...
-
Page 20: Specification
SPECIFICATION BRAND NAMES: JUMBUCK APPLIANCE: 2 BURNER OUTDOOR BARBECUES CERTIFICATE HOLDER: Genesis Australia Corporation Pty Ltd 2/26 Industry Street Malaga 6090 Western Australia Phone: 61-8-9248 9822 Fax: 61-8-92488986 MODELS: HS-GG007JB 2 burner folding legs barbeque FEATURES: Black powder coated folding legs, high temp lacquered oven body, oil cup, aluminium valves, black powder coated control plate, 2 black handles, S/S tube type burner and black cylinder shield and cylinder hook. -
Page 21: Warranty
The warranty for New Zealand is given by : the operating manual. Bunnings NZ Limited Any repair does not extend the warranty period. PO Box 14436, Any parts other than original Jumbuck parts will Panmure, Auckland, 1471 void this warranty. NEW ZEALAND (09) 978 2200 INSTALLATION CONDITIONS marketing@bunnings.co.nz... - Page 22 WARRANTY For Australian Customers For New Zealand Customer Any claim under this warranty must be made Any claim under this warranty must be made within 12 months of the date of purchase of the within 12 months of the date of purchase of the product.
- Page 23 Liability will only be accepted for loss or damage technical issues with your JUMBUCK BBQ, in the first instance review the instructions manual or during transit if at the time the product was being...
Need help?
Do you have a question about the DELTA 2 and is the answer not in the manual?
Questions and answers