
Related Manuals for EUFY RoboVac 11S T2108


Summary of Contents for EUFY RoboVac 11S T2108
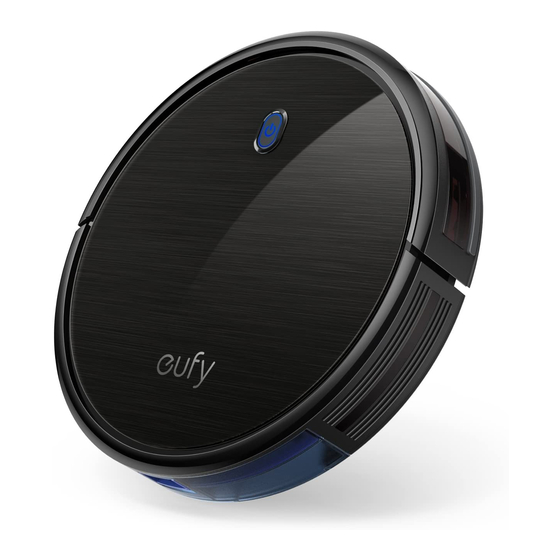
- Page 1 Cleaning For FAQs and more information, please visit: www.eufylife.com Owner’s Manual RoboVac 11S (T2108) T2108 51005000959 V02...
-
Page 2: Table Of Contents
Table of Contents Important Safety Instructions 04 About Your RoboVac What's in the Box RoboVac Anatomy LED Indication 09 Using Your RoboVac Important Tips Before Use Preparation Charge Your RoboVac Start / Stop Cleaning Select a Cleaning Mode Set Time and Scheduled Cleaning Cleaning and Maintenance Clean the Dust Collector and Filters Clean the Rolling Brush... -
Page 3: Important Safety Instructions
Important Safety Instructions To reduce the risk of injury or damage, read these safety instructions carefully and • If the room to be cleaned has a balcony, a physical barrier should be used to prevent keep them at hand when setting up, using, and maintaining this device. access to the balcony and to ensure safe operation. - Page 4 Consignes de Sécurité Pour réduire le risque de blessures ou de dommages, lisez attentivement ces • Avant d'utiliser cet appareil, ramasser vêtements et papiers, soulever les cordons consignes de sécurité et gardez-les en main lors de la mise en place, de l'utilisation et des stores ou rideaux et mettre les câbles d'alimentation et les objets fragiles hors de l'entretien de cet appareil.
-
Page 5: About Your Robovac
About Your RoboVac RoboVac Anatomy What's in the Box Top & Side Auto cleaning Start/Stop button Bumper Remote Control RoboVac 11S Charging Base (AAA Battery x2) Infrared sensor Dust collector Dust collector release button Bottom Power Adapter Cleaning Tool Side Brushes (x4) Drop sensors Charging contact pins Swivel wheel... - Page 6 Dust Collector Remote Control Start Auto cleaning Pre-filter Start Auto cleaning Stop cleaning Start Spot cleaning Start Edge cleaning Adjust time High-performance filter Adjust suction power level in Auto/Single Room Cleaning mode Foam filter Control cleaning direction manually Adjust the hour and minute Start Single Room cleaning Return RoboVac to Charging Base Suction Inlet...
-
Page 7: Led Indication
Using Your RoboVac LED Indication You can see the status of RoboVac from the LED indicator. Important Tips Before Use (Status Light) Status Breathing orange Charging Solid blue Standby / Cleaning / Fully charged Solid orange Low power and returning to Charging Base • RoboVac is off. -
Page 8: Preparation
Preparation Remove objects within 3 ft/1 m of the left and right side and within 6 ft/2 m of the front of the charging base. Install the side brushes before use. Connect the round connector of the adapter into the power socket on the Charging Base and the other end into a wall outlet. -
Page 9: Start / Stop Cleaning
Select a Cleaning Mode Method 2: Press on the remote control to return RoboVac to the Charging Base. 1. Auto cleaning RoboVac optimizes its cleaning path by selecting different cleaning modes automatically until cleaning is complete. This is the most commonly used cleaning mode. Press on RoboVac or on the remote control to start cleaning in Auto Mode. - Page 10 2. Spot cleaning 4. Single Room cleaning RoboVac intensively cleans a specific area in a spiral pattern, useful if there is a concentrated RoboVac intensively cleans one single room and stops after 30 minutes. Select this mode area of dust or debris. In Spot mode, RoboVac will stop cleaning after 2 minutes. only when one specific room needs to be cleaned.
-
Page 11: Set Time And Scheduled Cleaning
Set Time and Scheduled Cleaning Press to set the “hour” and “minute”. Note: Make sure AM/PM is set correctly. Set Time Press to save the setting. RoboVac will BEEP ONCE to indicate the schedule has been set. Make sure the time is set correctly to your local time before setting a scheduled cleaning. Make sure the main power switch on the bottom of RoboVac is turned on. -
Page 12: Clean The Dust Collector And Filters
Clean the Dust Collector and Filters Push the dust collector back into the main unit. Press the dust collector release button to pull the dust collector out. Open and empty the dust collector. You can wash the dust collector, pre-filter and foam filter with water. Be sure to air-dry them thoroughly before reassembling. -
Page 13: Clean The Side Brushes
Clean the Side Brushes Clean the Sensors and Charging Pins To maintain the best performance, clean the drop sensors and charging pins regularly. Foreign substances, such as hair, can easily get tangled in the side brushes, and dirt may adhere to them. Be sure to clean them regularly. • Dust off the drop sensors and charging contact pins using a cloth or cleaning brush. -
Page 14: Troubleshooting
Four beeps RoboVac’s power level is too low. • Check if the indicator on the Charging Base lights up. If 5 hours. not, contact the eufy service center to repair or replace the Charging Base. Solid red indicator light RoboVac cannot be • Dust off the charging contact pins with a dry cloth. -
Page 15: Specifications
Specifications Product Model T2108 Input 19 V 0.6 A Battery Voltage DC 14.4 V Power Consumption 25 W DC 14.4 V Battery Type Li-ion 2600 mAh Dust Collector Capacity 0.6 L Cleaning Time Max. 100 mins Charging Time 300 - 360 mins Input 19 V 0.6 A...
Need help?
Do you have a question about the RoboVac 11S T2108 and is the answer not in the manual?
Questions and answers
ordering filters and brushes
I own two Robovac 11S. When I place one on the charging station, it beeps blue and it gives a quick 2nd low tone beep, then turns flashing orange like it is charging for 11 flashes then turns a solid red light and wont charge. I've checked all the wheels and cleaning of connection points and physically cannot see anything amiss. I placed it into both chargeing stations and it does the same thing. My 2nd 11S machine charges in either of the two dockings stations and charges beautifully so it cannot be the stations at fault with the machine that will not charge. Could a power surge cause this to not charge any more? Could there be an electronic problem? Please advise
The EUFY RoboVac 11S T2108 may not charge and display a solid red light due to the following reasons:
1. Low Power Level – If the power level is too low, manually charge RoboVac for at least 5 hours.
2. Charging Base Issue – Check if the indicator on the Charging Base lights up. If not, the Charging Base may need repair or replacement.
3. Dirty Charging Contact Pins – Dust off the charging contact pins with a dry cloth.
4. No Connection Sound – If RoboVac does not beep when docked onto the Charging Base, the Charging Base may need repair or replacement.
5. Obstructions – Remove any objects within 3 ft (1 m) to the left and right and within 6 ft (2 m) in front of the Charging Base.
If the issue persists after these checks, contact the eufy service center for further assistance.
This answer is automatically generated
How do you manually charge my RoboVac 11S?