Advertisement
Owner's Manual
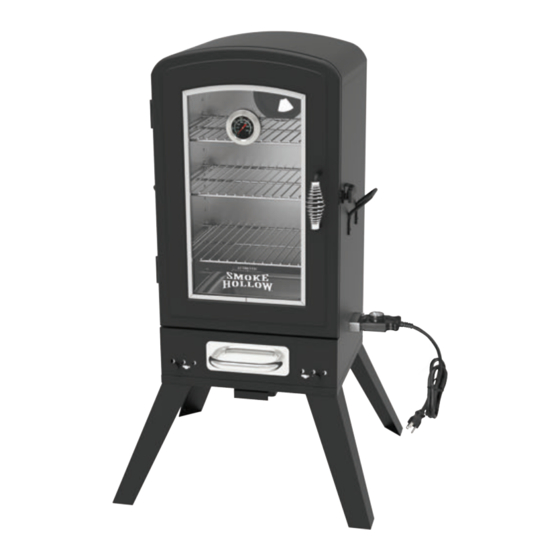
30-Inch
Electric Smoker
Model
ES3018M
THIS INSTRUCTION MANUAL CONTAINS IMPORTANT INFORMATION
NECESSARY FOR PROPER ASSEMBLY AND SAFE USE OF THE APPLIANCE.
READ AND FOLLOW ALL WARNINGS AND INSTRUCTIONS BEFORE
ASSEMBLING AND USE OF THE APPLIANCE.
FOLLOW ALL WARNINGS AND INSTRUCTIONS WHEN USING THE APPLIANCE.
KEEP THIS MANUAL FOR FUTURE REFERENCE.
CUSTOMER SERVICE: 1-866-475-5180 (Monday–Friday, 8:30 am–4:30 pm, CST)
www.olp-inc.com
FOR OUTDOOR USE ONLY
Advertisement
Table of Contents

Related Manuals for Smoke hollow ES3018M


Summary of Contents for Smoke hollow ES3018M
- Page 1 Owner’s Manual 30-Inch Electric Smoker Model ES3018M THIS INSTRUCTION MANUAL CONTAINS IMPORTANT INFORMATION NECESSARY FOR PROPER ASSEMBLY AND SAFE USE OF THE APPLIANCE. READ AND FOLLOW ALL WARNINGS AND INSTRUCTIONS BEFORE ASSEMBLING AND USE OF THE APPLIANCE. FOLLOW ALL WARNINGS AND INSTRUCTIONS WHEN USING THE APPLIANCE.
-
Page 2: Important Safeguards
WARNING THIS MANUAL CONTAINS IMPORTANT INFORMATION NECESSARY FOR THE PROPER AND SAFE USE OF THIS UNIT. READ AND FOLLOW ALL WARNINGS AND INSTRUCTIONS BEFORE USING SMOKER AND DURING USE. FAILURE TO FOLLOW THESE WARNINGS AND INSTRUCTIONS PROPERLY COULD RESULT IN PERSONAL INJURY OR DEATH. CARBON MONOXIDE HAZARD BURNING WOOD CHIPS GIVES OFF CARBON MONOXIDE, WHICH HAS NO ODOR AND CAN CAUSE DEATH. -
Page 3: California Proposition
IMPORTANT SAFEGUARDS When using electrical appliances, basic safety precautions should always be followed including the following: • For outdoor use only. Do not operate in an enclosed areas (example, porch or garage). • Unit MUST be on the ground. Do not place unit on tables or counters. Do NOT move unit across uneven surfaces. •... - Page 4 1-866-475-5180 (Monday–Friday, 8:30 am–4:30 pm, CST). NOTE : DO NOT RETURN UNIT TO THE STORE BEFORE CALLING THE TOLL FREE NUMBER. Do not dispose of your cartons until you are completely satisfied with your new Smoke Hollow smoker. WARNING CALIFORNIA PROPOSITION 65...
-
Page 5: Parts And Tool List
Parts and Tool List Note: For assistance, including missing or damaged parts, call toll free 1- 866-475-5180 from 8:30 am - 4:30 pm Central Time, Monday - Friday... - Page 6 GS3018M-12 Hardware Pack (PART# ES3018M-04) Note: Remove the packing materials and all the parts from inside the Cabinet. After unpacking all the parts, check to make sure you have all the parts. If anything is damaged or missing, contact our toll free number: 866-475-5180.
-
Page 7: Smoker Assembly
Smoker Assembly Hardware Needed: Fig. 1A (4) M4x17mm Tapping Screws Fig. 1B STEP 1: First, remove the door from the cabinet (Fig. 1A). Turn Smoker Cabinet with the rounded top down and use the foam pieces from the carton to stabilize the Cabinet from moving (Fig. - Page 8 Smoker Assembly Hardware Needed: (4) 1/4-20x1/2” Bolts STEP 3: Attach Side Handles to Smoker Cabinet as Shown. Hardware Needed: (2) #10-24x3/8” Bolts STEP 4: Attach Door Latch to the right side of Cabinet as shown.
- Page 9 Smoker Assembly Hardware Needed: (2) Shoulder Bolts STEP 5: Attach Door Handle to the Door with the (2) shoulder bolts as shown. STEP 6: Attach Temperature Gauge to the door.
- Page 10 Smoker Assembly Hardware Needed: (1) #10-24x3/8” Screws (1) #10 Lock Nuts Rear Damper STEP 7: Attach Damper to the back of the Cabinet as shown here. Hardware Needed: (6) M4x7mm Tapping Screws (2) 1/4-20x1/2” Screws STEP 8: Insert Heat Element into the bottom of the Cabinet and place end through hole in right side of Cabinet and attach with (2) 1/4-20x1/2”...
- Page 11 Smoker Assembly Hardware Needed: (4) M4x7mm Tapping Screws (2) #10-24x3/8” Screws Fig. 9A STEP 9: Position Left Wood Chip Tray Rail so opening is facing inwards and then attach to bracket on back wall of Cabinet with (1) #10-24x3/8” Screw (Fig.
- Page 12 Smoker Assembly STEP 11: Insert (8) Cooking Grid Tracks into holes Fig. 11A along the inside walls of Cabinet. (4) on each side, making sure they are the same height across from each other (Fig.11A). Then insert the (3) Cooking Grids into the top (3) Tracks.
- Page 13 Smoker Assembly ASSEMBLY OF YOUR SMOKER IS NOW COMPLETE. FOR YOUR SAFETY, FOLLOW ALL SAFE GUARDS AND INSTRUCTIONS. To order a cover for your smoker, please visit our website at www.olp-inc.com.
- Page 14 Operating Instructions READ ALL SAFETY WARNINGS AND INSTRUCTIONS BEFORE OPERATING YOUR SMOKER. SMOKER IS INTENDED FOR OUTDOOR USE ONLY AND SHOULD BE USED ON A HARD, LEVEL, NON-COMBUSTIBLE SURFACE AWAY FROM ROOF OVERHANGS AND/OR ANY COMBUSTIBLE MATERIAL. DO NOT USE SMOKER ON A WOODEN SURFACE OR ANY OTHER SURFACE THAT COULD BURN.
- Page 15 Operating Instructions 1. Before starting the unit, pull wood chip tray from smoker, lift the lid and fill the wood chip tray with wood chips. Close lid and slide back into slot in smoker. 2. Carefully fill water pan with warm water or your choice of marinade to 1/2 inch below the rim. Do not fill completely or water may overflow during use.
-
Page 16: How To Use The Wood Chip Tray
How to Use the Wood Chip Tray 1. Before starting the unit, pull wood chip tray out of smoker, open the lid and fill the wood chip tray with wood chips. Caution: Never overfill the wood chip tray. Make sure the wood chip tray lid closes completely on the wood chip tray. -
Page 17: Safety, Care And Maintenance
Safety, Care and Maintenance SAFETY WARNING: • Always allow the smoker and all components to completely cool before handling or cleaning. • Before storing smoker or leaving unattended, remaining embers, hot coals, and ashes must be removed. Be careful to protect yourself and your property. Any remaining embers, hot ashes or hot coals should be placed in a non-combustible metal container and completely saturated with water. - Page 18 Smoking Tips Types of wood to use for smoke: • Always use a hardwood that has been seasoned for at least 6 months. • We recommend using Pecan, Hickory , White Oak, Apple, Alder or Mesquite. • Never use any resin woods like Pine or Cedar. Note: It is not necessary to soak the wood prior to smoking because hard woods have natural moisture in the wood that will release in the smoker as it heats up.
- Page 19 Smoking Techniques Smoked Pork Tenderloin Take outside wrapper off of meat and wash thoroughly in cold water. Place tenderloin on a paper towel to soak up excess water. Rub your favorite pork rub on the loin (we recommend Head Country Pork seasoning). Preheat smokers to 225 degrees and place loin in the center of the smoker.
-
Page 20: Limited Warranty
5400 Doniphan Drive Neosho, MO 64850 www.olp-inc.com © 2017 Outdoor Leisure Products, Inc. No part of this work may be reproduced, modified, distributed, or otherwise used without prior written permission. Smoke Hollow is a trademark of Outdoor Leisure Products, Inc. 11202017...
Need help?
Do you have a question about the ES3018M and is the answer not in the manual?
Questions and answers
I’m looking for the plugin for the unit.