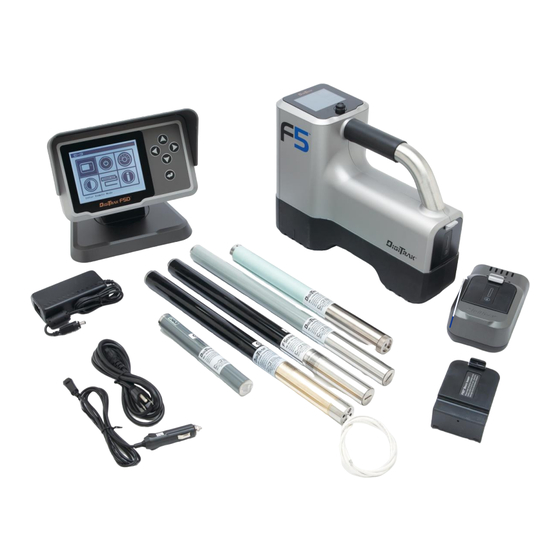
DigiTrak F5 Quick Start Manual
Hide thumbs
Also See for F5:
- Operator's manual (86 pages) ,
- Quick start manual (8 pages) ,
- Quick start manual (8 pages)
Table of Contents
Advertisement
Power On Receiver
1. Install battery pack and hold
trigger for one second.
2. Click trigger to acknowledge
the warning screen.
3. Note number in globe icon on
startup screen.
4. Click trigger to open Main
menu (or toggle down at the Locate screen).
Receiver Main Menu
Locate
mode
Power off
HAG
1. Telemetry channel
2. Tx type
Toggle to menu options and click trigger to select;
indicates a second page. Use Locate mode for locating.
Receiver Locate Screen
Locating
target ball
(FLP or RLP)
Receiver
© Jul 2015 Digital Control Incorporated
All rights reserved. 402-1003-22-A Australia
1
2 3
3. Tx frequency
4. Battery strength
www.DigiTrak.com
Toggle
Trigger
4
Calibration
Settings
Transmitter (Tx)
selection
Roll indicator
Roll/pitch
update meter
Pitch
Signal strength
Tx temperature
1
Advertisement
Table of Contents

Summary of Contents for DigiTrak F5
- Page 1 Use Locate mode for locating. Receiver Locate Screen Roll indicator Locating target ball Roll/pitch (FLP or RLP) update meter Receiver Pitch Signal strength Tx temperature © Jul 2015 Digital Control Incorporated www.DigiTrak.com All rights reserved. 402-1003-22-A Australia...
-
Page 2: Calibration Menu
(pointing up or down) to set the desired frequency. 3. Use Transmitter Selection option on Main menu to select transmitter type and frequency. Current transmitter type (F5) and frequency (19.2) are shown at the top Transmitter Selection Menu Calibration Menu Only calibrate with transmitter in housing and in an interference-free environment. -
Page 3: Settings Menu
HAG set, you can take accurate below-ground depth measurements without placing the receiver on the ground. HAG resets to Off when the F5 receiver powers off. Background Interference Check At the Locate screen or in Interference Noise Check mode (under Diagnostics) with no active transmitters in range, walk the bore path while checking for background noise. - Page 4 FLP Predicted Depth Screen (Ball-in-the-Box™ at FLP only) For detailed information, see the F5 System Operator’s Manual, available at www.DigiTrak.com. If you have questions, contact your regional DCI office at 61.7.5531.4283 or U.S. Customer Service at 1.425.251.0559.
- Page 5 Basic Locating Instructions 1. Find FLP and RLP by centering the target ball in the box. 2. At FLP, hold trigger for predicted depth reading. 3. Find LL by centering the line in the box between FLP and RLP (see Locate screen on page 4). 4.
- Page 6 Changing Transmitter Frequency or Mode For models with dual frequencies or XRange Install transmitter (Tx) batteries with opposite end of Tx pointing up to select high frequency or down for lower frequency. 1. Disable Roll Offset (if enabled). 2. Change Tx frequency or turn XRange mode on/off: Above Ground (Pre-Bore) Tilt Method: ...
- Page 7 Holding the trigger beyond a count of 99 does not increase the reliability of the current reading. Take three XRange Max readings; all three readings must be identical and stabilize within 10 counts. See F5 System Supplement A for additional important information on using XRange in high- interference environments.
- Page 8 Remote Mode Locating Screen Telemetry Tx pitch update meter Battery strength Tx roll Telemetry channel Tx battery strength Tx temp. For other DigiTrak displays, see separate manual or Quick Start Guide. Watch our DigiTrak Training Videos at http://www.youtube.com/dcikent...


Need help?
Do you have a question about the F5 and is the answer not in the manual?
Questions and answers