Table of Contents
Advertisement
Advertisement
Table of Contents

Related Manuals for Roberts Revival RD-60


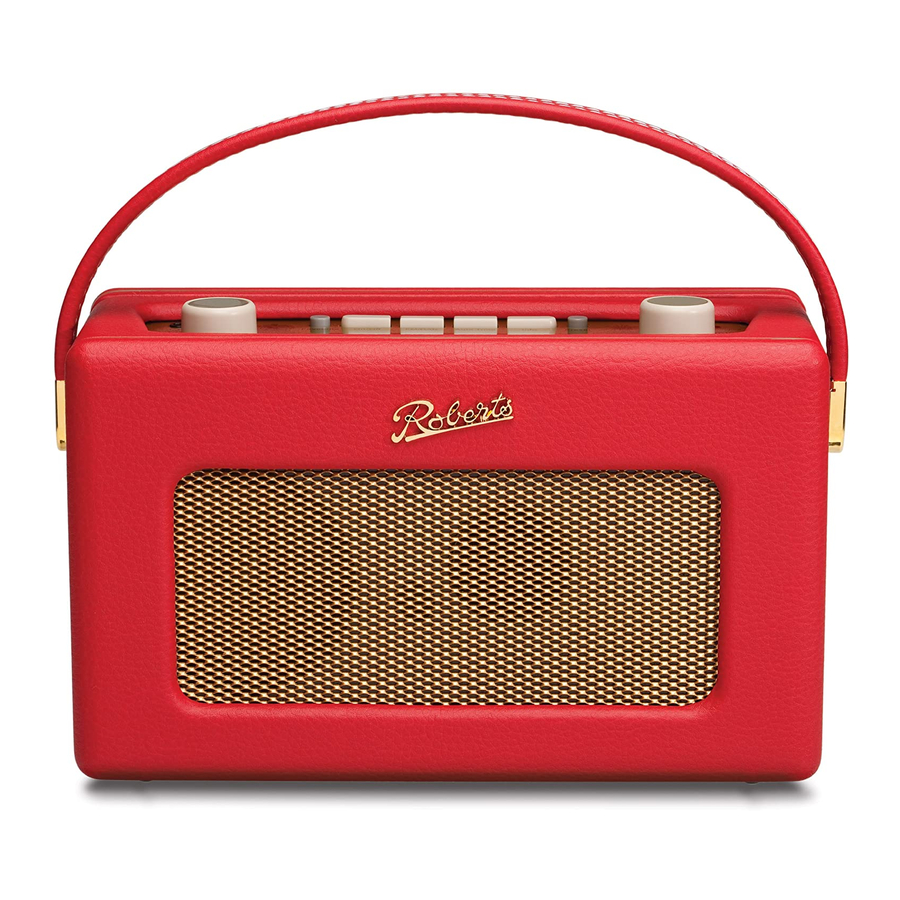
Summary of Contents for Roberts Revival RD-60
- Page 1 DAB/FM RDS digital radio model RD-60 Please read this manual before use...
-
Page 2: Table Of Contents
Manual tuning - DAB ...9 Signal strength display - DAB ...9 Dynamic range control (DRC) settings - DAB ...10 Operating your radio - Search tuning - FM ... 11 Manual tuning - FM ...12 Display modes - FM...13 Favourite button ...14 Recalling your favourite station ...14... -
Page 3: Controls
Controls (Top) 1. Low battery indicator 2. Volume control 3. Headphone socket 4. Auxiliary Input socket 5. Telescopic aerial If you need any further advice, please call our Technical Helpline on :- 020 8758 0338 (Mon-Fri) 6. Favourite button 11. Preset button 7. - Page 4 Controls 14. DC in socket 15. Line output socket...
-
Page 5: Battery Operation
3. The Low Battery indicator lighting, distortion, or the radio switching itself off are all signs that the batteries may need replacing. 4. If the radio is not to be used for any extended period of time it is recommended that the batteries are removed from the radio. -
Page 6: Operating Your Radio - Dab
2. Press the On/Off button to switch on your radio. The display will show "Welcome to DAB". 3. If this is the fi rst time the radio is used a quick scan of the UK Band III DAB channels will be carried out. If the radio has been used before the last used station will be selected. -
Page 7: Selecting A Station - Dab
fi nd the station that you wish to hear. 3. Press and release the Tuning control to select the station. The display may show "Now tuning..." while your radio fi nds the new station. 4. Adjust the Volume control to the required setting. -
Page 8: Display Modes - Dab
Display modes - DAB Your radio has seven display modes:- 1. Press the Info button to cycle through the various modes. a. Scrolling text Displays scrolling text messages such as artist/track name, phone in number etc. b. Program Type Displays the type of station being listened to e.g. -
Page 9: Finding New Stations - Dab
The display will show "Full Scanning...". As new radio stations are found the station counter on the right-hand side of the display will increase and the radio stations will be added to the list stored in the radio. -
Page 10: Manual Tuning - Dab
1. Repeatedly press and release the Info button until the lower line of the display shows signal strength. 2. Position your radio and try moving the aerial so as to give maximum number of black rectangles on signal strength display. Normally, the best reception will be found with the aerial vertical and fully extended. -
Page 11: Dynamic Range Control (Drc) Settings - Dab
Note: Not all DAB broadcasts are able to use the DRC function. If the broadcast does not support DRC, then the DRC setting in the radio will have no effect. If you need any further advice, please call our Technical Helpline on :-... -
Page 12: Operating Your Radio - Search Tuning - Fm
2. Press the On/Off button to switch on your radio. 3. Press the Band button to select the FM band. 4. Press and immediately release the Auto tune button, your radio will scan in an upwards direction (low frequency to high frequency) and stop automatically when it fi... -
Page 13: Manual Tuning - Fm
3. Rotate the Tuning control to tune to a station. With each click of the control the frequency will change up or down by 50 kHz. 4. When the waveband end is reached the radio will recommence tuning from the opposite waveband end. -
Page 14: Display Modes - Fm
Audio mode Display shows Auto (stereo) or Mono. Note: Your radio will display "NO RT" on the lower line of the display if there is no scrolling text available and "NO PTY" if there is no programme type information. -
Page 15: Favourite Button
2. Momentarily press the Favourite button, your radio will automatically select the DAB or FM waveband as needed and then tune to the radio station stored in the favourite memory. If you need any further advice, please call our Technical Helpline on :-... -
Page 16: Preset Stations Dab And Fm
Preset stations - DAB and FM To make it easier for you to tune your radio to the stations that you prefer, you may store selected radio stations as presets. Your radio holds presets separately for DAB and FM radio modes. -
Page 17: Fm Stereo/Mono
Your radio will switch to mono mode. 2. To return to stereo mode press and release the Tuning control so that the display shows "Switching to Auto". Your radio will switch to stereo mode. Note: Stereo listening is only available when listening via headphones or when using the Line Out socket connected to an external amplifi... -
Page 18: Scan Sensitivity - Fm
Your radio will normally scan for FM broadcasts which are strong enough to give good reception. However, you may wish the Auto-scan function to also be able to fi nd weaker signals, possibly from more distant radio transmitters. Your radio includes a local / distant option for the Auto-scan function. -
Page 19: Software Version
Software version The software display cannot be altered and is just for your reference. 1. To view the software version on the display, ensure your radio is in DAB mode and press and hold the Info button for 2 seconds. -
Page 20: System Reset
System reset If your radio fails to operate correctly, or some digits on the display are missing or incomplete, it may be possible to restore normal operation by carrying our a System Reset operation on your radio. This will restore the radio's settings to their factory defaults. -
Page 21: Headphone Socket
1. Connect a stereo or mono audio source (i.e. CD player, MP3 player, etc.) to the Auxiliary input socket. 2. Press the On/Off button to switch on the radio. Press and release the DAB/FM button until the display shows "AUX IN". -
Page 22: Line Output Socket
Line out socket A 3.5mm stereo Line out socket located on the rear of your radio is provided for connecting the audio signal to an external amplifi er. Inserting a line out audio cable will not mute the internal loudspeaker. Set the volume control on the radio to minimum if desired. -
Page 23: General
General Do not allow this radio to be exposed to water, steam or sand. Do not leave your radio where excessive heat could cause damage such as in a parked car where the heat from the sun can build up even though the outside temperature may not seem too high. -
Page 24: Guarantee
In the event that it is not possible to return the instrument to the Roberts' dealer from whom it was purchased, please contact Roberts Radio Technical Services at the address shown on the rear of this manual.
Need help?
Do you have a question about the Revival RD-60 and is the answer not in the manual?
Questions and answers
When the the On/Off button is pressed the screen just flashes for less than a secon
If the On/Off button on the Roberts Revival RD-60 only causes the screen to flash briefly, it may indicate a power issue. Check the power source:
1. If using batteries, ensure they are correctly installed and not depleted.
2. If using the mains adaptor, confirm it is properly connected and supplying power.
If the issue persists, contact the Technical Helpline for further assistance.
This answer is automatically generated