Table of Contents
Advertisement
Quick Links
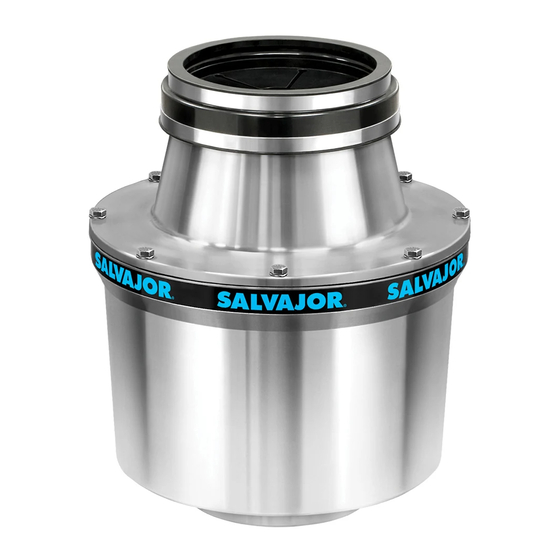
Salvajor Commercial Disposers
For All Models: 100, 200, 300, 500
Models 100-200
2
Typical Installations
& Installation of Cone Bowl or Sink Collar
3
Attaching Disposer to Cone Bowl or Sink Collar
& Plumbing
4
Electrical
5
Operating Instructions & Troubleshooting
6
Warning & Safety Instructions
7
Warranty
8
General Terms and Condition of Sale
ALL INSTALLATIONS SHOULD BE MADE IN ACCORDANCE WITH
LOCAL AND NATIONAL PLUMBING AND ELECTRICAL CODES.
FOR PRODUCT/WARRANTY REGISTRATION
•
Go to www.salvajor.com
•
Click on SUPPORT at the top of homepage
•
Click on PRODUCT REGISTRATION
The Salvajor Company
www.salvajor.com
Manufacturers of Commercial Food Waste Disposing Systems since 1944
1
in FOOD WASTE SOLUTIONS
#
4530 East 75th Terrace Kansas City, Missouri 64132-2081, USA
1 - 888 - SALVAJOR
Email: sales@salvajor.com
Made in the U.S.A.
Models 300-500
FAX : 1 - 800 - 832 - 9373
service@salvajor.com
Advertisement
Table of Contents

Related Manuals for Salvajor 100


Summary of Contents for Salvajor 100
- Page 1 Salvajor Commercial Disposers For All Models: 100, 200, 300, 500 Models 300-500 Models 100-200 Typical Installations & Installation of Cone Bowl or Sink Collar Attaching Disposer to Cone Bowl or Sink Collar & Plumbing Electrical Operating Instructions & Troubleshooting Warning & Safety Instructions...
-
Page 2: Cone Assembly
" PLUMBING START/STOP REDUCED TO " CONTROL WITH ( P ) OR ( PP ) OPTION 2" DRAIN WATER CONE (models 100-200) INLET INCOMING WATER 2" OR 3" DRAIN " VALVE " PLUMBING (models 300-500) ( NF ) REDUCED TO "... -
Page 3: Drain Piping
4. Measure distance from the bottom of the top housing to floor. 5. Turn the disposer on its side and install the leg support (optional on Models 100-200, standard on Models 300-500) on the bottom of the disposer and adjust LOCKING the leg extension so the disposer will stand approximately 1/2”... -
Page 4: General Instructions
Salvajor disposer cutting elements are designed to operate in 3. Check the mounting assembly and plumbing connections either direction. -
Page 5: Troubleshooting
Never strike the reset button with an object. 5. If the disposer remains inoperative after following these steps, contact the nearest Salvajor Factory Authorized Service Center, or the factory direct. You may obtain the telephone number of the Reset button location Service Center nearest you by calling 1-888-SALVAJOR. -
Page 6: Safety Instructions
Push STOP button on control panel and shut off electrical power to the panel before attempting to clear a jam. When attempting to clear a jam in a disposer use a Salvajor dejamming tool or a long wooden object to reverse rotation. Remove all foreign material that caused the stoppage. Do not insert hand/fingers into the disposer. - Page 7 United States, Hawaii and Canada. of the original disposer assembly or system package. Accessories not manufactured by Salvajor are covered for parts only. Accessories For your nearest and parts sold separately are covered for parts and/or workmanship for 90 days from date of Factory Authorized Service Center: installation.
- Page 8 GENERAL TERMS AND CONDITIONS OF SALE These Terms and Conditions shall govern the transaction by and between The Salvajor Buyer agrees that in no event shall seller’s liability to buyer and/or its customers ex- Company (herein referred to as the “Seller”) and the customer or person or entity purchas- tend to include incidental, consequential or punitive damages.
Need help?
Do you have a question about the 100 and is the answer not in the manual?
Questions and answers