Table of Contents
Advertisement
Advertisement
Table of Contents

Related Manuals for Stryker 1488


Summary of Contents for Stryker 1488
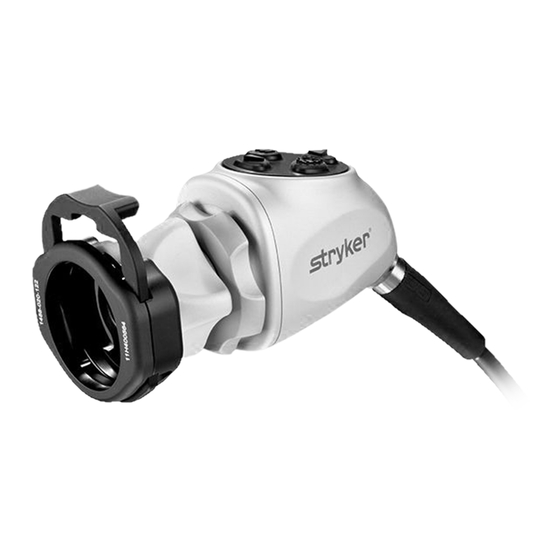
- Page 1 1488 HD 3-Chip Pendulum Camera with Integrated Coupler 1488310130...
- Page 3 Contents Warnings and Cautions ............1 Product Description and Intended Use ......3 Indications/Contraindications ................3 Product Features ......................4 Setup ..................5 Operation ................7 Operating the Camera with a Light Source ............7 Using the Camera Head Buttons ................8 Using the Touchscreen Interface................9 Performing the White-Balance Test ..............
-
Page 5: Warnings And Cautions
Warnings and Cautions Please read this manual and follow its instructions carefully. The words warning, caution, and note carry special meaning and should be carefully reviewed: Warning Indicates risks to the safety of the patient or user. Failure to follow warnings may result in injury to the patient or user. Caution Indicates risks to the equipment. - Page 6 Read this operating manual thoroughly, especially the warnings, and be familiar with its contents before connecting and using this device. Before using this device, read Stryker operating manual P18966 or P18972 for warnings and other information about using the camera system.
-
Page 7: Product Description And Intended Use
The Pendulum Camera also allows rotating the camera head 360° to properly orient the video image. The Pendulum Camera is used in conjunction with the 1488 HD 3-Chip Camera Control Unit (1488010000 or 1488010001). For more information about the camera console, refer to Stryker user guide P18966 or P18972. -
Page 8: Product Features
Product Features The Pendulum Camera connects to the camera console and produces video and photographic images, which it relays to the camera console. It features several controls that are accessible through a button keypad located on the top of the camera head (see the “Operation” section). 1. -
Page 9: Setup
Setup Set up the 1488 HD console according to the instructions provided in Stryker user manual P18966 or P18972. Connect the Pendulum Camera to the console. • Unscrew the soaking cap from the cable connector if necessary. • Align the blue arrow on the cable connector with the blue arrow on the camera-connector port on the front console panel. - Page 10 • Insert the endoscope into the endobody clamp. • Release the endobody clamp. It will return to the original position and secure the endoscope. (Twisting the endobody clamp in the reverse direction can make it difficult to remove the endoscope.) Attach a light cable from the light source to the light post on the endoscope.
-
Page 11: Operation
Operation Before using the Pendulum Camera in a surgical procedure, ensure all system components have been set up according to the instructions in the “Setup” section. Test all system components to ensure proper function. Ensure that a video image appears on all video monitors before beginning any procedure. -
Page 12: Using The Camera Head Buttons
• Press the P button for less than two seconds to select Remote 1. One beep will sound. When the camera is connected to a Stryker digital capture console, this will capture a photo. • Press the P button for more than two seconds to select Remote 2. -
Page 13: Using The Touchscreen Interface
Using the Touchscreen Interface The touchscreen interface on the camera console provides controls for adjusting or capturing the video image. The menus are described below. Home Screen The Home screen is the default screen. Use the buttons below to choose surgical specialties and operate the camera head. -
Page 14: Menu Screen
Menu Screen The Menu screen provides options for adjusting the camera picture. Press the plus or minus buttons to increase or decrease: • Light (automatic-shutter light level) • Zoom (magnification) While adjusting Light or Zoom, a meter will briefly appear on the touchscreen to indicate each selection level. -
Page 15: Performing The White-Balance Test
Performing the White-Balance Test Before each surgical procedure, perform the white-balance test to adjust the camera’s perception of white so it can display other colors correctly. Ensure that a scope and light source are attached to the camera, and that the camera, light source and monitor are powered on. -
Page 16: Rotating The Image
Rotating the Image Rotate the camera head at the image rotation joint to reorient the image as needed. The camera head will rotate 360° independently of the scope. -
Page 17: Reprocessing And Maintenance
These reprocessing instructions are provided in accordance with ISO 17664, AAMI TIR12, AAMI ST79, and AAMI ST81. While they have been validated by Stryker as being capable of preparing the device for re-use, it remains the responsibility of the processor to ensure that the reprocessing as actually performed, using equipment, materials, and personnel in the reprocessing facility, achieves the desired result. - Page 18 Limitations on Reprocessing • Do not cross-sterilize the device. Using multiple sterilization methods may significantly reduce the performance of the device. ® • Prolonged sterilization via Ethylene Oxide or Sterrad 100NX™ may degrade the product appearance. • Do not leave the device in solutions longer than necessary. This may accelerate normal product aging.
- Page 19 Cleaning: Manual 1. Brush • Prepare a fresh solution of enzymatic detergent according to the manufacturer’s recommendations (one ounce per gallon of tap water at 35–40 °C). • Thoroughly brush the exterior of the device with a soft-bristled brush, focusing on any mated or rough surfaces. • Using a syringe, inject any lumen or mated surface a minimum of five times with 50 mL of the detergent.
- Page 20 5. Rinse • Thoroughly rinse the device with RO/DI water until all detergent residue is removed. Flush any lumens or crevices a minimum of five times. Once all detergent residue is removed, continue to rinse for a minimum of 30 seconds. • Drain the excess water from the device and dry it using a clean cloth or pressurized air.
- Page 21 • Inspect all components for cleanliness. If fluid or tissue buildup is present, repeat the above cleaning and disinfection procedures. • Inspect the camera cable for cuts and breaks. Return any damaged camera to Stryker for service.
- Page 22 Packaging Sterilization After performing the cleaning instructions specified above, perform one of the following sterilization cycles. Ethylene Oxide (EO) Clean and prepare the camera head and cable as recommended in this user guide. Ensure the soaking cap is installed. If using a sterilization tray (optional), follow any additional instructions provided with the tray.
- Page 23 Steris System 1 / 1E / 1 Plus / 1 Express Note: Steris System 1®, System 1® Plus, and System 1® Express are not intended for use in the United States. Clean and prepare the camera head and cable as recommended in this user guide.
-
Page 24: Using Sterile Drapes
It must not be disposed of as unsorted municipal waste and must be collected separately in accordance with applicable national or institutional related policies relating to obsolete electronic equipment. The 1488 HD must be disposed of according to local laws and hospital practices. -
Page 25: Technical Specifications
10.3 ft (3.15 m) sealed cable 20.7 ft (6.30 m) cable extension available Classification Type BF Applied Part Ingress Protection, IPX7—Protected against the effects of temporary immersion in water Please contact your local Stryker Endoscopy sales representative for information on changes and new products. -
Page 26: Symbol Definitions
In addition to the cautionary symbols already listed, other symbols found on the 1488 HD Camera and in this manual have specific meanings that clarify the proper use and storage of the 1488 HD Camera. The following list defines the symbols associated with this product:... - Page 28 5900 Optical Court San Jose, CA 95138 USA 1.800.624.4422 U.S. Patents: www.stryker.com/patents Stryker Corporation or its divisions or other corporate affiliated entities own, use or have applied for the following trademarks or service marks: the Stryker logo. All other trademarks are...
Need help?
Do you have a question about the 1488 and is the answer not in the manual?
Questions and answers