Table of Contents
Advertisement
Advertisement
Table of Contents

Related Manuals for PURE One Mi Series 2


Summary of Contents for PURE One Mi Series 2
- Page 1 Select Volume Presets Menu Source...
- Page 3 Thank you for choosing One Mi Series 2. This manual will help you get your product up and running in no time and explains how to get the best out of all its great features. If you need any further assistance, please visit the support pages on our website at www.pure.com.
- Page 4 Should you have a problem with your unit please contact your supplier or contact Pure Support at http://support.pure.com. Disclaimer...
-
Page 5: Table Of Contents
10 Using textSCAN to pause and control scrolling text 11 Changing the time format 11 Changing the language 12 Advanced options 12 Version 12 Upgrade 12 Reset 13 Installing a ChargePAK A1 14 Technical specifications 16 Pure Warranty Statement for Australia... -
Page 6: Product Overview
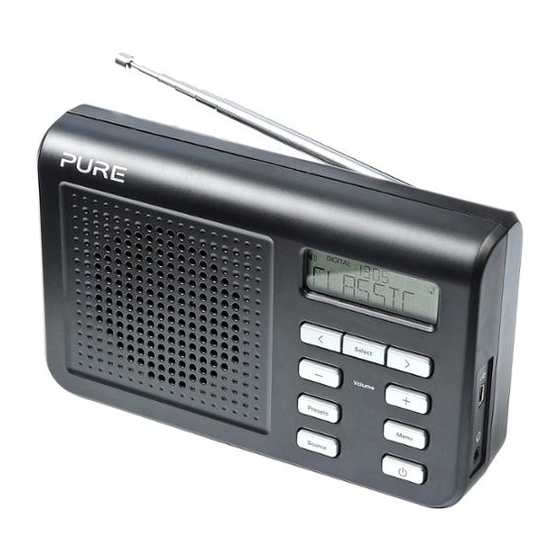
Product Overview Controls < Select > Vol +/- Browse and Adjust the volume select radio stations Scroll, change and confirm Select menu options Volume Presets Menu Store and select Enter/exit Presets Menu preset stations options menu Source Source Standby Switch between On/standby switch Digital and FM radio (mains powered) -
Page 7: Display
Display Source indicator Displays the current radio source: Digital indicates digital radio Signal strength FM indicates FM Volume/mute Clock DIGITAL BBC R6M Text area Displays menus, settings and station information Scroll left/right Displayed when scrolling is possible Side connectors Mini-B type USB connector For power/ software updates. -
Page 8: Getting Started
Getting started Position aerial Unclip the aerial and fully extend it (steps A and B). Connect power Note: If you have a ChargePAK A1 rechargeable battery (sold separately) fit it now before plugging One Mi in. See page 13 for more information. -
Page 9: Select Language
Select language DIGITAL LANGUAGE 1. Press Select. 2. Use the Select scroll < > buttons to view DIGITAL ENGLISH the different language options. 3. Press Select to choose the language shown. Autotune DIGITAL SCAN 48 One Mi will perform an autotune for digital stations and tune to a station when complete. -
Page 10: Listening To Radio
Listening to radio Selecting digital radio DIGITAL DIGITAL Press Source until ‘DIGITAL’ is displayed on the screen. Changing digital station DIGITAL ABSOLUTE 1. Scroll < > to the required station. 2. Push Select to tune into the station. Selecting FM radio Press Source until ‘FM’... -
Page 11: Using Radio Presets
Using radio presets Store up to 8 digital and 8 FM radio stations for quick access. Storing a radio preset DIGITAL EMPTY 1 1. Tune into the station that you want to store. 2. Press Presets so that the < > symbols DIGITAL are shown on the display. -
Page 12: Basic Options
Basic options Autotune DIGITAL AUTOTUNE You can use the autotune function to automatically scan for new digital radio stations and remove inactive ones. Note: Autotune is only available when you DIGITAL SCAN 48 have selected ‘Digital’ as the radio source. 1. -
Page 13: Changing The Time Format
Changing the time format DIGITAL BBC R6M 1. Press Menu. 2. Scroll < > to ‘12/24hr’. DIGITAL BBC R6M 3. Press Select. 4. Use the scroll < > buttons to the time format between 12 and 24 hours. 5. Press Select. Changing the language DIGITAL LANGUAGE... -
Page 14: Advanced Options
Press and hold Menu to display the software version on the screen. Upgrade DIGITAL UPGRADE UPGRADE UPGRADE Contact Pure technical support (http://support.pure.com) for more information on how to update One Mi to the latest software version. Reset DIGITAL V1\3 Resetting your One Mi removes all presets... -
Page 15: Installing A Chargepak A1
Installing a ChargePAK A1 1. Switch One Mi off and disconnect from the mains power supply. 2. Open the battery compartment (A). 3. Place the ChargePAK in the right hand end of the compartment, logo side out (B). 3. Slide the ChargePAK to the left until it clicks into place on the ChargePAK connector. -
Page 16: Technical Specifications
Technical specifications Radio Digital and FM. UK products receive DAB and FM; non-UK products receive DAB/DAB+/ DMB-Radio/FM depending on region. DAB Band III 174-240MHz, DAB L-Band Frequencies 1452-1490MHz, FM 87.5-108MHZ. 1W RMS Full-range 2.5” drive unit. Audio Input Connectors 5V Mini USB power adaptor socket (also for software updates). -
Page 18: Pure Warranty Statement For Australia
What’s NOT covered by this warranty? Under this express warranty Pure will not be liable for loss or damage of any kind whatsoever, whether direct, indirect, incidental, consequential or otherwise. - Page 19 Pure Pure Australasia Pty Ltd Imagination Technologies Ltd PO Box 5049 Home Park Estate Wonga Park Kings Langley Victoria 3115 Herts, WD4 8LZ Australia United Kingdom sales.au@pure.com http://support.pure.com http://support.pure.com/au...
- Page 20 103QC...
Need help?
Do you have a question about the One Mi Series 2 and is the answer not in the manual?
Questions and answers
Hi, the magnet has become loose and i am unsure where to reattach it? Many thanks, Brendan