Extech Instruments BR200 User Manual
Video borescope
Hide thumbs
Also See for BR200:
- User manual (15 pages) ,
- User manual (11 pages) ,
- User manual (15 pages)
Advertisement
Advertisement
Table of Contents

Related Manuals for Extech Instruments BR200


Summary of Contents for Extech Instruments BR200
- Page 1 User Manual Video Borescope Models BR200 and BR250...
-
Page 2: Supplied Equipment
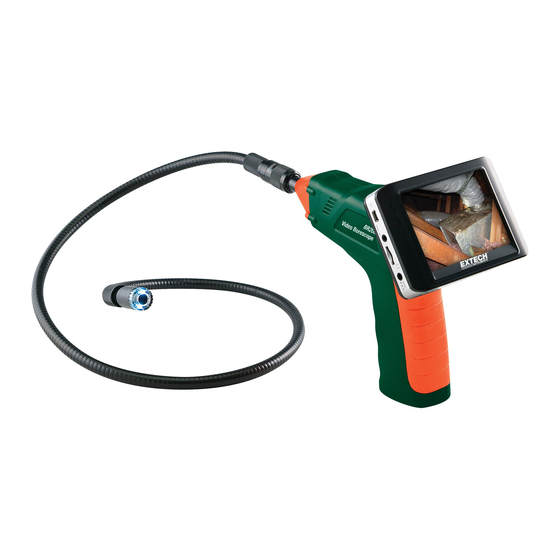
Introduction Congratulations on your purchase of this Extech BR200 (17mm camera head) or BR250 (9mm camera head) Video Borescope. This instrument was designed for use as a remote inspection device. It can be used to peer into tight spots and then supply real-time video and images that can be recorded. - Page 3 Flexible tube Camera head and LED’s Up arrow, video or jpg Menu Down arrow 10 Power On/Off 11 Power Indicator 12 USB Socket 13 Video output 14 SD card socket 15 Power supply socket 16 Reset 17 Signal input BR200-BR250-en-GB_v7.5 4/17...
-
Page 4: Installation
Insert card with arrow pointing toward slot. Gently apply pressure until card locks into the spring loaded slot. To remove from unit, gently push the card inward and then release to eject it from the card slot. Please use Class 4 (or higher) TF Flash memory card. BR200-BR250-en-GB_v7.5 4/17... - Page 5 Installing the accessory tools (BR200) The included accessories (mirror, hook and magnet) all attach to the camera in the same manner. Refer to the diagrams below: Installing the accessory tools (BR250) Hook the attachment into the hole in the head and then slide the rubber sleeve over the...
-
Page 6: Operation
7. Use the supplied accessories to help retrieve small items. LCD Reset If the BR200/BR250 LCD Monitor will not power ON, or if it powers OFF during use, follow the steps below to perform a Power Reset: Un-dock the LCD module from the BR200/BR250 pistol-grip base unit. - Page 7 SD card adaptor: Insert the SD card into the SD adaptor and then insert the adaptor into the PC SD slot (if available) USB adaptor: Insert the SD card into a USB adaptor and plug into a USB port. USB cable. Connect the USB cable from the camera to the PC. BR200-BR250-en-GB_v7.5 4/17...
-
Page 8: Settings Mode
Press OK to call up the RECORDER options Use the arrow keys to highlight the FPS (frames per second) icon Press OK to open the FPS parameter Use the arrows to select the frame rate: 10, 15, 20, 25, or 30 Press OK to confirm BR200-BR250-en-GB_v7.5 4/17... -
Page 9: Battery Replacement
Disposal: Do not dispose of this instrument in household waste. The user is obligated to take end-of-life devices to a designated collection point for the disposal of electrical and electronic equipment. BR200-BR250-en-GB_v7.5 4/17... -
Page 10: Specifications
Specifications CAMERA Imaging Sensor CMOS Total Pixels (NTSC) BR200: 712 x 486; BR250: 640 x 480 Horizontal View Angle BR200: 50 degrees BR250: 45 degrees Transmission Frequency 2468MHz Focus point BR200: 20cm (8”), BR250: 10cm (4”) Minimum Illumination 0 Lux... - Page 11 ALPINE C O M P O N E N T S Postal Address Alpine Components Ltd Innovation Centre, Highfield Drive Churchfields St. Leonards-on-Sea TN38 9UH United Kingdom Telephone 01424 858118 Website Address www.alpine-components.co.uk "Alpine Components" is the abbreviated trading name for "Alpine Components Limited" The company has been trading since 1991 and was incorporated on 13/11/2006 in the United Kingdom Company Registration Number: 05996485 VAT Number: GB583598190...
Need help?
Do you have a question about the BR200 and is the answer not in the manual?
Questions and answers