
Related Manuals for Evelo QUEST


Summary of Contents for Evelo QUEST
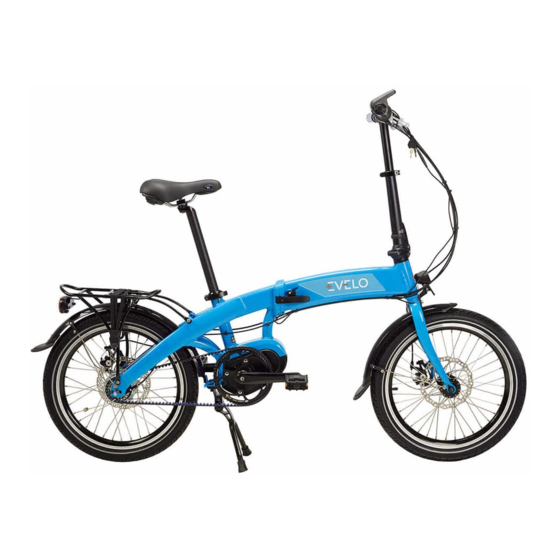
- Page 1 Q UES T OWNER’S MANUAL Important Safety and Product Information EVELO.COM EVELO.COM quest_manual_final_single.indd 1 09/06/2017 19:55...
-
Page 2: Table Of Contents
TABLE OF CONTENTS Welcome! Contact Information Unboxing Registration Warranty Battery Care and Maintenance Assembly Folding Unfolding Riding Your EVELO Electric Bicycle (Includes Display Quick-Start Guide) Maintenance Troubleshooting EVELO.COM quest_manual_final_single.indd 2 09/06/2017 19:55... -
Page 3: Welcome
We suggest that you read this manual in its entirety before using your bicycle. Because Continuous Improvement is a key operational philosophy at EVELO Electric Bicycles, some images and descriptions in this manual may differ slightly from the bike you have. -
Page 4: Unboxing
Some smaller parts are shipped in the box containing the charger—be sure to open that box prior to beginning assembly. Included with your bike are the following: • EVELO Owner’s Manual • Keys for the battery • Left + Right Pedals •... -
Page 5: Registration
Please note that your keys are unique to your bicycle and EVELO cannot provide exact replacements. We recommend using one key for day to day use, and storing the other. -
Page 6: Warranty
This warranty applies only to the original registered owner of the EVELO bicycle and is not transferable. This limited warranty does not apply to normal wear and tear, malfunctions, or failures due to abuse, neglect, improper repair, improper maintenance, alteration, modification, accidents, or other improper use. - Page 7 30-day period after purchase. To receive this service, the customer should contact EVELO directly, and we will make the necessary arrangements. If a part or component is faulty, email contact is preferred, along with a video or photo of the faulty part.
-
Page 8: Battery Care And Maintenance
BATTERY CARE & MAINTENANCE The battery provided with your EVELO Electric Bicycle is a high-quality unit that requires very little from the user in terms of care. However, a few things are worth noting with respect to any Lithium Ion battery. - Page 9 ASSEMBLY OF YOUR EVELO ELECTRIC BICYCLE NOTE If you do not have the ability or skill to assemble the bicycle yourself, please take it to a local bike shop for professional assembly.
-
Page 10: Assembly
— wide-end first. Once the spring is against the lever’s nut, slide the skewer through the axle so that the lever is on the same side as the brake disc. EVELO.COM quest_manual_final_single.indd 10 09/06/2017 19:55... - Page 11 Using the 5mm allen wrench and 10mm open end wrench, remove the nut behind the headlight. From the rear, slide the fender over the tire until the metal tab goes over the headlight bolt. Loosly re- install the nut. EVELO.COM quest_manual_final_single.indd 11 09/06/2017 19:55...
- Page 12 ST E P 5 Install Seat & Post Adjust the seat to your preferred height by loosening the seat post clamp lever, moving the seat up or down, then securely close the lever. EVELO.COM quest_manual_final_single.indd 12 09/06/2017 19:55...
- Page 13 : The left and right pedals are not interchangeable. The left (“L”) pedal and crank are NOTE REVERSE-THREADED so that the pedal will not come loose while riding. To TIGHTEN the left pedal, turn COUNTER-CLOCKWISE. To LOOSEN it, turn CLOCKWISE. EVELO.COM quest_manual_final_single.indd 13 09/06/2017 19:55...
- Page 14 Again, do not come to a complete stop. Repeat this sequence 10 times. Allow the brakes to fully cool before riding again. After you complete this “embedding” process, the brakes should operate at full power without noise. EVELO.COM quest_manual_final_single.indd 14 09/06/2017 19:55...
-
Page 15: Seat Adjustment
FIT ADJUSTMENTS Many parts of your new EVELO Electric Bicycle can be customized for a personalized fit. Seat Adjustment The seat is easily adjusted up or down by flipping the quick-release lever that clamps the post into the bike. Note that there is a “minimum insertion line” stamped on the seat post that must be adhered to for safety’s sake. -
Page 16: Folding
Re-secure the clamp with the lever. EVELO.COM quest_manual_final_single.indd 16 09/06/2017 19:55... -
Page 17: Unfolding
Flip the lever on the seat clamp into the open position, lift the seat to the appropriate height, and close the locking lever. Flip each pedal into the flat position. The internal spring should snap them into place. Double check all quick release locking mechanisms. EVELO.COM quest_manual_final_single.indd 17 09/06/2017 19:55... -
Page 18: Riding Your Evelo Electric Bicycle
RIDING YOUR EVELO ELECTRIC BICYCLE PRE-RIDE CHECKLIST Carry out this pre-ride checklist before EVERY RIDE! Make sure the tires are properly inflated. All bicycle tires gradually lose air over time, and this can affect handling, range, and puncture-resistance. Are all the “Quick Release” levers tight? Are the folding release levers secure and locked? Check both wheels for broken spokes. - Page 19 Full instructions for your display panel can be found at support/solutions , (Search for “Quest Manual”) but some of the most basic functions are listed here for your convenience. Information in the complete manual includes such topics as how to change settings, error code information and so forth.
- Page 20 Press and hold UP & DOWN buttons together for 1 second to reset temporary data, including AVG Speed / MAX Speed / Trip / Time. * These temporary data are not erased by power off. EVELO.COM quest_manual_final_single.indd 20 09/06/2017 19:55...
- Page 21 The bike must be moving forward for the throttle to work. Brake cut-off switches are built into the brake levers so that power to the motor is turned off when either brake is applied. This is a safety feature. EVELO.COM quest_manual_final_single.indd 21 09/06/2017 19:55...
- Page 22 RIDING IN THE RAIN EVELO Electric Bicycles are designed so that you can operate them in rainy weather. Factory-level design elements keep the electrical components well-protected and nearly all the electrical connections are located within the frame.
- Page 23 Avoid road hazards. Watch for and avoid potholes, drain grates, railroad tracks, loose road material, and other hazards. • Use both the front and the rear brakes together for best performance. Using ONLY the rear will significantly increase your stopping distance. EVELO.COM quest_manual_final_single.indd 23 09/06/2017 19:55...
-
Page 24: Maintenance
If your brakes are worn beyond this adjustment, either take the bike to a local bike shop for professional service, or contact EVELO for additional instructions. • Tune-Up — We recommend a full-service tune-up annually by a professional bicycle mechanic. -
Page 25: Troubleshooting
TROUBLESHOOTING If you experience difficulty with your EVELO Electric Bicycle, consult the following list. If you do not find the problem on this list, contact our Customer Service Team, and we will work with you to identify the source of the problem and help with a solution. Many common issues are addressed at http://support.evelo.com/support/solutions. - Page 26 EVELO.COM quest_manual_final_single.indd 26 09/06/2017 19:55...
- Page 27 EVELO.COM quest_manual_final_single.indd 27 09/06/2017 19:55...
-
Page 28: Evelo.com
Questions? Get In Touch: Email: contact@evelo.com Call: 877-991-7272 EVELO.COM EVELO.COM quest_manual_final_single.indd 28 09/06/2017 19:55...
Need help?
Do you have a question about the QUEST and is the answer not in the manual?
Questions and answers