
Related Manuals for Matrix Appliances MS200

Summary of Contents for Matrix Appliances MS200
-
Page 1: Single Oven
Manual for installation, use and maintenance MS200 Single Oven year parts 1 year labour guarantee www.matrixappliances.co.uk... - Page 2 Important The CDA Group Ltd cannot be held responsible for injuries or losses caused by incorrect use or installation of this product. Please note that CDA reserve the right to invalidate the guarantee supplied with this product following incorrect installation or misuse of the appliance or use in a commercial environment.
- Page 3 Parts intended to come into contact with food conform to 1935/2004/ IMPORTANT INFORMATION FOR CORRECT DISPOSAL OF THE PRODUCT IN ACCORDANCE WITH EU DIRECTIVE 2012/19/EU. At the end of its working life, the product must be taken to a special local authority waste collection centre or to a dealer providing appliance recycling services.
-
Page 4: Before First Use
• Do not grill food containing fat without using the grill pan grid. • Do not cover the grill pan grid or the oven walls with aluminium foil. • Do not use the oven tray for roasting. • Do not perform maintenance or cleaning of the oven without first switching off the electricity supply. - Page 5 15 minutes of full grill 30 minutes of fan oven Please note: • This oven has been fitted with a cooling fan to achieve maximum efficiency and to maintain low surface temperatures. The cooling fan will switch on automatically when the oven switches on. It is normal for the cooling fan to run for an hour or more after use, depending on the duration, temperature and type of cooking programme used.
-
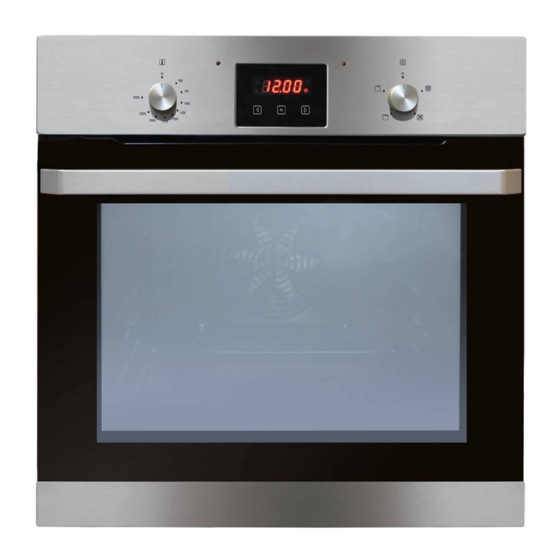
Page 6: Control Panel
Control Panel fig.1 Control panel: A. Temperature control knob D. Menu sensor B. Timer display E. Timer ‘Right’ sensor C. Timer ‘Left’ sensor F. Function control knob Oven Controls and Use Temperature knob • To set the temperature, turn the temperature knob clockwise to the required temperature. - Page 7 below: Please note, the oven light will operate on all functions. Defrost Using the fan only this oven function circulates the air around the oven cavity, speeding up the natural defrost process Fan Oven Using the circular element and the fan with a temperature between 50°C and 250°C, this cooking function blows the air into and around the oven cavity.
-
Page 8: Electronic Programmer/Timer
For each grill function please note: • Always grill with the oven door closed. • Put the grill pan as close to the grill as possible. • Do not grill for more than 30 minutes at a time. • Preheat the grill for up to five minutes with the oven door closed. Internal shelf positions The shelves and grill pan can be inserted into any one of five different positions. -
Page 9: Semi-Automatic Cooking
Please note: The time must be set for the oven to work. Setting the minute minder function The minute minder function can be set at any time, regardless of the state of activity of the oven. The minute minder can be set anywhere from 1 minute to 23 hours and 59 minutes. -
Page 10: Automatic Cooking
elapses, the oven will switch the set function off and an acoustic signal will sound to alert the user. To switch on semi-automatic cooking • Set the desired oven function and temperature. • Press the menu sensor until the display illuminates the ( ) symbol and the timer display shows 0.00. - Page 11 cooking duration to 1 hour, and the end time to 15:30, then the oven will activate the function at 14:30. When the set time elapses, the oven will switch the set function off and an acoustic signal will sound. To switch on automatic cooking •...
-
Page 12: Cleaning And Maintenance
Cleaning and maintenance Keeping your oven clean and well maintained helps to prolong the fault-free lifespan of it. It is important that, before any cleaning or maintenance is performed, you switch off the oven at the mains supply. Do not start any cleaning or maintenance until the oven has been allowed to cool completely. - Page 13 IMPORTANT: • Steam cleaners must not be used when cleaning this appliance. • Once care and maintenance is complete, ensure that all parts are correctly replaced before using the oven. Removing the appliance door In order to allow for easier access into the oven cavity for cleaning, it is possible to remove the door.
- Page 14 Replacing the appliance door • Hold the door to the appliance in the closed position and manoeuvre the hinges so that the part of the hinge, highlighted by the star in fig. 3, inserts into the hinge slot in the cavity frame. •...
- Page 15 Removing the inner door glass With the door removed, the inner glass can also be taken out for cleaning purposes. • Use a flathead screwdriver or to unhook the door slat, as shown in fig. 5 • Remove the door slat, as per fig. 6, and place it somewhere safe where it will neither receive nor cause damage.
- Page 16 • removed. There are a number of rubber guides attached to the inner pane and these must be returned to their original positions when reassembling the door. Fig. 7 shows these guides and their position on and around the inner glass. •...
-
Page 17: Changing The Oven Lamp
Changing the oven lamp Important: Before any maintenance is started involving electrical parts, the appliance must be disconnected from the power supply. If the oven has been in use, let the oven cavity and the heating elements cool down before attempting any maintenance. Never use screwdrivers or other utensils to remove the light cover. -
Page 18: Installation
Installation The installation of this appliance must be carried out by a suitably qualified person. If the oven is being installed into a built under oven housing unit ensure that the front rail at the top of the unit is not installed as it could restrict ventilation. - Page 19 How to install your oven You will need the housing area in fig. 10 to fit your oven correctly. The oven is designed to fit into a cabinet of 600mm width. The oven can be built in or built under the kitchen units, but you must ensure that it is properly ventilated.
-
Page 20: Mains Electrical Connection
Mains Electrical connection Warning! This appliance must be earthed. This appliance is intended to be connected to fixed wiring by a double pole switch, having a contact separation of at least 3mm in all poles and protected by a 13A fuse. The switch must be positioned no further than 2m from the appliance. - Page 21 Please note: • The mains cable must only be replaced by a qualified electrician or service engineer and must be of equivalent or better rating (i.e. 3 x 1.5mm ² , HO5VV-F). • This appliance is intended to be connected to the mains supply with a cable of cross sectional area 1.5 mm ²...
-
Page 22: Troubleshooting
Troubleshooting Problem Cause Potential remedy 12.00 If any of the above steps do not resolve your issue, please contact CDA Customer Care to arrange a repair. Contact details are below. Please have to hand all the details from your appliance’s rating plate which can be found on the back of the oven and/or on the back of the instruction manual/warranty card. -
Page 23: Energy Efficiency Information
Energy Efficiency Information Model c i f MS200 Mass of the i l p Number of i t i Heat source per cavity (electricity or c i r y t i Volume per y t i Energy consumption (electricity) required to... - Page 24 Serviced by For our Customer Care Department, or for Service, please contact us on: The CDA Group Ltd. Harby Road, Langar, Nottinghamshire, NG13 9HY Tel: 01949 862012 Fax: 01949 862003 Email: customer.care@cda.eu...
Need help?
Do you have a question about the MS200 and is the answer not in the manual?
Questions and answers