Instant Pot duo plus User Manual
Hide thumbs
Also See for duo plus:
- User manual ,
- Getting started manual (26 pages) ,
- Safety, maintenance & warranty (13 pages)
Table of Contents
Advertisement
Advertisement
Table of Contents

Related Manuals for Instant Pot duo plus


Summary of Contents for Instant Pot duo plus
- Page 1 Plus User Manual...
-
Page 3: Table Of Contents
Table of Contents Important Safeguards 2 - 5 Overview Control and Features 7 - 11 Getting Started 12 - 14 Pressure Cooking 15 - 17 Non-Pressure Cooking 18 - 21 Cooking and Safety Tips Care and Cleaning Troubleshooting 24 - 26 Warranty 27, 28 Pictures in manual are for reference only. -
Page 4: Important Safeguards
Important Safeguards SAVE THESE INSTRUCTIONS When using pressure cookers, basic safety precautions should always be followed. 1) Do not touch hot surfaces of pressure cooker. Use side handles for carrying. 2) Do not place the cooker on or near a hot gas or electric burner, or in a heated oven. 3) Intended for countertop use only. - Page 5 See “Getting Started” pages 12-14. 18) Use of accessories and parts that are not branded Instant Pot® or recommended by the Instant Pot® Company may cause the cooker to malfunction. Cook only in Instant Pot®...
- Page 6 Important Safeguards 20) Always check the steam release valve, float valve and anti-block shield for clogging before use. When in operation or releasing pressure DO NOT place Do not move cooker when unprotected skin over the steam release valve. it is in operation ...
-
Page 7: Special Cord Set Instructions
Weight Dimensions Supply Power 120V~ 33 x 31 x 32 cm 6.75 kg 15.7x 23.9cm DUO Plus 1000 W 6 quart 60Hz 13 x 12.2 x 12.6 in. 14.8 lbs 6.2 x 9.4 in. Working Pressure: Low Pressure: 5.8 - 7.2 PSI (40 - 50 kPa); High Pressure: 10.2 - 11.6 PSI (70 - 80 kPa) ... -
Page 8: Overview
Overview Steam release handle Anti-block shield Lid handle Float valve To install: Position the anti-block shield in place and Lid position push down Lid fin marker Stainless steel inner pot To remove: Using your thumb, push the side of the anti-block shield towards the lid rim and Cooker lift up with some effort. -
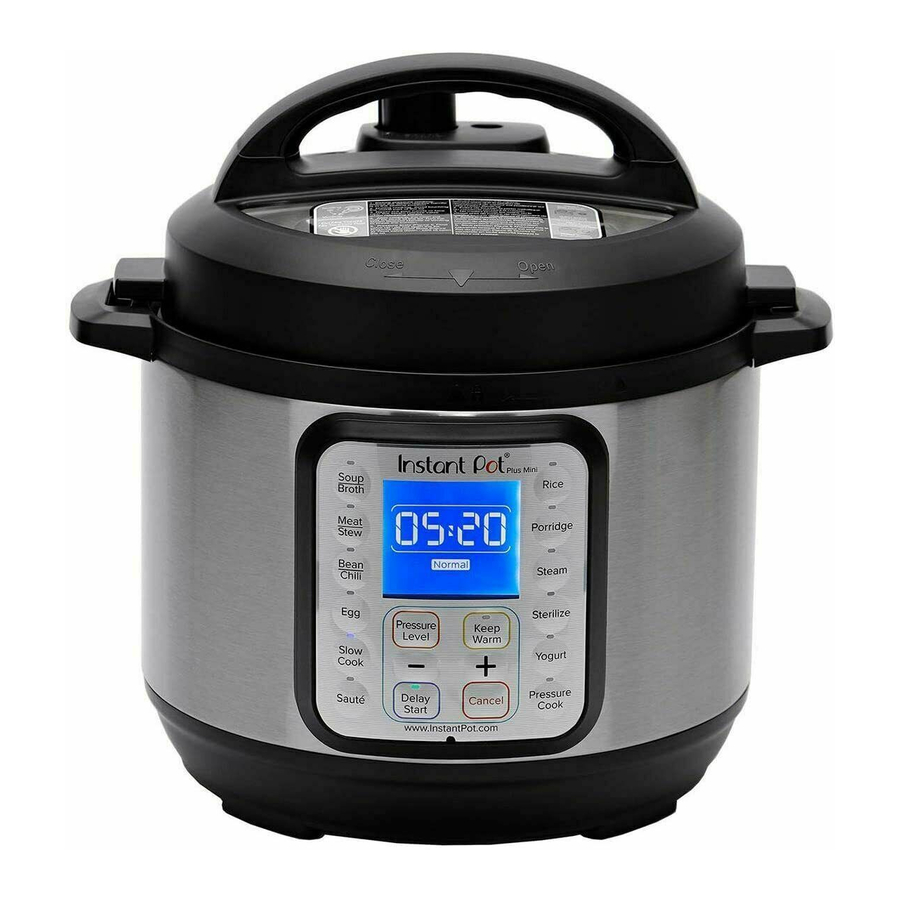
Page 9: Control And Features
Control and Features Control Panel The control panel of your Instant Pot® DUO Plus consists of a large LCD display, cooking program keys, operations keys to control pressure level, + / - to adjust cooking time and a Cancel button. - Page 10 Control and Features Control Panel Instant Pot® is a programmed smart cooker that has preset cooking instructions for different food ingredients and cooking methods. It also remembers your most recent setting per cooking program for a more personalized cooking experience.
- Page 11 Control and Features Cooking Program Options Notes for Users Programs Modes Cooking Options Soup without meat. Less The soup/broth remains clear due to lack of boiling Normal Soup with meat. motion under pressure cooking. More Rich bone broth. Soft texture. Less Choose different modes based on the meat texture...
- Page 12 Notes for Users Non-pressure cooking Less Corresponds to LOW setting program. You may also use in a temperature controlled the Instant Pot® glass lid as slow cooker. an option. Normal Corresponds to MEDIUM setting in a temperature controlled slow cooker.
- Page 13 + / - keys to favourite recipes or cooking change cooking time. More habits. **Please refer to ‘USDA Complete Guide to Home Canning’ for details. The DUO Plus has not been tested by USDA for food safety in pressure canning.**...
-
Page 14: Getting Started
Getting Started Read warning card and warning stickers. Remove all packaging materials and warning stickers from the cooker and accessories. Clean the inner pot, lid and accessories with water and detergent before the first use. Install the condensation collector at the rear of the cooker by aligning the top of the collector with the guides on the cooker and press in. - Page 15 Getting Started Before using your Instant Pot®: To remove the lid, hold the handle, turn the lid counterclockwise and lift. Remove the inner pot from the cooker. Add food and liquids to the inner pot as the recipe directs. If steaming, place the steamer rack on the bottom of the inner pot first.
-
Page 16: Initial Test Run
• Do not put the lid on for Sauté program. Initial Test Run To familiarize yourself with the Instant Pot® and check if the cooker is working properly: Add 3 cups of water into the inner pot using the plastic measuring cup provided. -
Page 17: Pressure Cooking
Pressure Cooking The following pressure cooking programs are available: Pressure Cook, Rice, Soup/Broth, Meat/Stew, Bean/Chili, Multigrain, Porridge, Cake, Egg, Sterilize and Steam. • Do not fill the inner pot more than 2/3 full. For food that expands during cooking such as rice or dried vegetables, do not fill the inner pot more than 1/2 full. - Page 18 Pressure Cooking Optionally, personalize pressure cooking programs as follows: To do this ..Press this button Followed by these steps... Change the cooking time Cooking Program Select between three preset cooking times, Key of Your Choice Normal, Less and More by repeatedly pressing the cooking program you wish to adjust.
- Page 19 Pressure Cooking Release the pressure using one of the following methods (refer to recipe): Natural Release: Allow the cooker to cool down naturally until the float valve drops down. This may take 10 to 40 minutes, or even more, depending on the amount of food in the cooker.
-
Page 20: Non-Pressure Cooking
Non-Pressure Cooking The following non-pressure cooking programs are available: Sauté, Slow Cook, Yogurt and Keep Warm. Sautéing Connect the power cord. The LCD displays OFF, indicating that the cooker is on standby. Select the Sauté program. To change the cooking temperature, press Sauté repeatedly to select between Normal (for regular browning), Less (for simmering or thickening sauce) and More (for stir-frying or blackening meat). - Page 21 Non-Pressure Cooking Slow Cook You may use the Instant Pot glass lid as an option. If using the pressure cooking lid, make sure the steam release handle is turned to Venting. Connect the power cord. The LCD displays OFF, indicating that the cooker is on standby.
- Page 22 Non-Pressure Cooking When the cooking cycle has finished, the cooker beeps and enters the Keep Warm mode if the Keep Warm program is turned ON. The LCD displays the elapsed time (such as 00:02). After 24 hours, the cooker turns off. If the lid is on, remove it by turning counterclockwise and lifting.
-
Page 23: Non-Pressure Cooking
Non-Pressure Cooking Add Starter Culture a) Add starter culture to the warm milk in the inner pot. b) Replace the inner pot and close the lid. The steam release handle can be left in Venting or Sealing position. Ferment Yogurt a) Select the Yogurt program. -
Page 24: Cooking And Safety Tips
Safety and Cooking Tips • Extreme caution should be taken when moving the steam release handle to Venting position. Keep hands and face away from the steam release openings. Failure to comply may result in scalding or serious injury. • Do not open the lid until pressure inside the cooker is completely released. As a safety feature, until the float valve drops down the lid is locked and cannot be opened. -
Page 25: Care And Cleaning
Care and Cleaning Unplug your Instant Pot® and let it cool to room temperature before cleaning. • Both the inner pot and lid are dishwasher safe. • Remove the inner pot and lid and wash with detergent. Rinse with clear water and wipe dry with a soft cloth. -
Page 26: Troubleshooting
Troubleshooting If you experience any problem with the cooker, please DO NOT return the product to the retail store or online merchant. For technical assistance and product return information: • Create a support ticket: www.InstantPot.com/support/ • Email: support@instantpot.com • Call 1800 828 7280 for the customer care team. You can also find tips, videos and FAQs on www.InstantPot.com/faq/ The issues in the following tables do not always indicate a faulty cooker. - Page 27 Troubleshooting Problem Possible reason Solution No sealing ring Install the sealing ring Steam leaks from the side of the lid Sealing ring damaged Replace the sealing ring Food debris attached to the Clean the sealing ring sealing ring Open then close the lid Lid not closed properly again Food debris on the float...
- Page 28 Troubleshooting Solution Problem Possible reason All LCDs flash with a Faulty temperature sensor Contact support online code appearing on Faulty temperature sensor Contact support online screen and the warning beep is ON Temperature is too high Insert the inner pot because inner pot is not properly placed into the cooker base...
-
Page 29: Warranty
When this appliance is operated and maintained in accordance with written instructions attached to or furnished with the product, Instant Pot Company will pay for either (i) repair labor to correct defects in materials or workmanship that existed when this appliance was purchased or (ii), at its sole and exclusive discretion, replace the appliance for a period of one (1) year from the date of purchase. - Page 30 Warranty Registration and Service Please visit http://instantpot.com/support/register/ to register your new Instant Pot and validate your warranty within thirty (30) days of purchase. You will be asked to provide the store name, date of purchase and model number (found on the base of your cooker) along with your name and address.
- Page 31 Telephone: +1 800 828-7280 Fax: +1 (613) 800-0726 Web: www.InstantPot.com Europe Email: support@instantpot.co.uk US and Canada E-mail: support@instantpot.com To enhance your experience with Instant Pot®, join the official Instant Pot Community Facebook.com/groups/instantpotcommunity twitter.com/instantpot Instant Pot® Free Recipe App & More...
Need help?
Do you have a question about the duo plus and is the answer not in the manual?
Questions and answers