Advertisement
EN
PORTABLE AIR CONDITIONER (LOCAL)
OPERATING INSTRUCTIONS
Read the instructions carefully before operating the appliance or carrying out maintenance work.
Observe all the safety instructions; failure to observe the instructions may lead to accidents and/or
.
damage. Store these instructions in a safe place for future reference
V 12/15
15
Advertisement
Table of Contents

Related Manuals for Argo SLIMMY


Summary of Contents for Argo SLIMMY
- Page 1 PORTABLE AIR CONDITIONER (LOCAL) OPERATING INSTRUCTIONS Read the instructions carefully before operating the appliance or carrying out maintenance work. Observe all the safety instructions; failure to observe the instructions may lead to accidents and/or damage. Store these instructions in a safe place for future reference V 12/15...
- Page 2 GENERAL OPERATING AND SAFETY INSTRUCTIONS • This appliance is a portable air conditioner designed for domestic use. • Only use this air-conditioner as described in this manual. • Ensure that the required voltage and frequency (220-240 V/50 Hz) match the available power source. •...
-
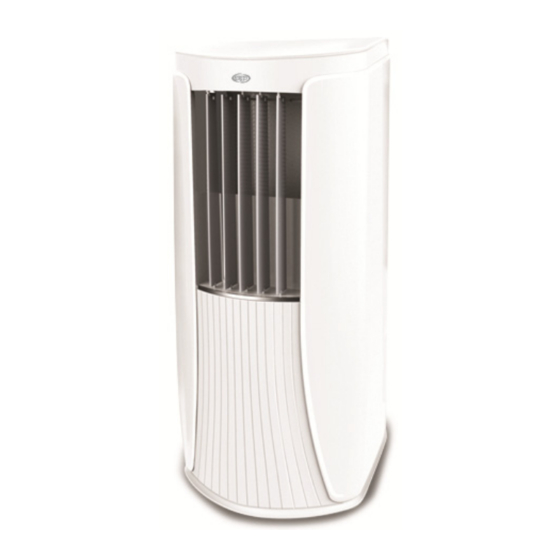
Page 3: Description Of The Appliance
DESCRIPTION OF THE APPLIANCE FRONT VIEW CONTROL PANEL AND FUNCTION BUTTONS WITHOUT REMOTE CONTROL HORIZONTAL FINS AND AIR INTAKE VERTICAL FINS AND AIR INTAKE WHEELS CABLE CLAMP PLUG AIR INTAKE AIR EXPULSION HOSE END FITTING 10) AIR EXPULSION TUBE 11) END FITTING FOR WINDOW 12) REMOTE CONTROL COMPARTMENT 13) REMOTE CONTROL REAR VIEW... -
Page 4: Appliance Start-Up
APPLIANCE START-UP Open the packaging and remove the box from above. Remove the product and the other elements supplied (illustrated in the box below). Type AAA batteries for LCD remote control the remote control Round fitting for window (1) to be positioned End fitting for between the end of the tube and the end window (2) - Page 5 INSTALLATION OF CORD WINDER HOOKS Install the cord winder hooks to the back of the When the appliance is not being used, wind the power cord unit using the screws, as shown in the figure. around the hooks. The hooks must be positioned facing upwards anddownwards.
- Page 6 USE WITH WINDOW UNIT KIT Make a hole measuring roughly 135 mm through Insert the window unit without its closure cap into the the window pane. window. Insert the round fitting into the retractable hose and insert the retractable hose with the round fitting into the window unit.
-
Page 7: How To Use The Appliance
HOW TO USE THE APPLIANCE This appliance can be used for cooling, dehumidifying and ventilating. When switching between modes, the fan continues to rotate but the compressor stops: the compressor will start after 3 minutes. This delay protects the compressor from potential damage. Cooling, Ventilation Dehumidification THE DISCHARGE TUBE MUST ALWAYS BE CONNECTED to the appliance: the only exception is when the... - Page 8 3. VENTILATION MODE (FAN ONLY) • Press the MODE button to select Fan and wait until the relative icon appears. • In this mode, the fan speed can be adjusted. • The temperature cannot be adjusted. CONDENSATE ELIMINATION This appliance automatically vaporises condensate in the cooling mode. When the air conditioner operates in cooling mode, there is no need to drain condensate continuously;...
-
Page 9: Remote Control Operation
Dehumidification WARNING! When using the air conditioner in dehumidification mode, we recommend always ensuring continuous drainage, in order to 2. Screw the connection 1. Remove the cap by turning it anti- maximise dehumidification efficiency. tube provided onto the clockwise then remove the plug. Use the drainage outlet on the appliance. - Page 10 Signal receiver Operating display a. Cooling b. Dehumidification c. Ventilation d. Temperature setting e. Timer setting Speed setting g. Lock h. Sleep mode setting X-FAN mode setting ON/OFF BUTTON Signal transmission MODE BUTTON m. T-OFF off timer TEMPERATURE AND TIMER ADJUSTMENT n.
- Page 11 (3) TEMPERATURE + - AND TIMER ADJUSTMENT BUTTONS The temperature can be adjusted to between 16 °C and 30 °C. Increase temperature(+): 1) Allows for adjusting the desired temperature in cooling (COOL) mode. 2)Whenever the( ) button is pressed, the set temperature increases by 1 °C. Decrease temperature ( 1) Allows for adjusting the desired temperature in cooling (COOL) mode.
-
Page 12: Switching Between °C And °F
The external temperature sensor has Contact the service centre. short-circuited. The temperature and error display lights up only in the COOL mode. In the DRY and FAN modes the display does not light SAFETY FUNCTIONS REMOTE CONTROL LOCK Simultaneously press "+" and "-" to lock the remote control. The "Lock"... - Page 13 2. Cleaning the casing. Use a soft damp cloth to clean the outer surface of the air conditioner. Do not use excessively hot water, solvents, petrol or other aggressive chemical compounds, talcum powder and brushes: they may damage the surface or colour of the casing. Remove any stains using warm water with a little neutral detergent.
Need help?
Do you have a question about the SLIMMY and is the answer not in the manual?
Questions and answers